
Radio Control Scale Aerobatics
John Glezellis [[email protected]]
The 2011 sequences are up!
Also included in this column:
- Aresti language refresher
- Break down the figure
- Set a model up to perform
- Practice with an expert
- Wayne Mathews is in the house
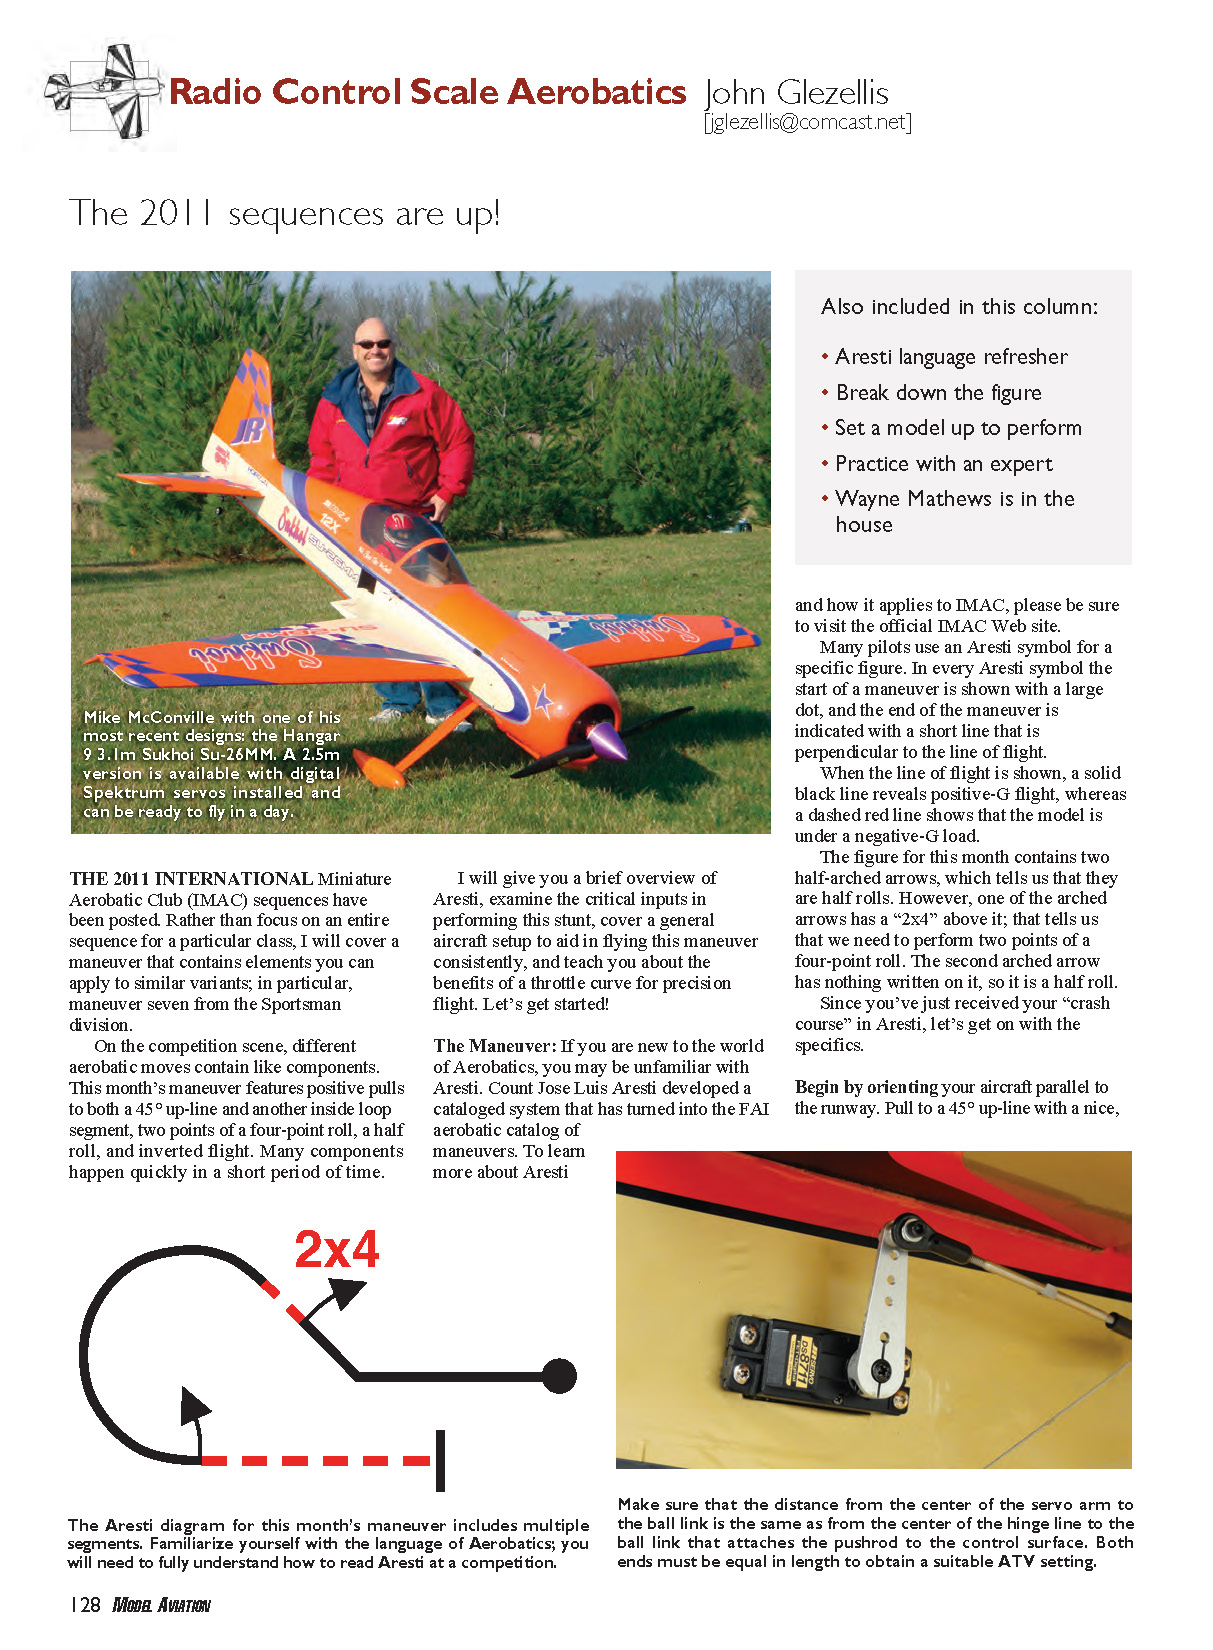
THE 2011 INTERNATIONAL Miniature Aerobatic Club (IMAC) sequences have been posted. Rather than focus on an entire sequence for a particular class, I will cover a maneuver that contains elements you can apply to similar variants; in particular, maneuver seven from the Sportsman division.
On the competition scene, different aerobatic moves contain like components. This month's maneuver features positive pulls to both a 45° up-line and another inside loop segment, two points of a four-point roll, a half roll, and inverted flight. Many components happen quickly in a short period of time.
I will give you a brief overview of Aresti, examine the critical inputs in performing this stunt, cover a general aircraft setup to aid in flying this maneuver consistently, and teach you about the benefits of a throttle curve for precision flight. Let's get started!
The Maneuver
If you are new to aerobatics, you may be unfamiliar with Aresti. Count Jose Luis Aresti developed a cataloged system that has become the FAI aerobatic catalog of maneuvers. To learn more about Aresti and how it applies to IMAC, visit the official IMAC website.
Many pilots use an Aresti symbol for a specific figure. In every Aresti symbol the start of a maneuver is shown with a large dot, and the end of the maneuver is indicated with a short line that is perpendicular to the line of flight. When the line of flight is shown, a solid black line reveals positive-G flight, whereas a dashed red line shows that the model is under a negative-G load.
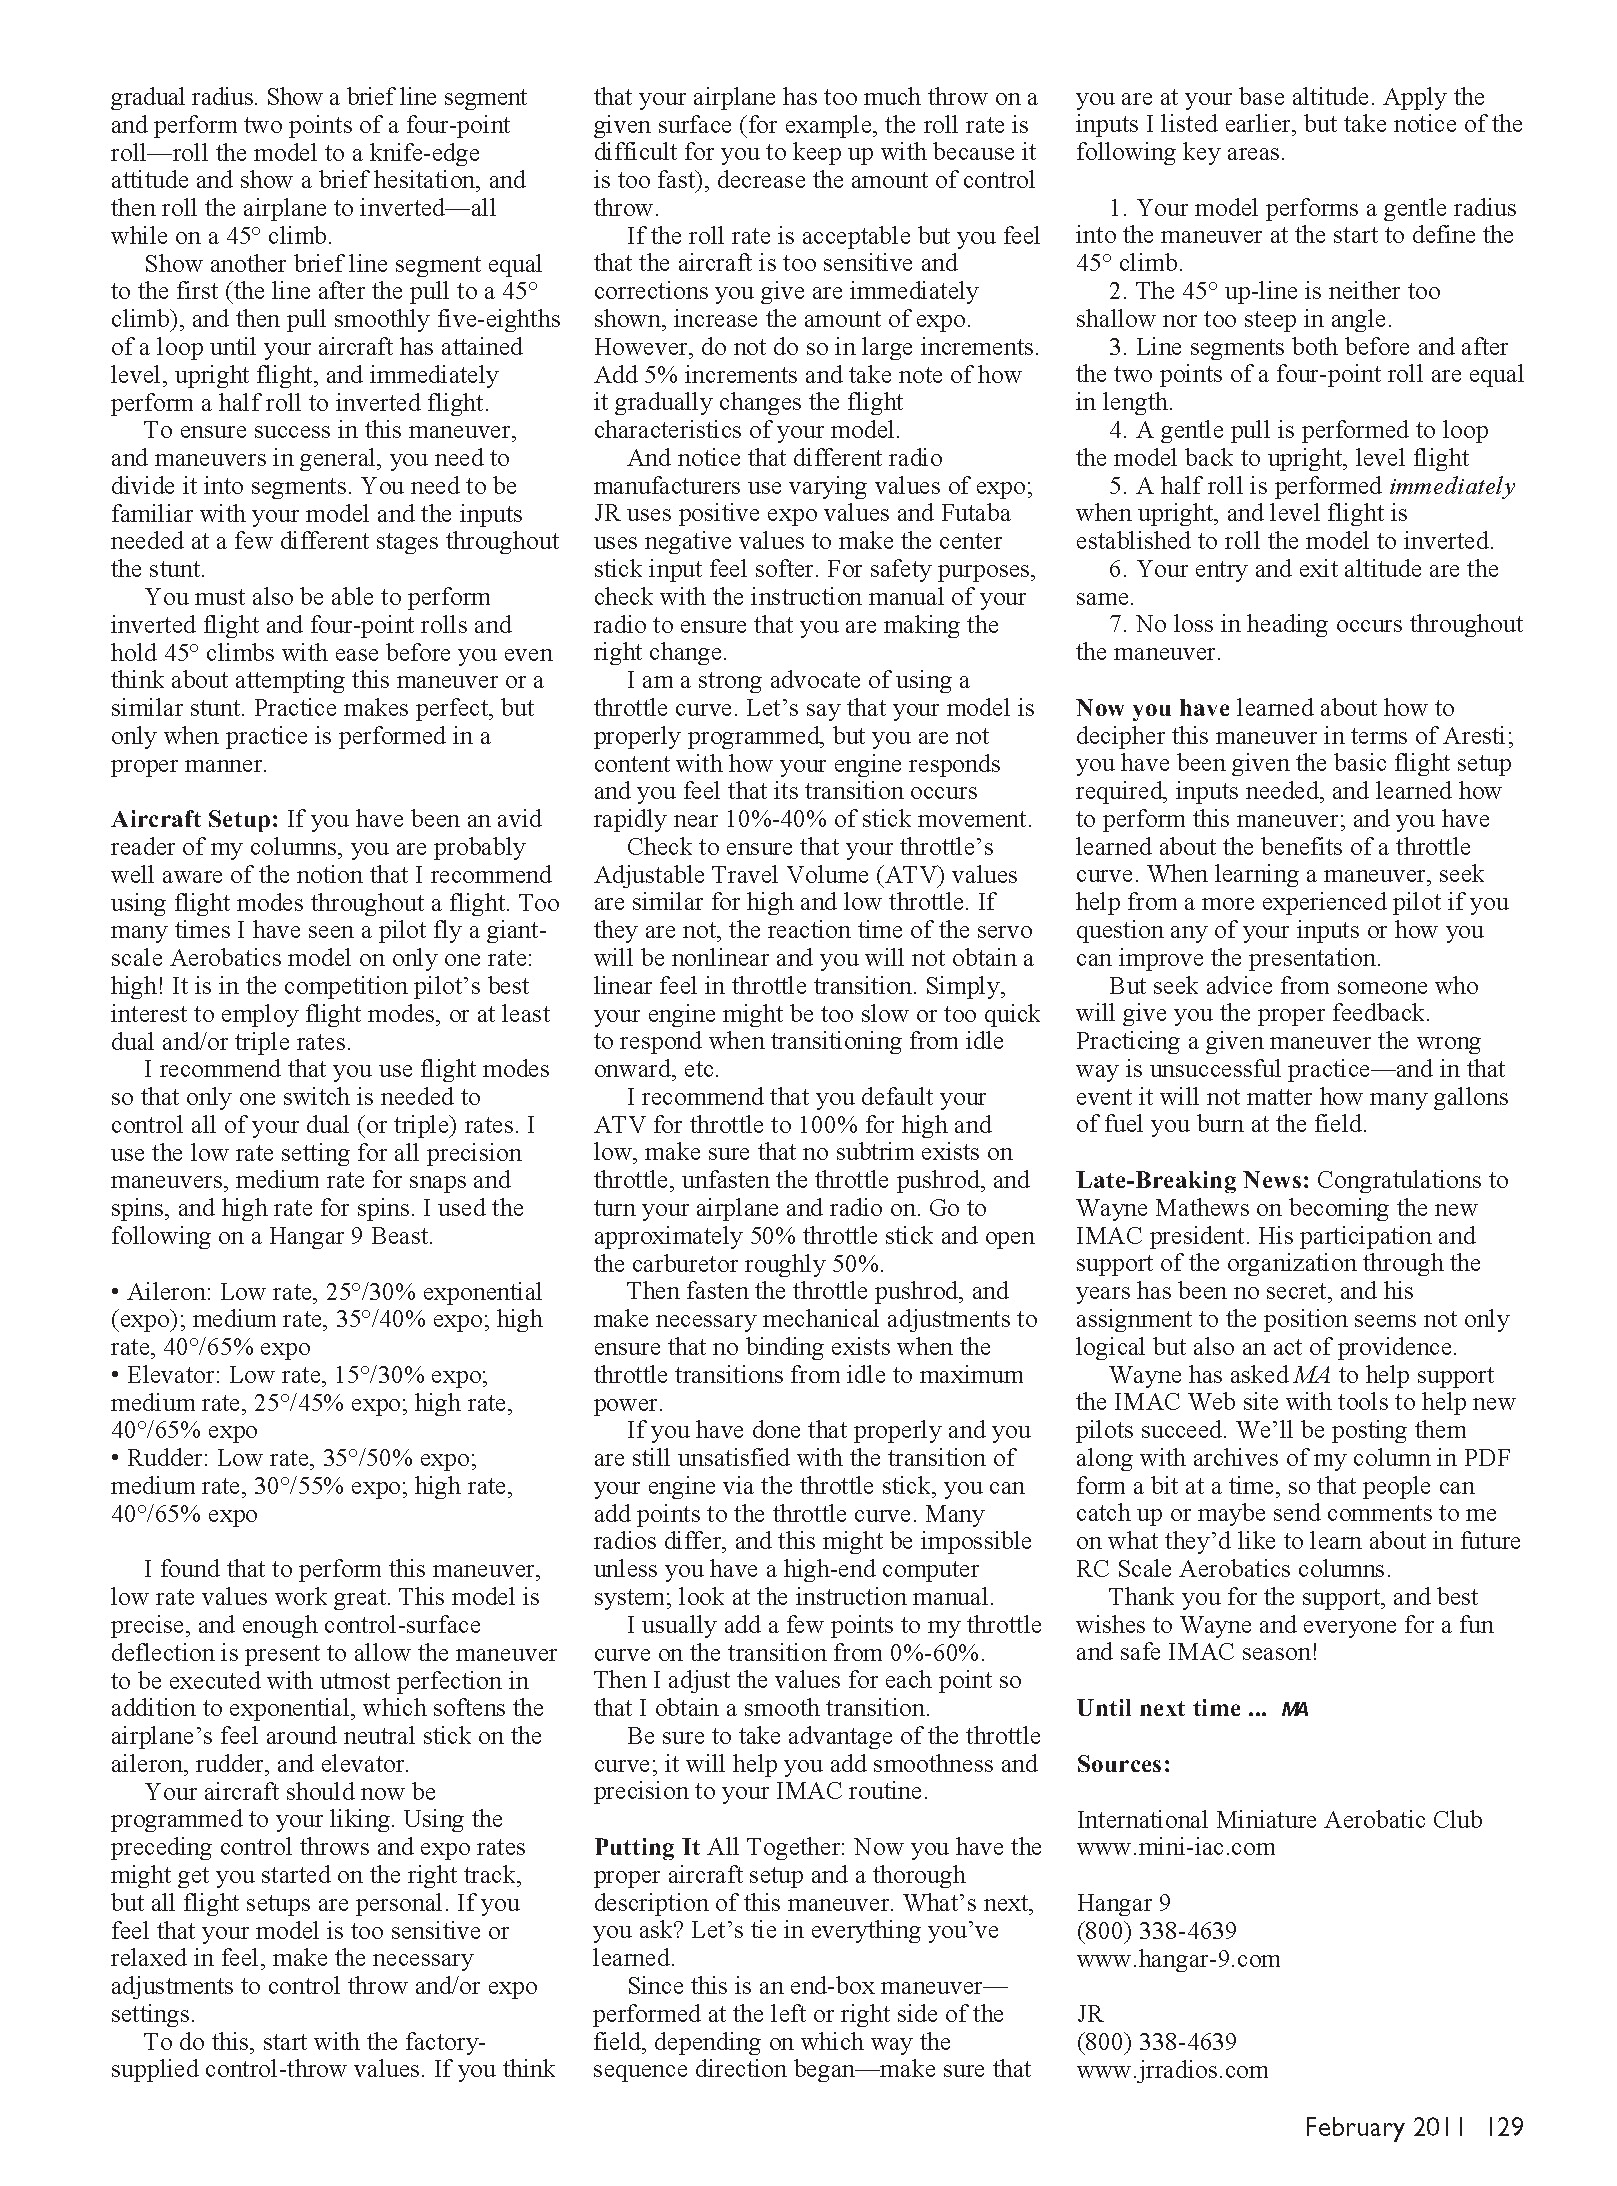
The figure for this month contains two half-arched arrows, which tells us that they are half rolls. However, one of the arched arrows has a "2x4" above it; that tells us that we need to perform two points of a four-point roll. The second arched arrow has nothing written on it, so it is a half roll.
Begin by orienting your aircraft parallel to the runway. Pull to a 45° up-line with a nice, gradual radius. Show a brief line segment and perform two points of a four-point roll—roll the model to a knife-edge attitude and show a brief hesitation, then roll the airplane to inverted—all while on a 45° climb. Show another brief line segment equal to the first (the line after the pull to a 45° climb), then pull smoothly five-eighths of a loop until your aircraft has attained level, upright flight, and immediately perform a half roll to inverted flight.
To ensure success in this maneuver (and maneuvers in general), divide it into segments. Be familiar with your model and the inputs needed at each stage of the stunt. You must also be able to perform inverted flight and four-point rolls and hold 45° climbs with ease before attempting this maneuver. Practice makes perfect, but only when practice is performed correctly.
The Aresti diagram for this month's maneuver includes multiple segments. Familiarize yourself with the language of aerobatics; you will need to fully understand how to read Aresti at a competition.
Aircraft Setup
If you have been an avid reader of my columns, you are probably well aware that I recommend using flight modes throughout a flight. Too many times I have seen pilots fly a giant-scale aerobatics model on only one rate: high! It is in the competition pilot’s best interest to employ flight modes, or at least dual and/or triple rates.
I recommend using flight modes so that only one switch is needed to control all of your dual (or triple) rates. I use the low-rate setting for all precision maneuvers, medium rate for snaps and spins, and high rate for snaps. I used the following on a Hangar 9 Beast:
- Aileron: low rate 25° / 30% expo; medium rate 35° / 40% expo; high rate 40° / 65% expo
- Elevator: low rate 15° / 30% expo; medium rate 25° / 45% expo; high rate 40° / 65% expo
- Rudder: low rate 35° / 50% expo; medium rate 30° / 55% expo; high rate 40° / 65% expo
I found that low-rate values work great for this maneuver. The model is precise, and there is enough control-surface deflection to allow the maneuver to be executed with utmost precision. Exponential softens the airplane’s feel around neutral stick on the aileron, rudder, and elevator.
Your aircraft should now be programmed to your liking. Using the preceding control throws and expo rates might get you started on the right track, but all flight setups are personal. If your model feels too sensitive or too relaxed, make the necessary adjustments to control throw and/or expo.
Start with the factory-supplied control-throw values. If you think the airplane has too much throw on a given surface (for example, the roll rate is difficult to keep up with because it is too fast), decrease the amount of control throw.
If the roll rate is acceptable but the aircraft feels too sensitive (corrections show immediately), increase the amount of expo. Do not do so in large increments—add 5% increments and note how it gradually changes the flight characteristics.
Different radio manufacturers use varying expo conventions: JR uses positive expo values and Futaba uses negative values to make the center stick input feel softer. For safety, check your radio manual to ensure you are making the correct change.
Make sure that the distance from the center of the servo arm to the ball link is the same as the distance from the center of the hinge line to the ball link that attaches the pushrod to the control surface. Both ends should be equal in length to obtain suitable control geometry and predictable travel.
I am a strong advocate of using a throttle curve. Suppose your model is properly programmed but you are not content with how the engine responds and you feel the transition occurs rapidly near 10%–40% of stick movement.
First, check that your throttle’s Adjustable Travel Volume (ATV) values are similar for high and low throttle. If they are not, the servo reaction will be nonlinear and you will not obtain a linear feel in throttle transition—your engine might be too slow or too quick to respond when transitioning from idle onward.
I recommend setting ATV for throttle to 100% for both high and low, ensuring no subtrim exists on throttle. Unfasten the throttle pushrod, turn your airplane and radio on, go to approximately 50% throttle stick and open the carburetor roughly 50%. Then fasten the throttle pushrod and make necessary mechanical adjustments to ensure no binding exists when the throttle transitions from idle to maximum power.
If you are still unsatisfied with engine transition via the throttle stick, you can add points to the throttle curve (many radios allow this; check your manual). I usually add a few points on the transition from 0%–60% and adjust the values for each point to obtain a smooth transition. Use the throttle curve to add smoothness and precision to your IMAC routine.
Putting It All Together
Now you have the proper aircraft setup and a thorough description of this maneuver. Since this is an end-box maneuver—performed at the left or right side of the field, depending on which way the sequence direction began—make sure you are at your base altitude. Apply the inputs listed earlier, but take note of the following key areas:
- Your model performs a gentle radius into the maneuver at the start to define the 45° climb.
- The 45° up-line is neither too shallow nor too steep in angle.
- Line segments both before and after the two points of a four-point roll are equal in length.
- A gentle pull is performed to loop the model back to upright, level flight.
- A half roll is performed immediately when upright and level flight is established to roll the model to inverted.
- Your entry and exit altitude are the same.
- No loss in heading occurs throughout the maneuver.
You have learned how to decipher this maneuver in terms of Aresti, been given the basic flight setup required, learned the inputs needed, and learned about the benefits of a throttle curve. When learning a maneuver, seek help from a more experienced pilot if you question any inputs or how to improve presentation.
Seek advice from someone who will give you proper feedback. Practicing a maneuver the wrong way is unsuccessful practice—and in that case it will not matter how many gallons of fuel you burn at the field.
Until next time ... MA
Sources
- International Miniature Aerobatic Club — www.mini-iac.com
- Hangar 9 — (800) 338-4639 — www.hangar-9.com
- JR — (800) 338-4639 — www.jrradios.com
Transcribed from original scans by AI. Minor OCR errors may remain.

