
Secure the gear inside your model
John Glezellis [[email protected]]
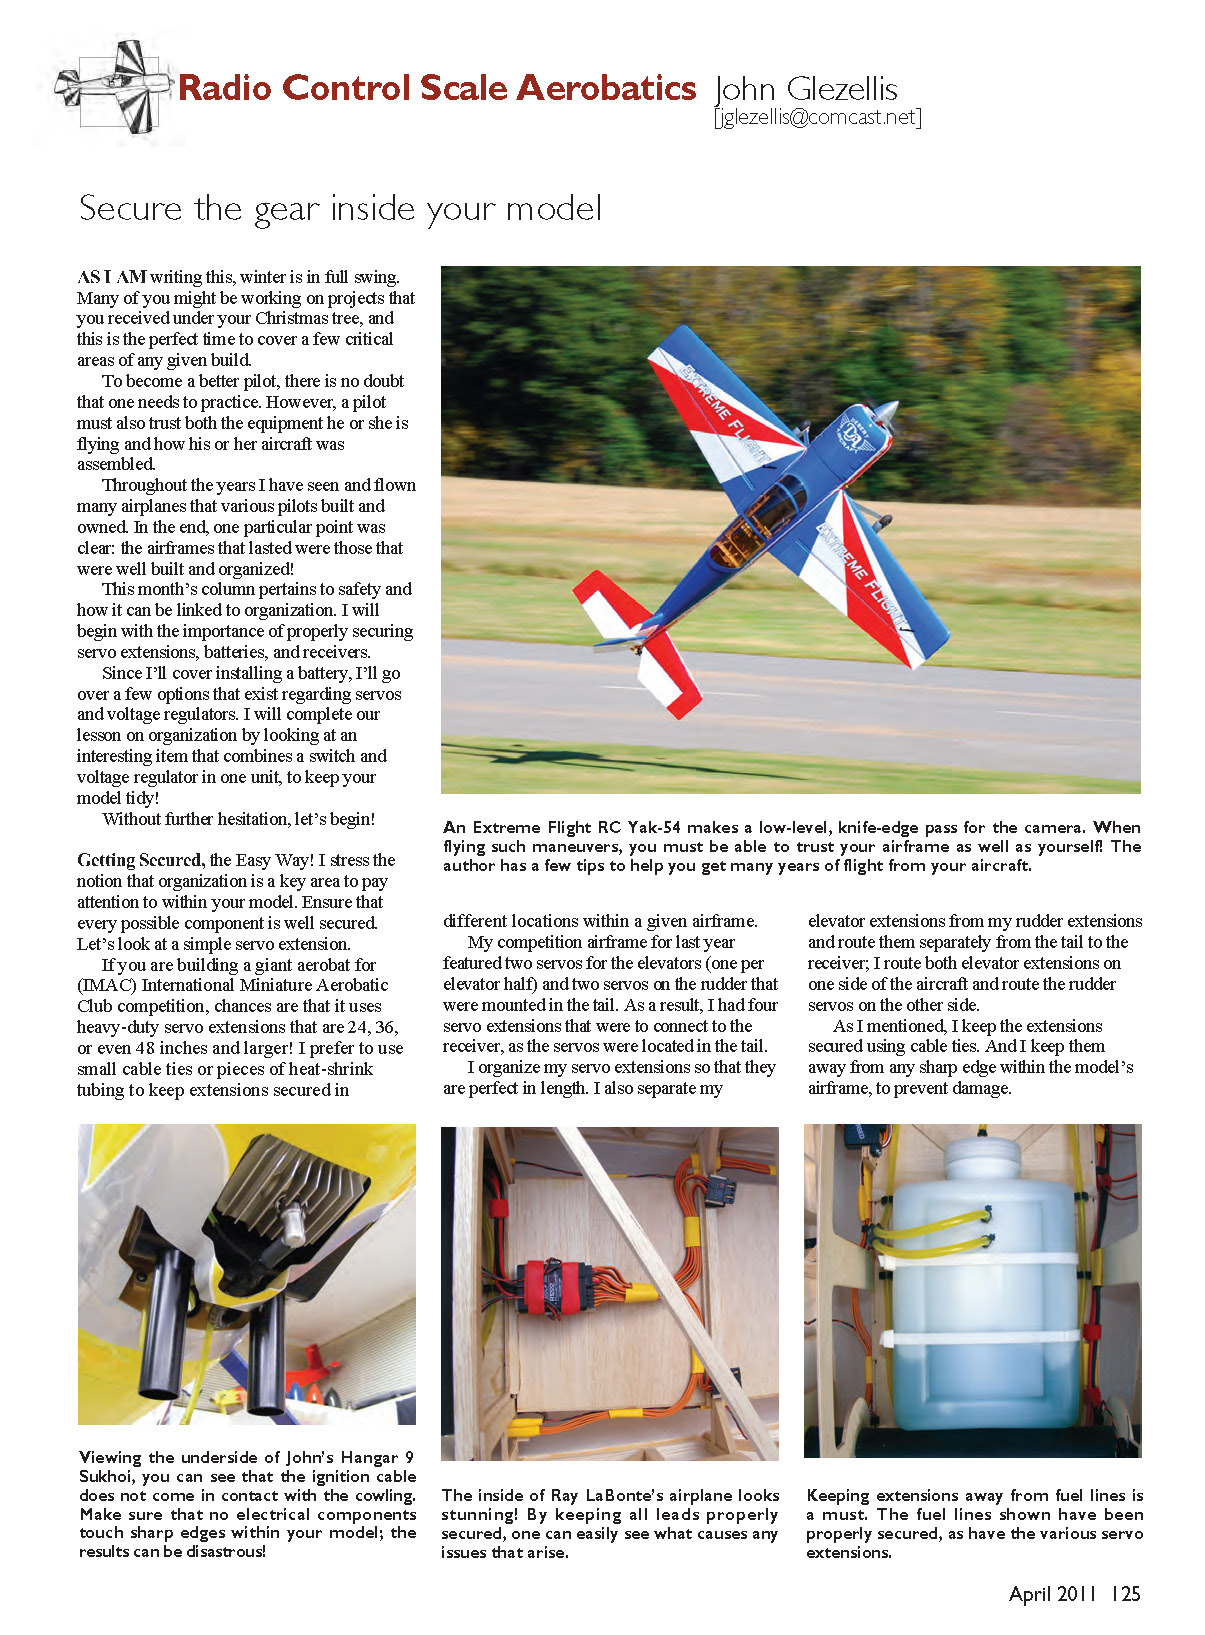
As I am writing this, winter is in full swing. Many of you might be working on projects that you received under your Christmas tree, and this is the perfect time to cover a few critical areas of any given build.
To become a better pilot, there is no doubt that one needs to practice. However, a pilot must also trust both the equipment he or she is flying and how his or her aircraft was assembled.
Throughout the years I have seen and flown many airplanes that various pilots built and owned. In the end, one particular point was clear: the airframes that lasted were those that were well built and organized.
This month's column pertains to safety and how it can be linked to organization. I will begin with the importance of properly securing servo extensions, batteries, and receivers.
Since I'll cover installing a battery, I'll go over a few options that exist regarding servos and voltage regulators. I will complete our lesson on organization by looking at an interesting item that combines a switch and voltage regulator in one unit, to keep your model tidy.
Without further hesitation, let's begin!
Getting Secured, the Easy Way!
I stress the notion that organization is a key area to pay attention to within your model. Ensure that every possible component is well secured. Let's look at a simple servo extension.
If you are building a giant aerobat for IMAC (International Miniature Aerobatic Club) competition, chances are that it uses heavy-duty servo extensions that are 24, 36, or even 48 inches and larger. I prefer to use small cable ties or pieces of heat-shrink tubing to keep extensions secured in different locations within a given airframe.
My competition airframe for last year featured two servos for the elevators (one per elevator half) and two servos on the rudder that were mounted in the tail. As a result, I had four servo extensions that were to connect to the receiver, as the servos were located in the tail.
I organize my servo extensions so that they are perfect in length. I also separate my elevator extensions from my rudder extensions and route them separately from the tail to the receiver; I route both elevator extensions on one side of the aircraft and route the rudder servos on the other side.
As I mentioned, I keep the extensions secured using cable ties. And I keep them away from any sharp edge within the model's airframe, to prevent damage.
If your model features a "pull-pull" rudder setup, ensure that the extensions are away from the rudder cables. In addition, always use security connectors or, at a minimum, heat-shrink tubing over any extension connection, to ensure that it will not become unplugged in flight.
Aside from servo extensions, make sure that no electrical components come in contact with a sharp edge within the airplane. I have often seen ignition cables cut because they have rubbed against a portion of the cowling. Make sure that all openings made on the cowling are large enough that this does not occur.
Also, make sure that all fuel lines are properly secured. If a given item is not fastened, it can, and probably will, move in flight.
If a fuel line is loose within an airframe, what's stopping it from making contact with a part of the engine and/or exhaust system? If a fuel line is fractured, your engine might quit, and that may result in the loss of an airframe. Not ensuring that the line is secure is a simple mistake that can become costly within seconds.
Moving On: Talking Electronics!
Now let's review the proper way to mount both the receiver and battery packs within your airframe.
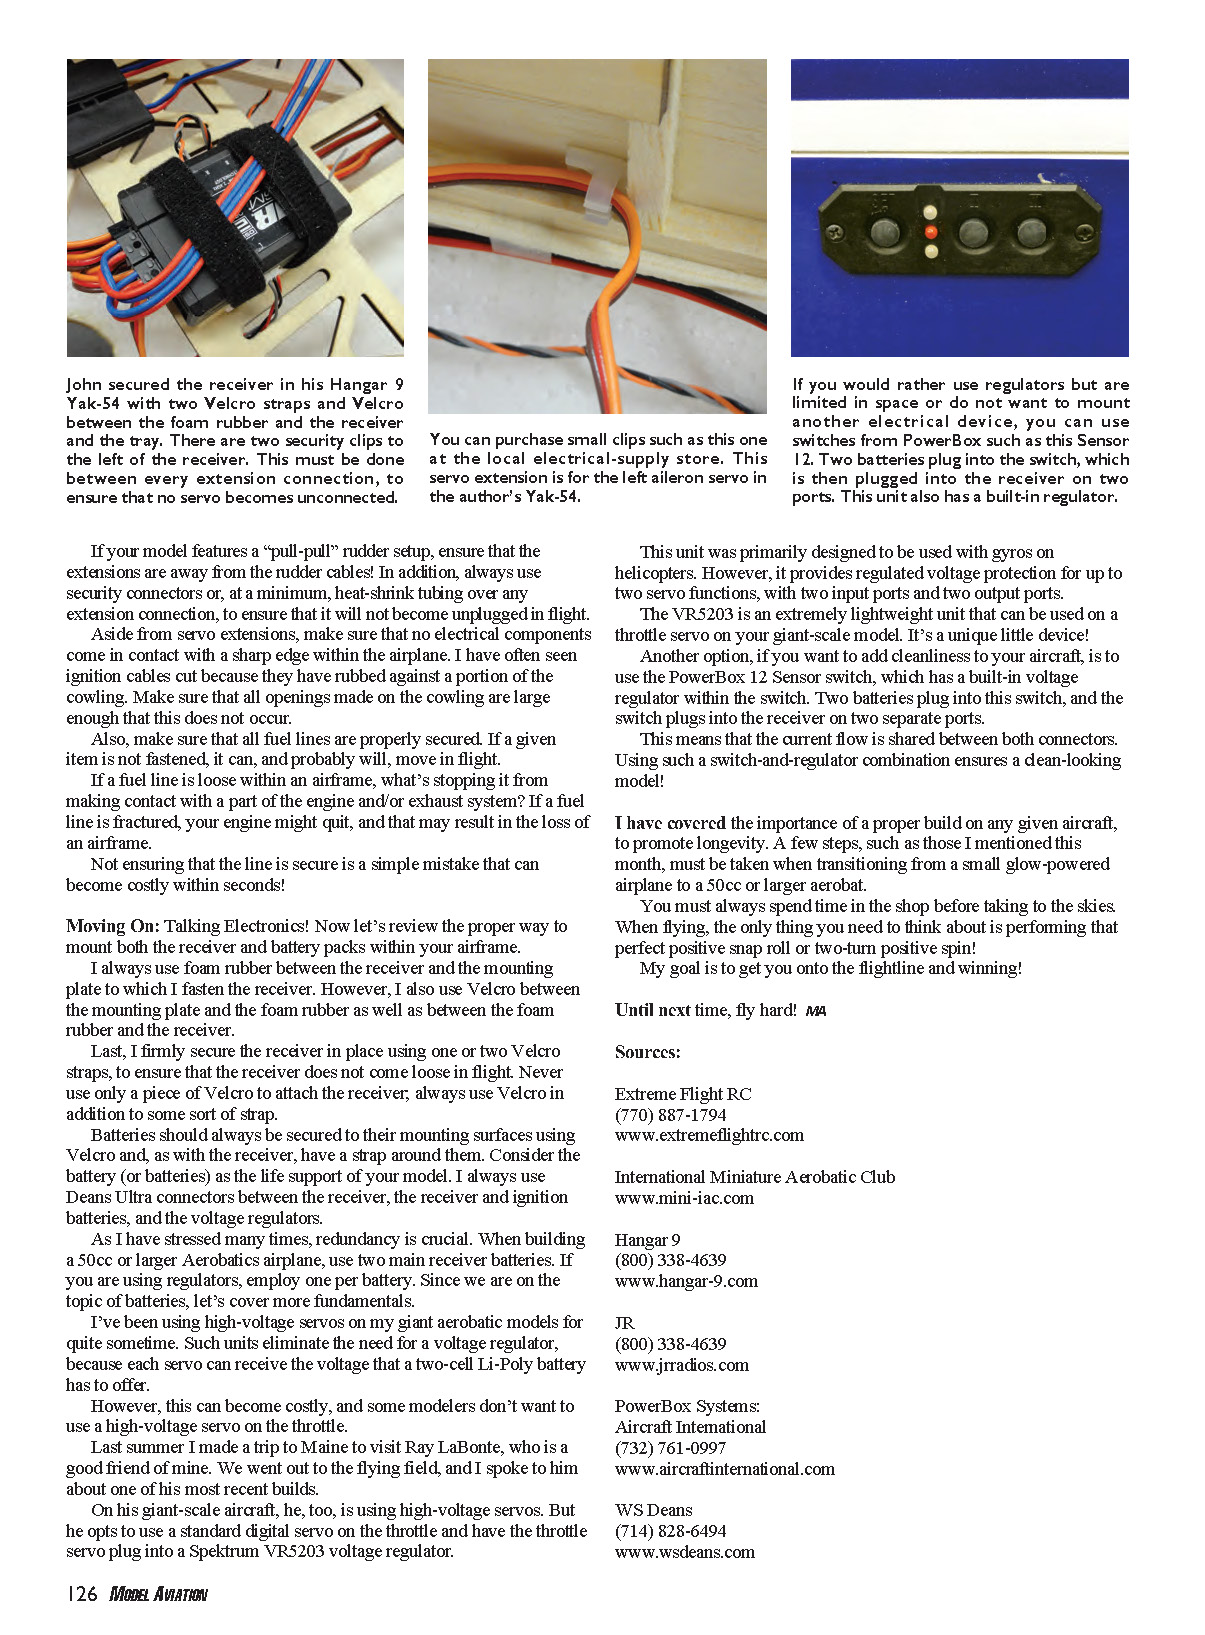
I always use foam rubber between the receiver and the mounting plate to which I fasten the receiver. However, I also use Velcro between the mounting plate and the foam rubber as well as between the foam rubber and the receiver.
Last, I firmly secure the receiver in place using one or two Velcro straps, to ensure that the receiver does not come loose in flight. Never use only a piece of Velcro to attach the receiver; always use Velcro in addition to some sort of strap.
Batteries should always be secured to their mounting surfaces using Velcro and, as with the receiver, have a strap around them. Consider the battery (or batteries) as the life support of your model. I always use Deans Ultra connectors between the receiver, the receiver and ignition batteries, and the voltage regulators.
As I have stressed many times, redundancy is crucial. When building a 50cc or larger aerobatics airplane, use two main receiver batteries. If you are using regulators, employ one per battery. Since we are on the topic of batteries, let's cover more fundamentals.
I've been using high-voltage servos on my giant aerobatic models for quite some time. Such units eliminate the need for a voltage regulator, because each servo can receive the voltage that a two-cell Li-Poly battery has to offer.
However, this can become costly, and some modelers don't want to use a high-voltage servo on the throttle.
Last summer I made a trip to Maine to visit Ray LaBonte, who is a good friend of mine. We went out to the flying field, and I spoke to him about one of his most recent builds.
On his giant-scale aircraft, he, too, is using high-voltage servos. But he uses a standard digital servo on the throttle and has the throttle servo plug into a Spektrum VR5203 voltage regulator.
This unit was primarily designed to be used with gyros on helicopters. However, it provides regulated voltage protection for up to two servo functions, with two input ports and two output ports.
The VR5203 is an extremely lightweight unit that can be used on a throttle servo on your giant-scale model. It's a unique little device.
Another option, if you want to add cleanliness to your aircraft, is to use the PowerBox 12 Sensor switch, which has a built-in voltage regulator within the switch. Two batteries plug into this switch, and the switch plugs into the receiver on two separate ports.
This means that the current flow is shared between both connectors. Using such a switch-and-regulator combination ensures a clean-looking model.
I have covered the importance of a proper build on any given aircraft, to promote longevity. A few steps, such as those I mentioned this month, must be taken when transitioning from a small glow-powered airplane to a 50cc or larger aerobat.
You must always spend time in the shop before taking to the skies. When flying, the only thing you need to think about is performing that perfect positive snap roll or two-turn positive spin.
My goal is to get you onto the flightline and winning!
Until next time, fly hard! JG
Sources
- Extreme Flight RC
(770) 887-1794 www.extremeflightrc.com
- International Miniature Aerobatic Club
- Hangar 9
(800) 338-4639 www.hangar-9.com
- JR
(800) 338-4639 www.jrradios.com
- PowerBox Systems: Aircraft International
(732) 761-0997 www.aircraftinternational.com
- WS Deans
(714) 828-6494 www.wsdeans.com
Transcribed from original scans by AI. Minor OCR errors may remain.

