
The Rolling Circle
Also included in this column:
- Programming Techniques 101
- Dealing with blowback
Because the aerobatic flying season is in full swing, I would like to break this month's column into a few different sections. First, I will take a look at a Rolling Circle that can be found in the 2011 Unlimited International Miniature Aerobatic Club (IMAC) routine.
After I discuss the specifics on performing this show-stopping stunt, I'll examine various programming techniques to assist you, as well as a few things to watch out for.
Without further hesitation, let's get down to business!
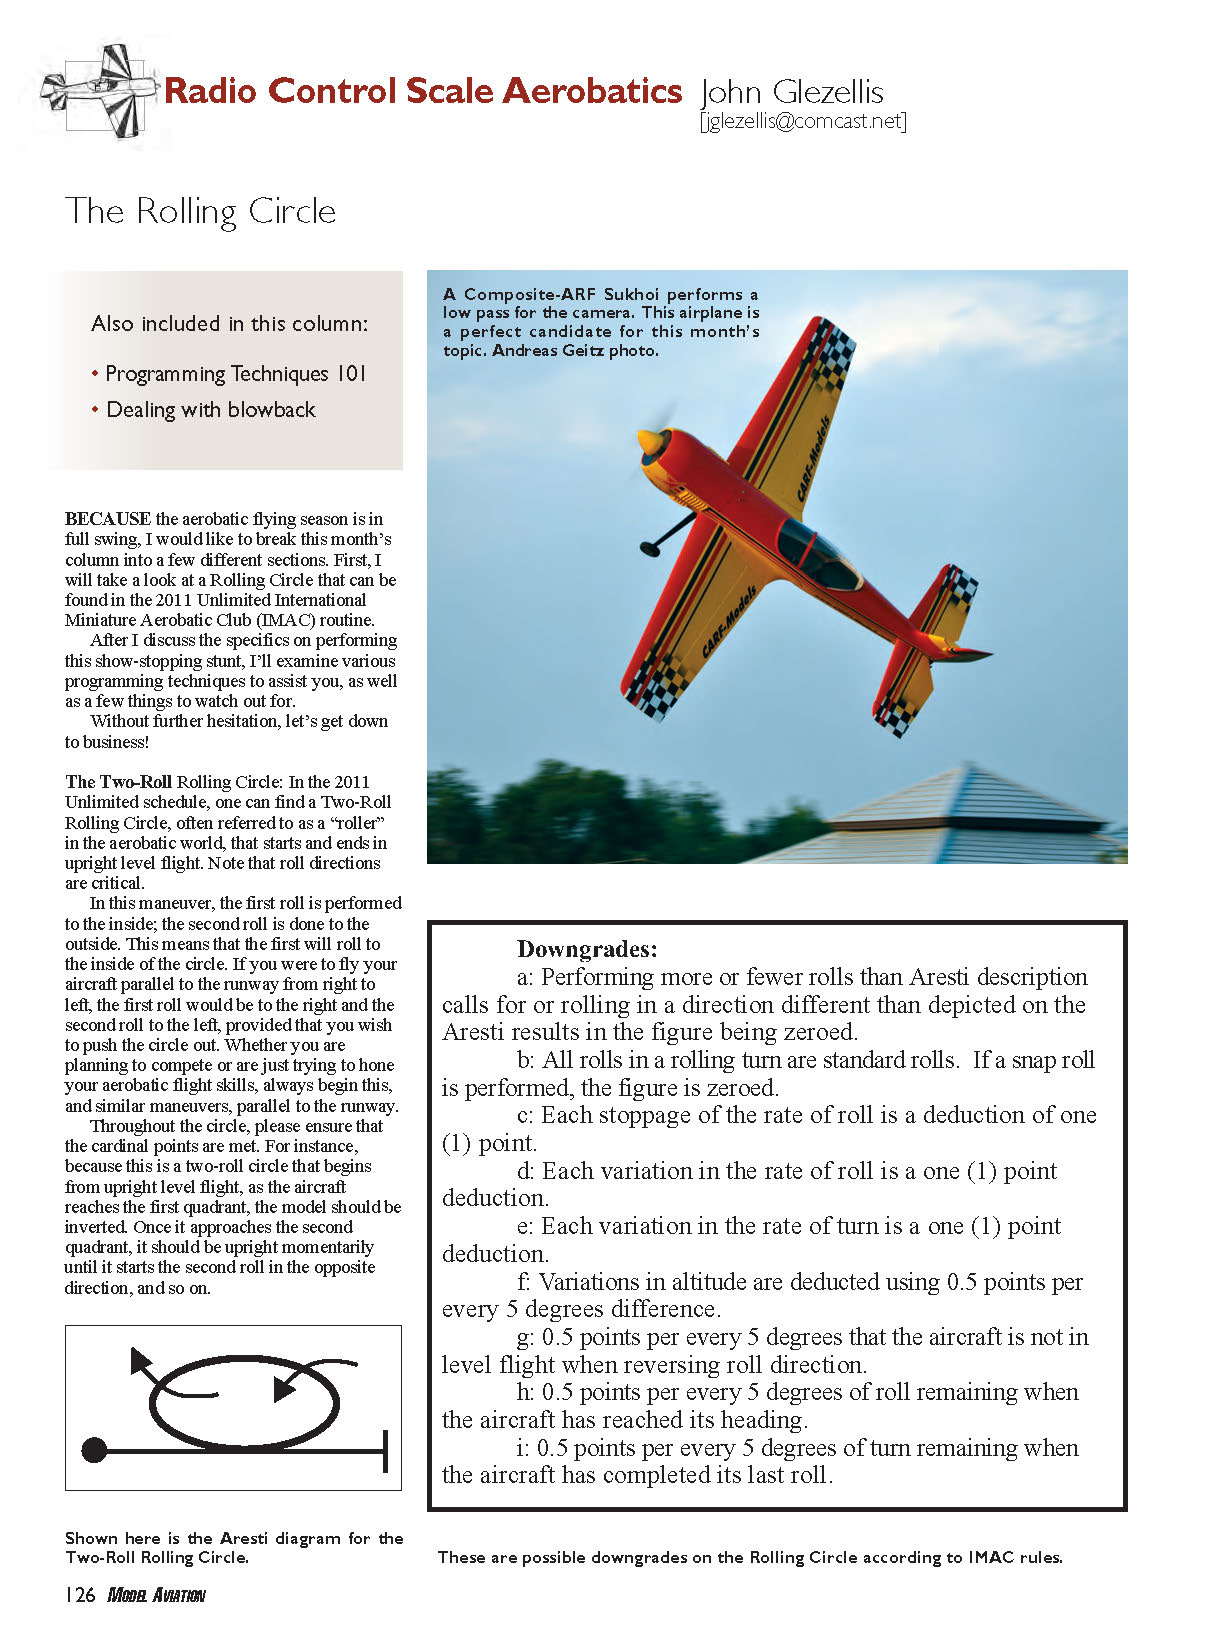
The Two-Roll Rolling Circle: In the 2011 Unlimited schedule, one can find a Two-Roll Rolling Circle, often referred to as a "roller" in the aerobatic world, that starts and ends in upright level flight. Note that roll directions are critical.
In this maneuver, the first roll is performed to the inside; the second roll is done to the outside. This means that the first will roll to the inside of the circle. If you were to fly your aircraft parallel to the runway from right to left, the first roll would be to the right and the second roll to the left, provided that you wish to push the circle out. Whether you are planning to compete or are just trying to hone your aerobatic flight skills, always begin this, and similar maneuvers, parallel to the runway.
Throughout the circle, please ensure that the cardinal points are met. For instance, because this is a two-roll circle that begins from upright level flight, as the aircraft reaches the first quadrant, the model should be inverted. Once it approaches the second quadrant, it should be upright momentarily until it starts the second roll in the opposite direction, and so on.
Downgrades:
- a. Performing more or fewer rolls than the Aresti description calls for, or rolling in a direction different than depicted on the Aresti, results in the figure being zeroed.
- b. All rolls in a rolling turn are standard rolls. If a snap roll is performed, the figure is zeroed.
- c. Each stoppage of the rate of roll is a deduction of one (1) point.
- d. Each variation in the rate of roll is a one (1) point deduction.
- e. Each variation in the rate of turn is a one (1) point deduction.
- f. Variations in altitude are deducted at 0.5 points per every 5 degrees difference.
- g. 0.5 points per every 5 degrees that the aircraft is not in level flight when reversing roll direction.
- h. 0.5 points per every 5 degrees of roll remaining when the aircraft has reached its heading.
- i. 0.5 points per every 5 degrees of turn remaining when the aircraft has completed its last roll.
Finally, the maneuver should be centered on the pilot, which means that it will begin and end directly in front of the pilot.
Now, let me discuss control inputs.
Depending on your aircraft's power-to-weight ratio, you will need to adjust your throttle setting accordingly. However, as a starting point, use 70% throttle.
If you are flying from right to left, start this maneuver with a right roll. As the airplane passes directly in front of the pilot position, gently apply right aileron input to initiate the roll. At first you will have to hold left rudder and up elevator to keep the airplane rolling and pulling into the first quadrant of the circle. Adding rudder and elevator at the proper times helps keep the circle shape and ensures that there is no loss in altitude.
As the airplane passes the first quadrant, hold left rudder to make the airplane come around. When it passes approximately 60% of the first roll, apply right rudder and elevator input as needed to keep both heading and altitude. The first roll should be complete directly in front of you; once this is accomplished, begin a roll to the left.
Start by adding left aileron and right rudder, and elevator as needed, to maintain altitude and heading around the circle. As the model nears the third quadrant, hold left rudder. The amount will vary depending on the aircraft's throttle setting as well as how close it is to meeting the next cardinal point of the circle.
When the maneuver is complete, the airplane should stop its second roll directly in front of the pilot. This is a maneuver that takes a little practice and a certain rhythm must exist between the pilot and his or her aircraft so that the airplane does not look "forced." One constant roll rate should exist throughout.
The throttle amount you need throughout this maneuver will vary depending on your model and the flight conditions. If you are starting this maneuver into a strong headwind, enter with more power until you perform 25% of the circle. At that point, decrease throttle because the wind will "push" the aircraft.
At the 50% point, you may have to utilize the rudder and elevator control functions more to prevent the model from being pushed. After you have 75% of the maneuver completed, you will need to add more power.
Next, let's talk shop!
Programming Techniques 101
Now that you understand the basics of performing the Two-Roll Rolling Circle, let's discuss my radio setup. If you read my columns, you know that I prefer to assign my aileron, elevator, and rudder rates to one switch. For a maneuver such as the Rolling Circle, I prefer to use a flight mode that has maximum rudder, but only roughly 15° of elevator, and approximately 30° of aileron deflection.
Although my exponential settings vary from airplane to airplane, I average roughly 30–40% exponential on the aileron and elevator surfaces, and 50% or so exponential on the rudder surface.
If you are new to aerobatics, you may not have heard of the term "exponential." By definition in the RC world, exponential is an adjustment to the curve of the servo travel that softens the control around center. In simpler terms, set a modest amount of exponential on the aileron and elevator if your airplane is sensitive to any change in control input. If it is, adding exponential will help to smooth out any overcontrol and help maintain a neutral feel around center.
Remember that JR radios utilize positive exponential and Futaba radios use negative exponential to achieve the same purpose. Always consult the instruction manual supplied with your radio before attempting to add exponential of any sort.
Blowback? Let's discuss troubleshooting this maneuver. Sometimes, you may run out of rudder authority during the Two-Roll Rolling Circle, especially if you need to utilize a fair amount of engine power to meet a given cardinal point in the circle.
If you need to use maximum rudder stick and the airplane is still not responding to the rudder input, you may be experiencing what is called "blowback." This means that although you may obtain 45° of rudder deflection on the ground, you may only have 20° in the air under load; you simply do not have enough servo power or poor linkage geometry exists.
Throughout the years, I've had airplanes with multiple rudder-servo setups. When they began their lives, they had more than enough rudder authority; however, 300 or so flights later, I would need to add more rudder input to perform the same maneuver, and sometimes I didn't have enough rudder!
If you find this is the case, check the rudder servos. Sometimes, a rudder servo may strip a gear or you simply may not have enough rudder authority/power. In that case, choose a servo that has more torque or look at different mounting options.
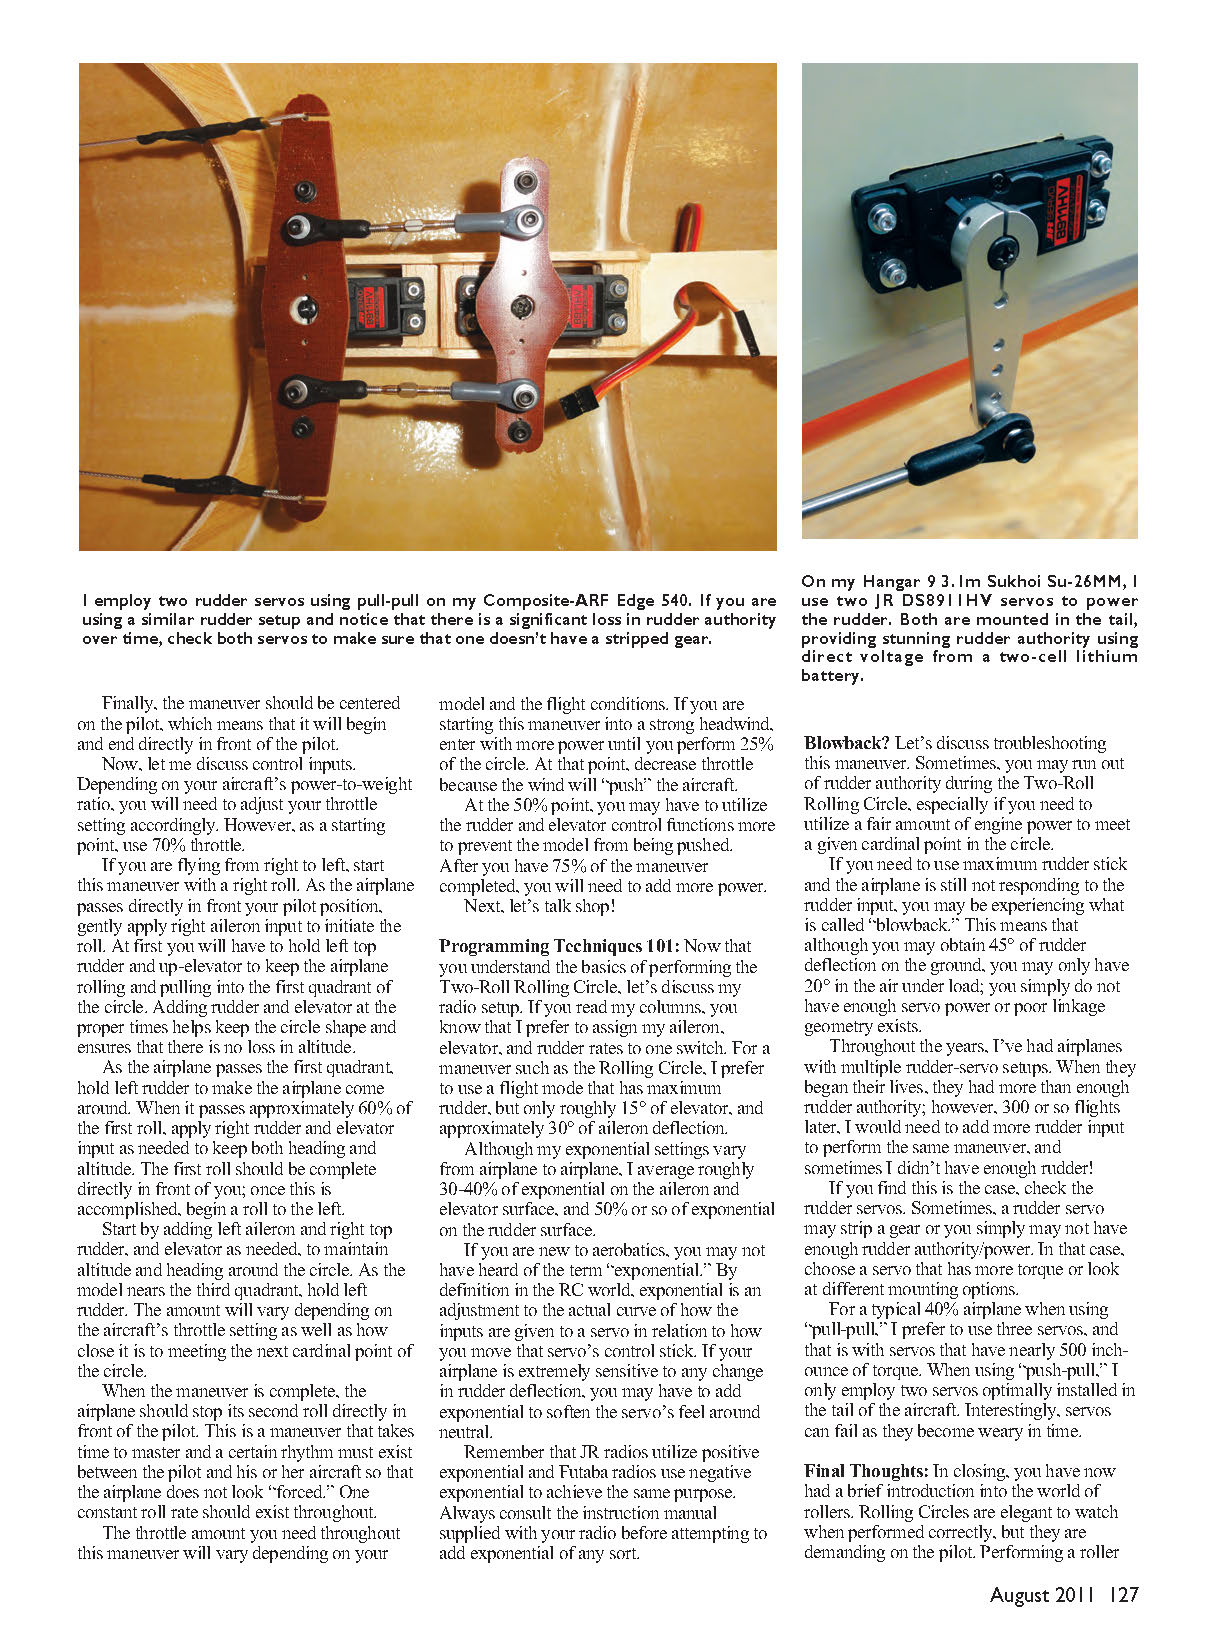
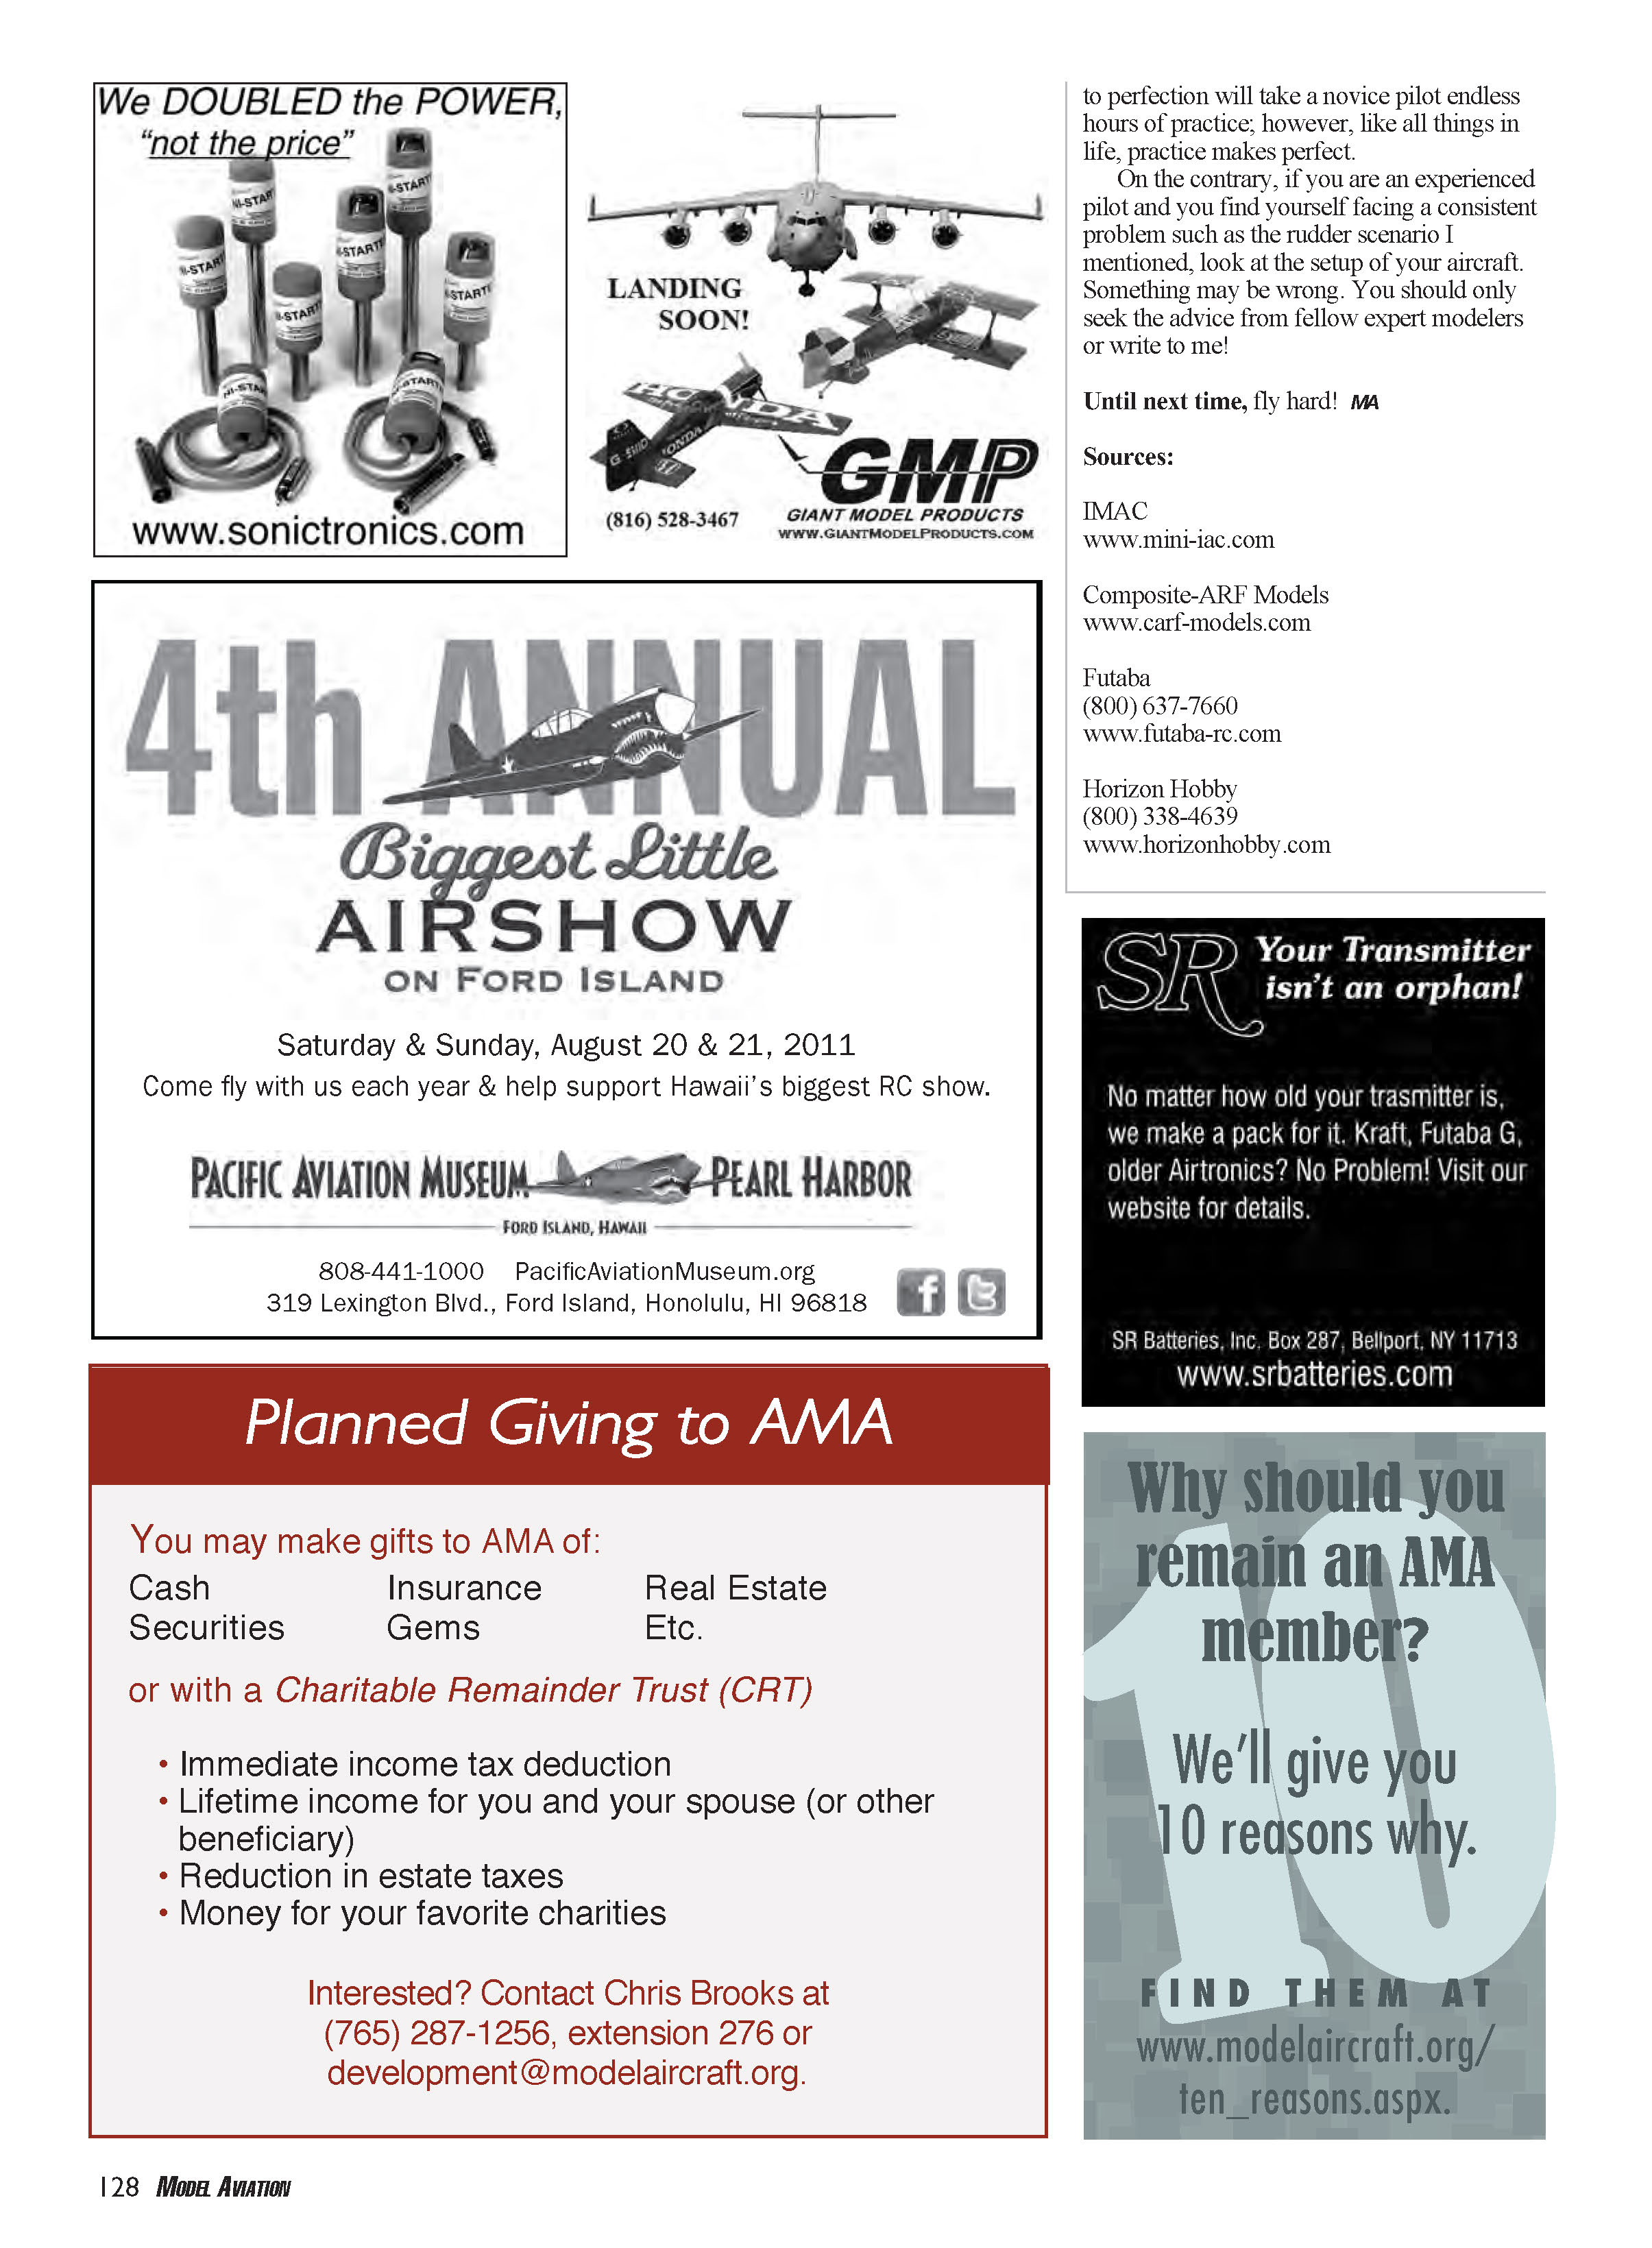
For a typical 40%-plus airplane when using a pull-pull system, I prefer to use three servos, and that is with servos that have nearly 500 inch-ounces of torque. When using push-pull, I employ two servos optimally installed in the tail of the aircraft. Interestingly, servos can fail as they become fatigued over time.
Final Thoughts
In closing, you have now had a brief introduction into the world of rollers. Rolling Circles are elegant to watch when performed correctly, but they are demanding on the pilot. Performing a roller to perfection will take a novice pilot endless hours of practice; however, like all things in life, practice makes perfect.
On the contrary, if you are an experienced pilot and you find yourself facing a consistent problem such as the rudder scenario I mentioned, look at the setup of your aircraft. Something may be wrong. You should seek advice from fellow expert modelers or write to me.
Until next time, fly hard! MA
Sources:
- IMAC: www.mini-iac.com
- Composite-ARF Models: www.carf-models.com
- Futaba: (800) 637-7660, www.futaba-rc.com
- Horizon Hobby: (800) 338-4639, www.horizonhobby.com
Transcribed from original scans by AI. Minor OCR errors may remain.

