
Radio Control Slope Soaring
Dave Garwood [[email protected]]
Foam airframe repair after a bad crash
SOMETIMES a foam sailplane crashes so hard that it looks, for all the world, beyond repair. This is a sad event, and under the "You only hurt the ones you love" doctrine, it's sure to be a model that you really like to fly.
This happened to me on a practice day before the 2009 Midwest Slope Challenge (MWSC) at Wilson Lake, Kansas, in May, when I crashed my 60-inch-span Leading Edge Gliders (LEG) EPP-foam P-80 Shooting Star — a favorite of mine for many months and a slope sailplane rated "must have" by the New York Slope Dogs. I dorked it hard enough to nearly tear the nose off the model in a cartwheel landing.
I brought much of the misery upon myself by leaving off the fuselage filament-tape reinforcement called for in the manufacturer's kit-building instructions. I did this to get a smoother finish on the fuselage, and I outsmarted myself in an important area: fuselage strength. A 60-inch LEG warbird will most often survive a cartwheel landing if it is built according to instructions, with strapping tape on the outside of the fuselage. So here I am, with my ultra-smooth-finish-fuselage P-80 Shooting Star battered and broken, but the damage seems confined to the fuselage. It is torn open, bent at a 45° angle just in front of the wing leading edge. The wing and tail parts are fine. The fuselage's open wounds show servos and fractured internal carbon-fiber stiffening rods, reminding me of a compound fracture from first-aid training. I figured a replacement fuselage would be the minimum required, and certainly no more flying the airframe on that trip.
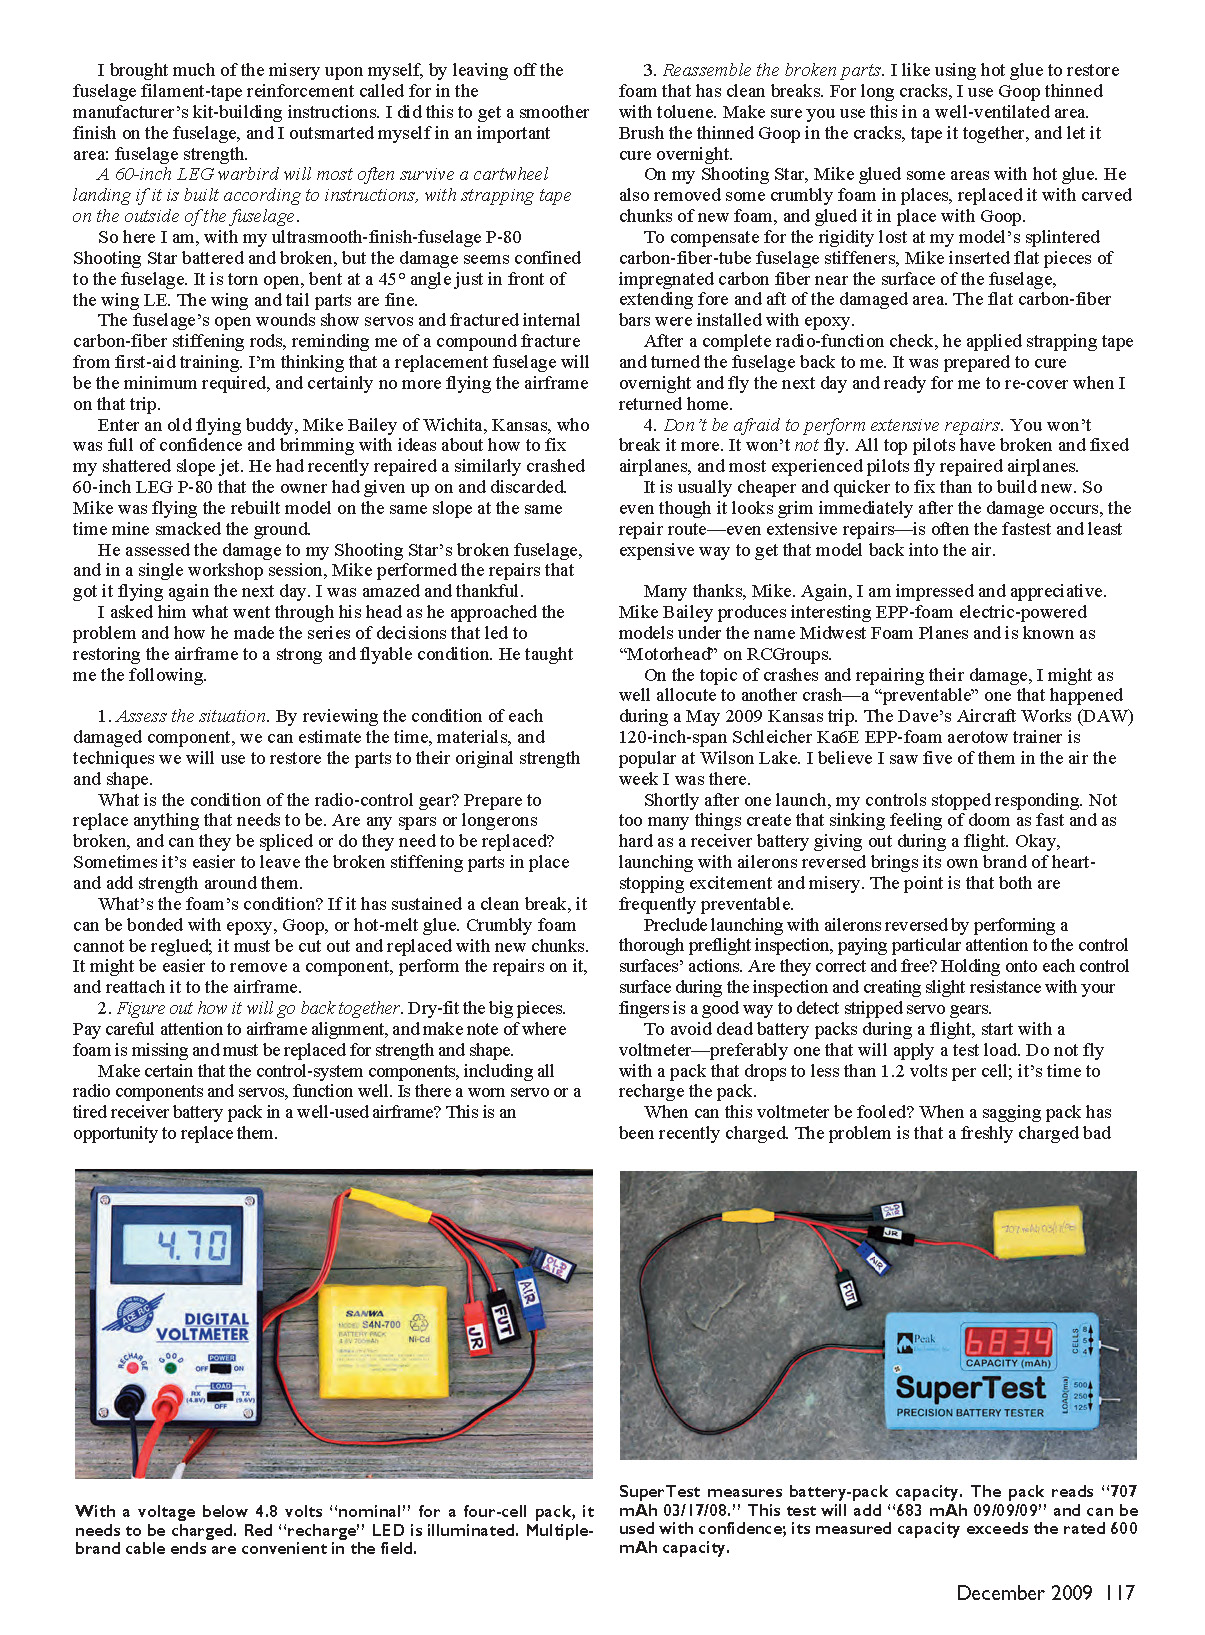
Enter an old flying buddy, Mike Bailey of Wichita, Kansas, who was full of confidence and brimming with ideas about how to fix my shattered slope jet. He had recently repaired a similarly crashed 60-inch LEG P-80 that the owner had given up on and discarded. Mike was flying the rebuilt model on the same slope at the same time mine smacked the ground. He assessed the damage to my Shooting Star's broken fuselage, and in a single workshop session Mike performed the repairs that got it flying again the next day. I was amazed and thankful. I asked him what went through his head as he approached the problem and how he made the series of decisions that led to restoring the airframe to a strong and flyable condition. He taught me the following.
Also included in this column:
- Onboard battery care
- Updates at CR Aircraft, Magnum Models, and SkyKing RC Products
- Assess the situation.
- By reviewing the condition of each damaged component, we can estimate the time, materials, and techniques required to restore the parts to their original strength and shape. What is the condition of the radio-control gear? Prepare to replace anything that needs to be replaced. Are any spars or longerons broken, and can they be spliced or do they need to be replaced? Sometimes it's easier to leave the broken stiffening parts in place and add strength around them.
- What's the foam's condition? If it has sustained a clean break, it can be bonded with epoxy, Goop, or hot-melt glue. Crumbly foam cannot be reglued; it must be cut out and replaced with new chunks. It might be easier to remove a component, perform the repairs on it, and reattach it to the airframe.
- Figure out how it will go back together.
- Dry-fit the big pieces. Pay careful attention to airframe alignment, and make note of where foam is missing and must be replaced for strength and shape.
- Make certain that the control-system components, including all radio components and servos, function well. Is there a worn servo or a tired receiver battery pack in a well-used airframe? This is an opportunity to replace them.
- Reassemble the broken parts.
- I like using hot glue to restore foam that has clean breaks. For long cracks, I use Goop thinned with toluene. Make sure you use this in a well-ventilated area. Brush the thinned Goop into the cracks, tape it together, and let it cure overnight.
- On my Shooting Star, Mike glued some areas with hot glue. He also removed some crumbly foam in places, replaced it with carved chunks of new foam, and glued them in place with Goop.
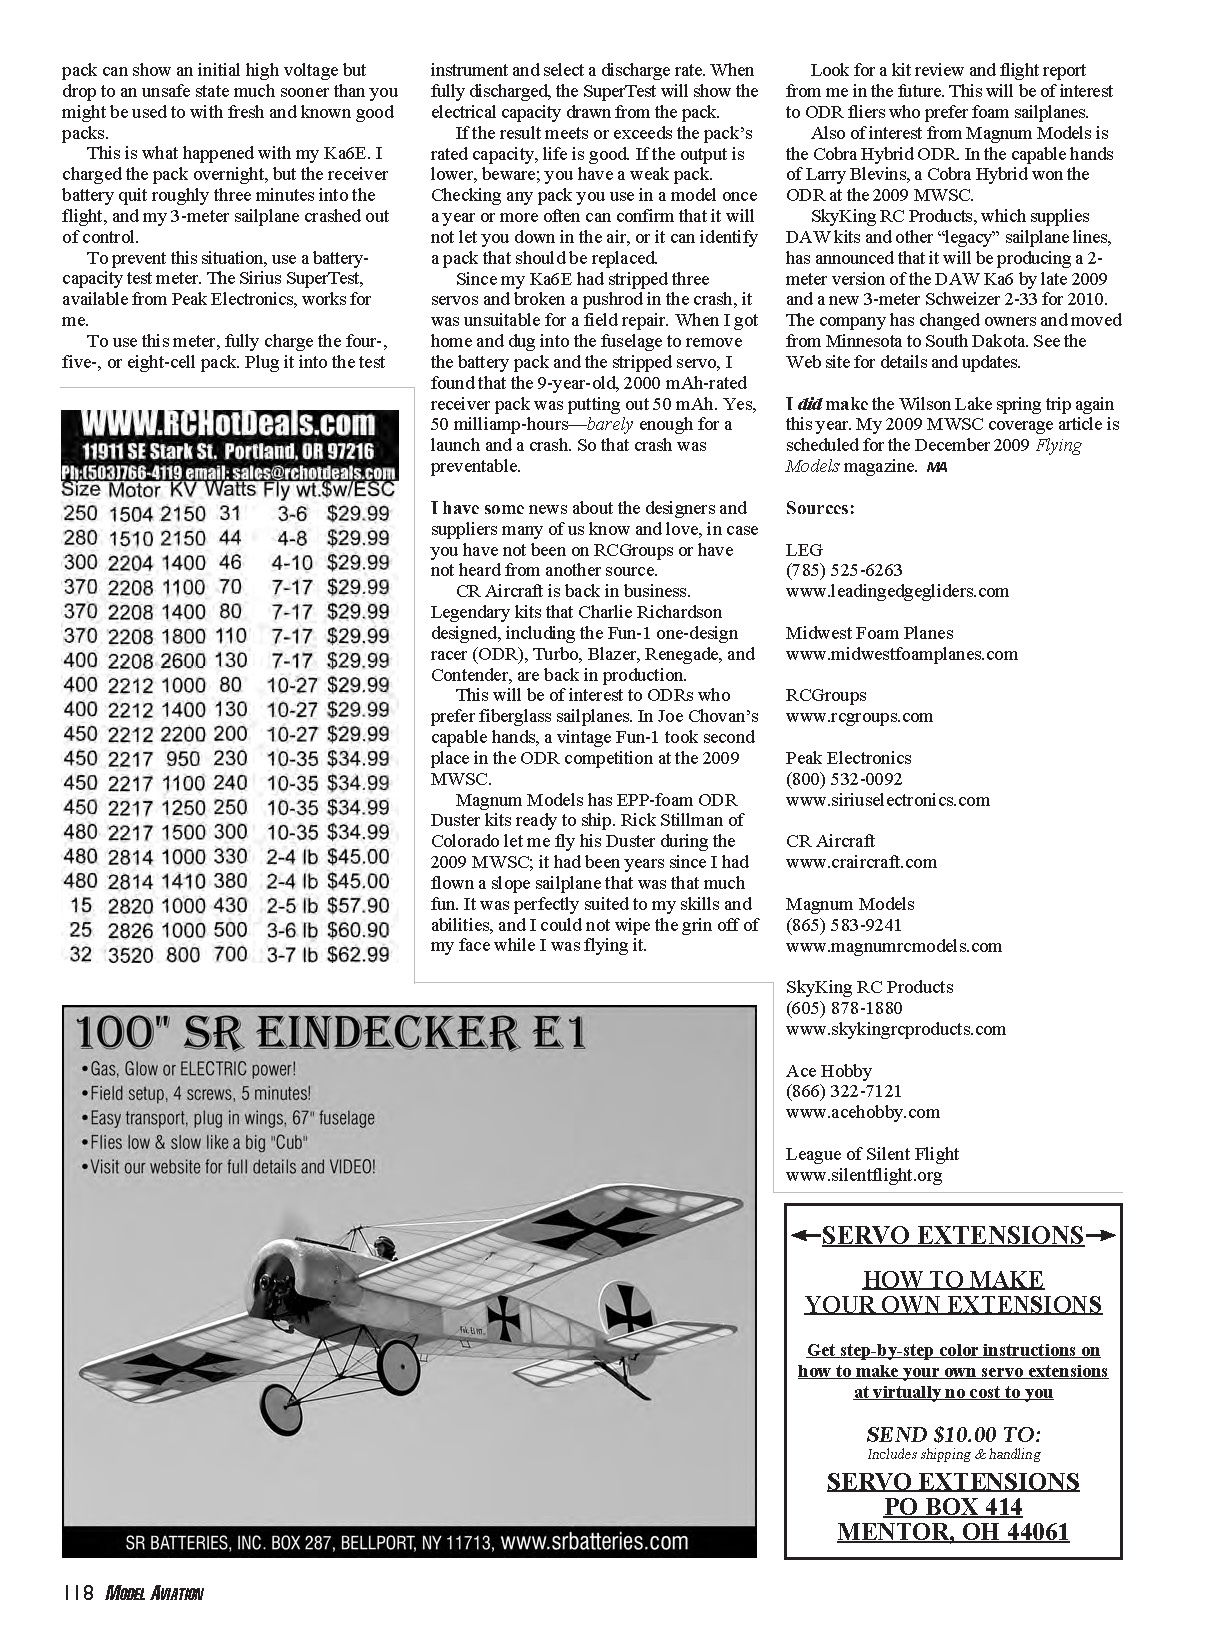
- To compensate for the rigidity lost at my model's splintered carbon-fiber-tube fuselage stiffeners, Mike inserted flat pieces of impregnated carbon fiber near the surface of the fuselage, extending fore and aft of the damaged area. The flat carbon-fiber bars were installed with epoxy.
- After a complete radio-function check, he applied strapping tape and turned the fuselage back to me. It was prepared to cure overnight and fly the next day, and ready for me to re-cover when I returned home.
- Don't be afraid to perform extensive repairs.
- You won't make it worse. It will still fly. All top pilots have broken and fixed airplanes, and most experienced pilots fly repaired airplanes.
- It is usually cheaper and quicker to fix than to build new. So even though it looks grim immediately after the damage occurs, the repair route — even extensive repairs — is often the fastest and least expensive way to get that model back into the air.
Many thanks, Mike. Again, I am impressed and appreciative. Mike Bailey produces interesting EPP-foam electric-powered models under the name Midwest Foam Planes and is known as "Motorhead" on RCGroups.
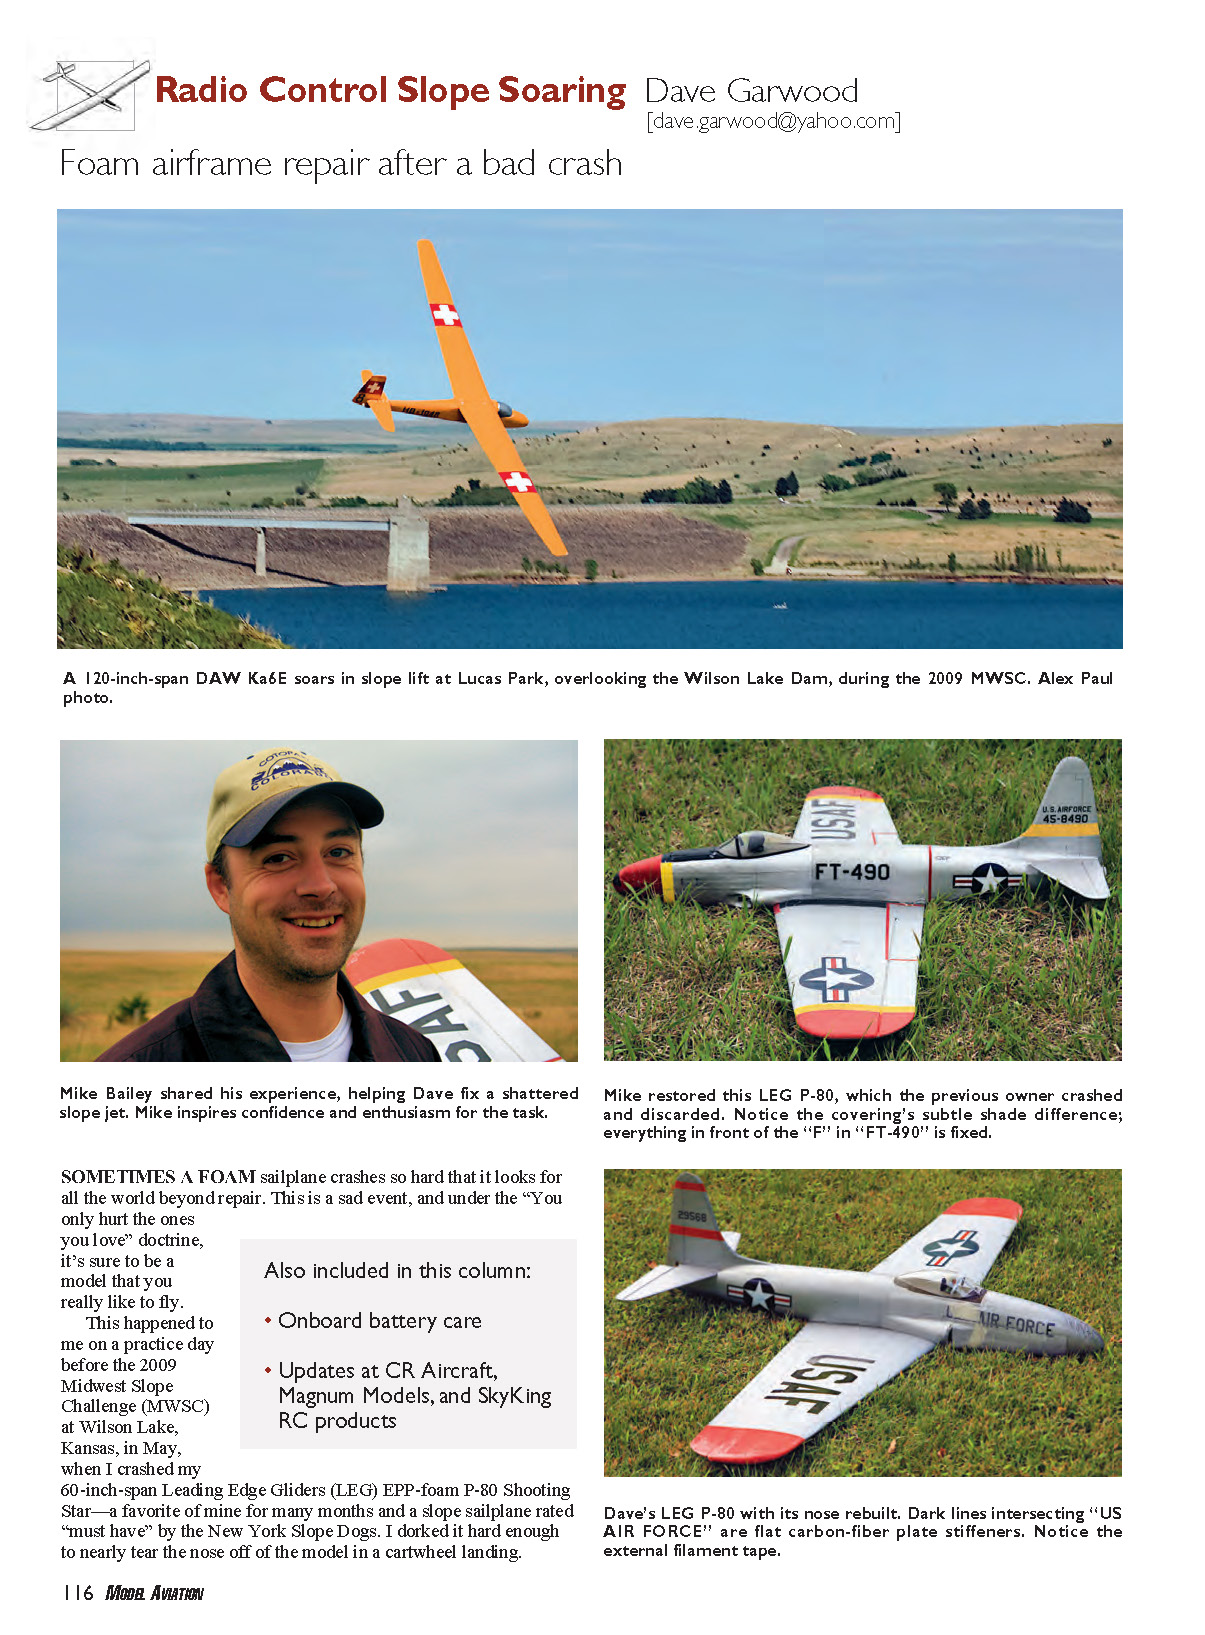
On the topic of crashes and repairing their damage, I might as well allude to another crash — a "preventable" one that happened during a May 2009 Kansas trip. The Dave's Aircraft Works (DAW) 120-inch-span Schleicher Ka6E EPP-foam aerotow trainer is popular at Wilson Lake. I believe I saw five of them in the air the week I was there.
Shortly after one launch, my controls stopped responding. Not too many things create that sinking feeling of doom as fast and as hard as a receiver battery giving out during a flight. Okay, launching with ailerons reversed brings its own brand of heart-stopping excitement and misery. The point is that both are frequently preventable.
Preclude launching with ailerons reversed by performing a thorough preflight inspection, paying particular attention to the control surfaces' actions. Are they correct and free? Holding onto each control surface during the inspection and creating slight resistance with your fingers is a good way to detect stripped servo gears.
To avoid dead battery packs during a flight, start with a voltmeter—preferably one that will apply a test load. Do not fly with a pack that drops to less than 1.2 volts per cell; it's time to recharge the pack.
When can this voltmeter be fooled? When a sagging pack has been recently charged. The problem is that a freshly charged bad pack can show an initial high voltage but drop to an unsafe state much sooner than you might be used to with fresh and known-good packs.
This is what happened with my Ka6E. I charged the pack overnight, but the receiver battery quit roughly three minutes into the flight, and my 3-meter sailplane crashed out of control.
To prevent this situation, use a battery-capacity test meter. The Sirius SuperTest, available from Peak Electronics, works for me.
To use this meter, fully charge the four-, five-, or eight-cell pack. Plug it into the test instrument and select a discharge rate. When fully discharged, the SuperTest will show the electrical capacity drawn from the pack.
If the result meets or exceeds the pack’s rated capacity, life is good. If the output is lower, beware; you have a weak pack. Checking any pack you use in a model once a year or more often can confirm that it will not let you down in the air, or it can identify a pack that should be replaced.
Since my Ka6E had stripped three servos and broken a pushrod in the crash, it was unsuitable for a field repair. When I got home and dug into the fuselage to remove the battery pack and the stripped servo, I found that the 9-year-old, 2000 mAh-rated receiver pack was putting out 50 mAh. Yes, 50 milliamp-hours — barely enough for a launch and a crash. So that crash was preventable.
I have some news about the designers and suppliers many of us know and love, in case you have not been on RCGroups or have not heard from another source.
CR Aircraft is back in business. Legendary kits that Charlie Richardson designed, including the Fun-1 one-design racer (ODR), Turbo, Blazer, Renegade, and Contender, are back in production.
This will be of interest to ODRs who prefer fiberglass sailplanes. In Joe Chovan’s capable hands, a vintage Fun-1 took second place in the ODR competition at the 2009 MWSC.
Magnum Models has EPP-foam ODR Duster kits ready to ship. Rick Stillman of Colorado let me fly his Duster during the 2009 MWSC; it had been years since I had flown a slope sailplane that was that much fun. It was perfectly suited to my skills and abilities, and I could not wipe the grin off my face while I was flying it.
Look for a kit review and flight report from me in the future. This will be of interest to ODR fliers who prefer foam sailplanes.
Also of interest from Magnum Models is the Cobra Hybrid ODR. In the capable hands of Larry Blevins, a Cobra Hybrid won the ODR at the 2009 MWSC.
SkyKing RC Products, which supplies DAW kits and other “legacy” sailplane lines, has announced that it will be producing a 2-meter version of the DAW Ka6 by late 2009 and a new 3-meter Schweizer 2-33 for 2010. The company has changed owners and moved from Minnesota to South Dakota. See the website for details and updates.
I did make the Wilson Lake spring trip again this year. My 2009 MWSC coverage article is scheduled for the December 2009 Flying Models magazine.
MA
Sources:
- LEG — (785) 525-6263 — www.leadingedgegliders.com
- Midwest Foam Planes — www.midwestfoamplanes.com
- RCGroups — www.rcgroups.com
- Peak Electronics — (800) 532-0092 — www.siriuselectronics.com
- CR Aircraft — www.craircraft.com
- Magnum Models — (865) 583-9241 — www.magnummodels.com
- SkyKing RC Products — (605) 878-1880 — www.skykingrcproducts.com
- Ace Hobby — (866) 322-7121 — www.acehobby.com
- League of Silent Flight — www.silentflight.org
Transcribed from original scans by AI. Minor OCR errors may remain.

