
RADIO CONTROL SOARING
Darwin Barrie 4316 W. Rickenbacker Way, Chandler, AZ 85226 E-mail: [email protected]
17th Annual Southwest Classic (SWC)
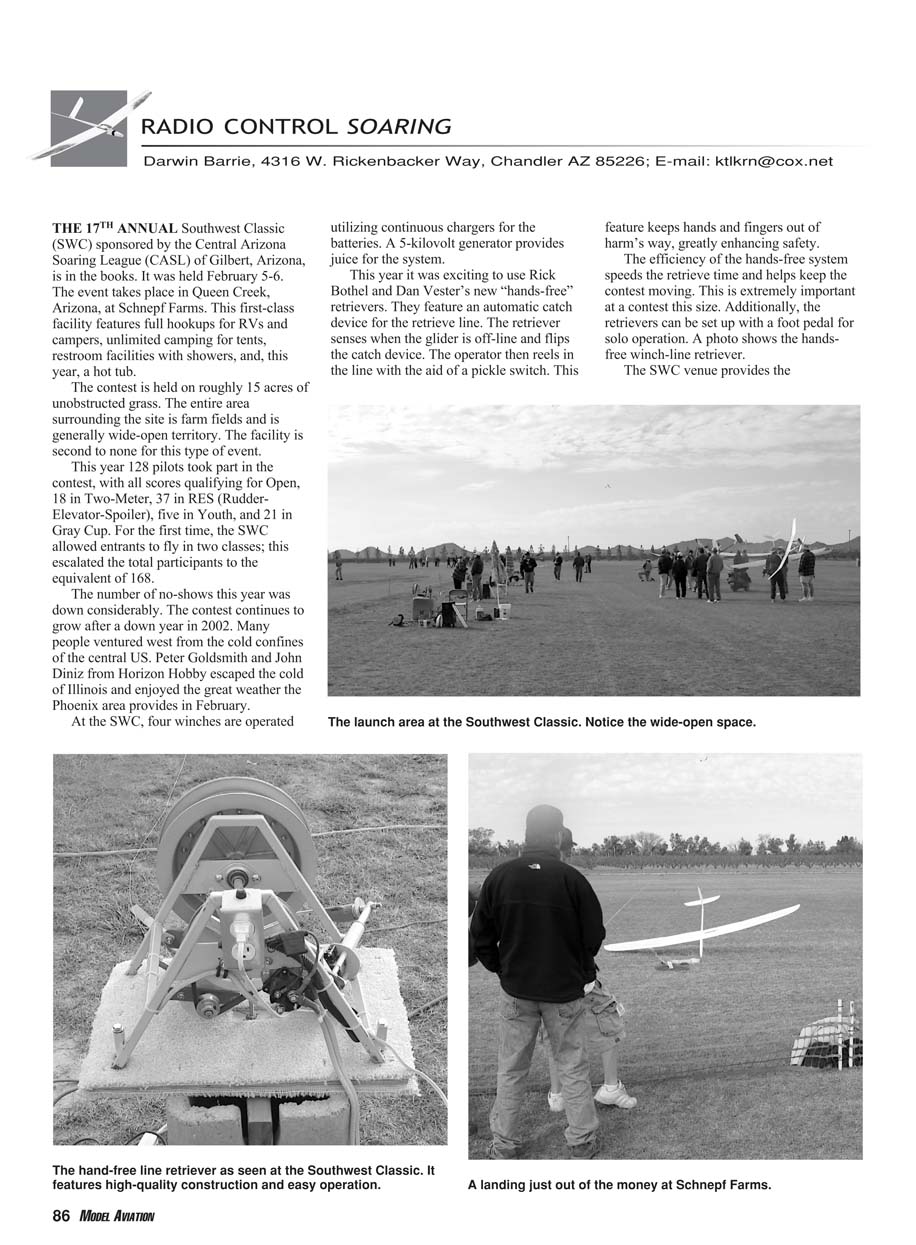
The 17th Annual Southwest Classic (SWC), sponsored by the Central Arizona Soaring League (CASL) of Gilbert, Arizona, was held February 5–6 at Schnepf Farms in Queen Creek, Arizona. The facility is first-class, with full hookups for RVs and campers, unlimited tent camping, restroom facilities with showers, and — this year — a hot tub.
The contest field covers roughly 15 acres of unobstructed grass and is surrounded by farm fields, providing wide-open territory ideal for soaring events.
Contest participation and classes
This year 128 pilots took part in the contest, with all scores qualifying for Open. Entrants also flew in the following classes:
- Two-Meter: 18 pilots
- RES (Rudder-Elevator-Spoiler): 37 pilots
- Youth: 5 pilots
- Gray Cup: 21 pilots
For the first time the SWC allowed entrants to fly in two classes; this increased the effective total participant count to the equivalent of 168. No-shows were down considerably after a dip in 2002, and many pilots traveled west from colder central U.S. states. Peter Goldsmith and John Diniz from Horizon Hobby attended after escaping the Illinois winter.
Winches, retrievers, and power
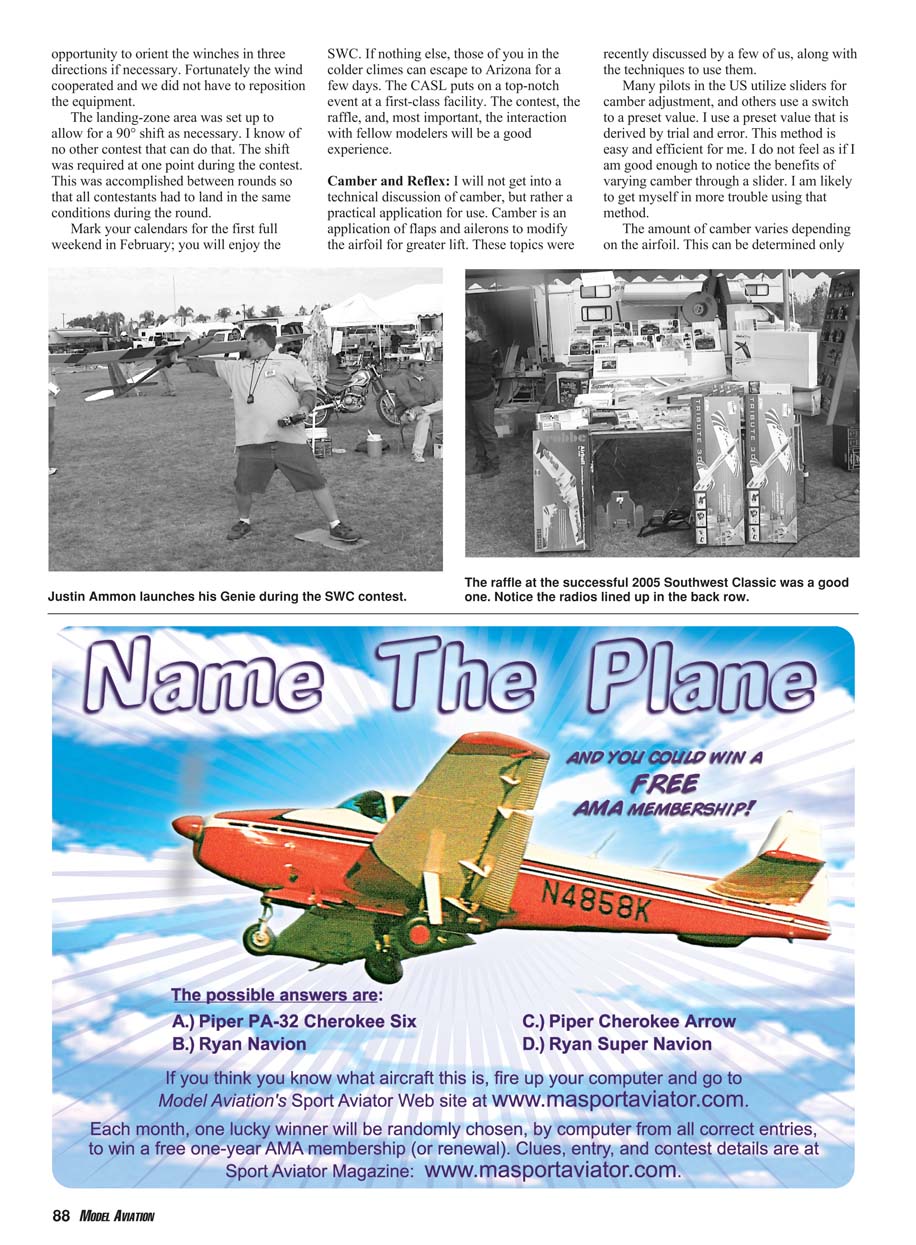
At the SWC four winches are operated using continuous chargers for their batteries, powered by a 5-kilowatt generator. This year featured Rick Bothel and Dan Vester’s new “hands-free” retrievers. They include an automatic catch device that senses when the glider is off-line and flips the catch. The operator then reels in the line using a pickle switch, keeping hands and fingers out of harm’s way and improving safety. The hands-free system speeds retrieval, helps keep the contest moving, and can be set up with a foot pedal for solo operation.
Landing zone and wind handling
The SWC venue allows winches to be oriented in three directions if necessary. Fortunately, the wind mostly cooperated and repositioning wasn’t required. The landing zone was set up to allow for a 90° shift when needed; I know of no other contest that can do that. One shift was required during the contest and it was accomplished between rounds so all contestants landed in the same conditions during each round.
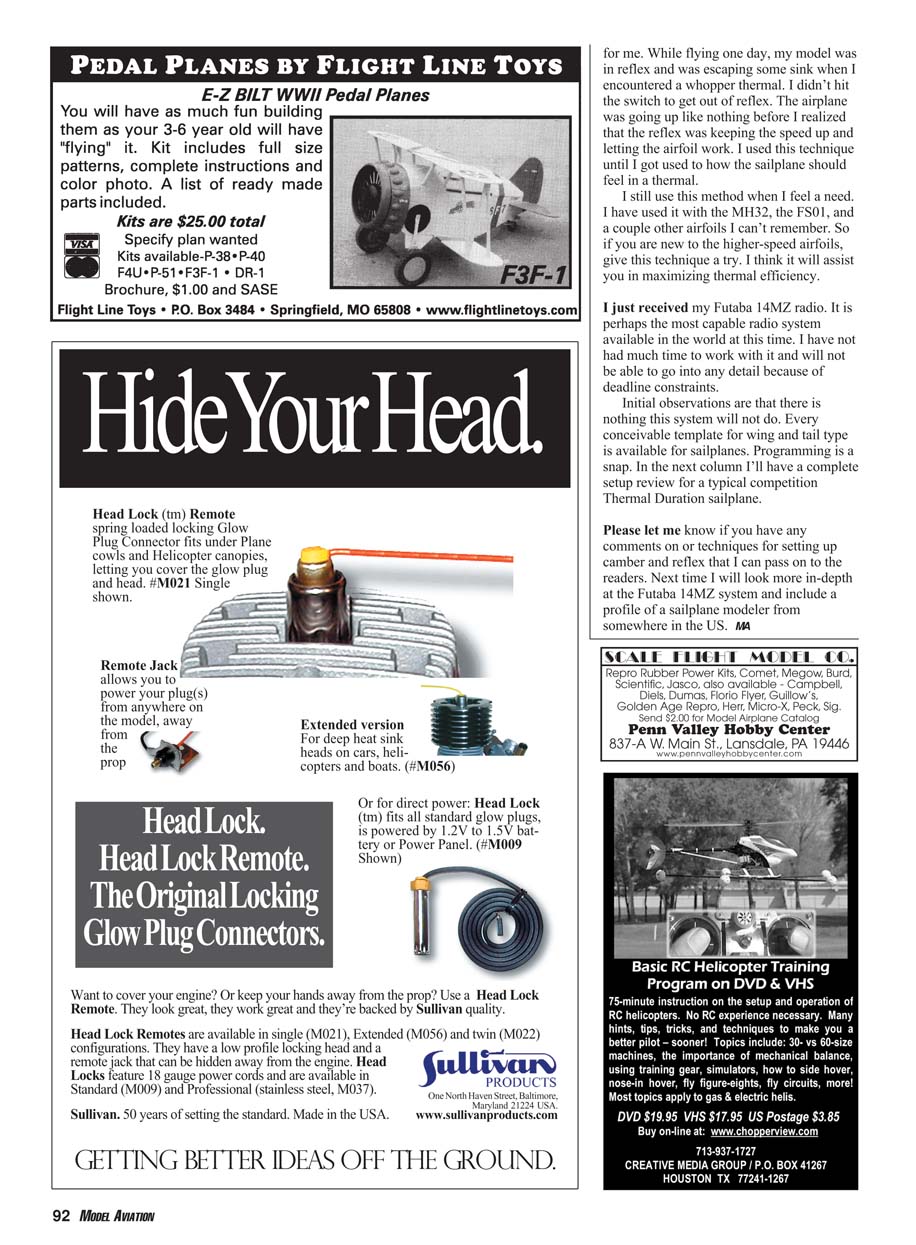
Mark your calendars for the first full weekend in February — the CASL puts on a top-notch event at a first-class facility. The contest, the raffle, and, most important, the interaction with fellow modelers make it a worthwhile experience. If you’re in a colder climate, the SWC is a good chance to escape to Arizona for a few days.
Camber and reflex — practical setup tips
I’ll avoid a deep technical discussion of camber and focus on practical application. Camber is created by using flaps and ailerons to modify the airfoil for greater lift. Pilots vary in their approach: some use sliders for continuous camber adjustment, others use a switch to select a preset value. I use a preset value derived by trial and error — it’s simple and effective for me. I don’t feel I’m skilled enough to benefit from a slider, and I’m likely to get myself into trouble with it.
The amount of camber depends on the airfoil and can only be determined by flight testing. My process:
- Start with 1/16 inch of down deflection on flaps and ailerons.
- Fly the model and flip the camber switch to see the change; you’ll usually notice a slight rise.
- Fly in camber mode and observe glide ratio, penetration, handling, and how the model indicates and reacts to thermals.
- If satisfactory, land, increase camber by another 1/16 inch, and repeat until you find an optimal setting.
- Lock in the setting that works for you and copy it to an open model on the transmitter for further experimentation.
Don’t forget to adjust elevator trim to prevent the nose from ballooning when camber is applied. Much of this is about finding what works and feels good for you — you’re the one flying the airplane.
Reflex is essentially the opposite of camber: raise the flaps and ailerons slightly (usually 1/16 inch) to decrease airfoil efficiency and increase speed. Reflex is primarily used to escape sink and to “ball” through areas of strong surrounding sink. Experimentation is important to find the reflex settings that work for you.
A flying tip that improved my confidence: when I switched from the 7037 to the higher-speed 7035 airfoil, I initially struggled because the model had to be flown faster. In thermals I tended to lift the nose, which cost airspeed and thermal performance. One day I failed to switch out of reflex while escaping sink and hit a powerful thermal; the model climbed aggressively because the reflex had kept the speed up and let the airfoil work properly. Practicing with reflex and learning the proper speed envelope for your airfoil will help you maximize thermal efficiency. I’ve used this technique on the MH32, the FS01, and other airfoils.
Futaba 14MZ — initial impressions
I recently received a Futaba 14MZ radio. It appears to be one of the most capable radio systems available. I haven’t had enough time to work with it in depth and can’t provide a full review yet due to deadlines. Initial observations: it seems to do everything, with templates for every conceivable wing and tail configuration for sailplanes, and programming appears straightforward. In the next column I’ll provide a complete setup review for a typical competition Thermal Duration sailplane.
Please send any comments or techniques you use for setting up camber and reflex that I can pass on to readers. Next time I’ll take a deeper look at the Futaba 14MZ and include a profile of a sailplane modeler from the U.S.
MA
Transcribed from original scans by AI. Minor OCR errors may remain.

