
Radio Control Soaring
Darwin Barrie [email protected]
Gary Fogel remembers his dad Larry
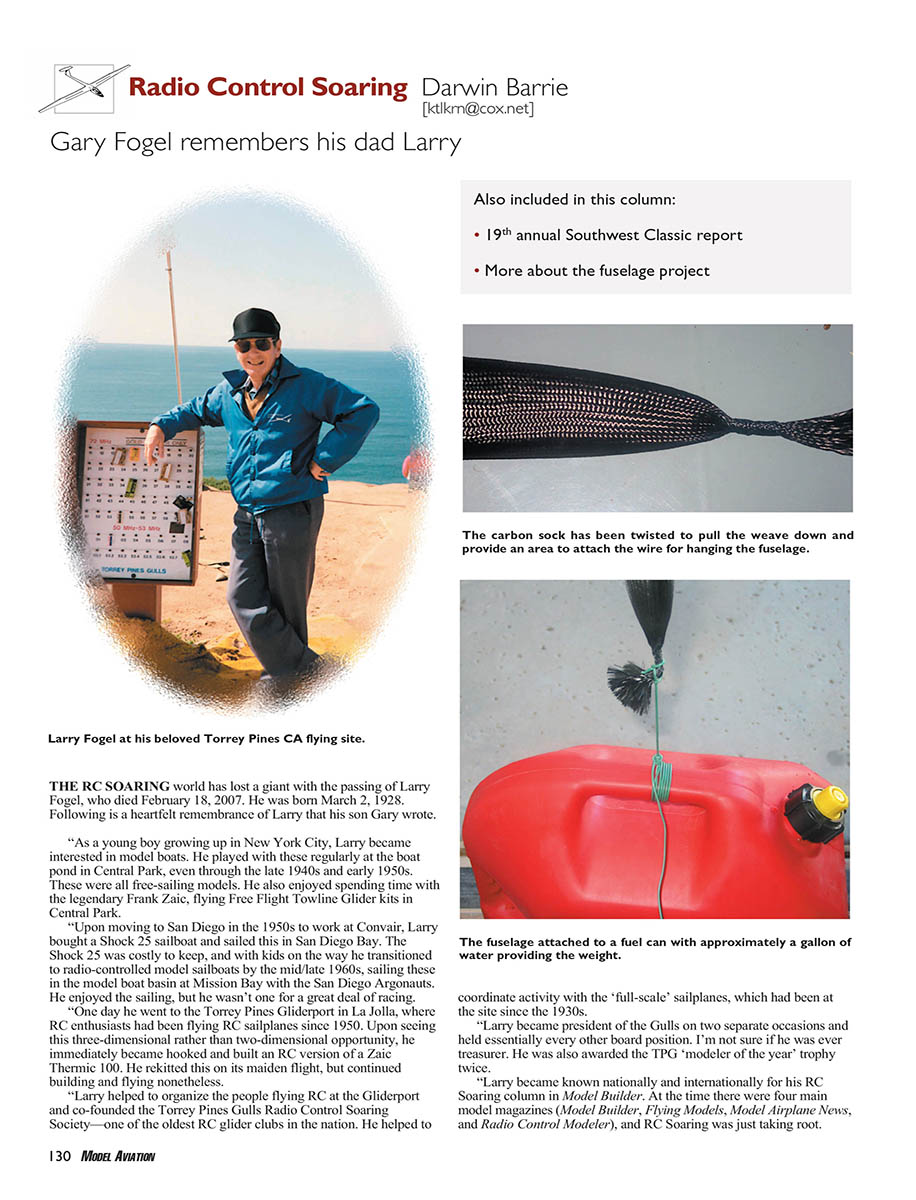
The RC soaring world has lost a giant with the passing of Larry Fogel, who died February 18, 2007. He was born March 2, 1928. Following is a heartfelt remembrance of Larry that his son Gary wrote.
As a young boy growing up in New York City, Larry became interested in model boats. He played with these regularly at the boat pond in Central Park, even through the late 1940s and early 1950s. These were all free-sailing models. He also enjoyed spending time with the legendary Frank Zaic, flying Free Flight Towline Glider kits in Central Park.
Upon moving to San Diego in the 1950s to work at Convair, Larry bought a Shock 25 sailboat and sailed this in San Diego Bay. The Shock 25 was costly to keep, and with kids on the way he transitioned to radio-controlled model sailboats by the mid/late 1960s, sailing these in the model boat basin at Mission Bay with the San Diego Argonauts. He enjoyed the sailing, but he wasn’t one for a great deal of racing.
One day he went to the Torrey Pines Gliderport in La Jolla, where RC enthusiasts had been flying RC sailplanes since 1950. Upon seeing this three-dimensional rather than two-dimensional opportunity, he immediately became hooked and built an RC version of a Zaic Thermic 100. He re-kitted this on its maiden flight, but continued building and flying nonetheless.
Larry helped to organize the people flying RC at the Gliderport and co-founded the Torrey Pines Gulls Radio Control Soaring Society—one of the oldest RC glider clubs in the nation. He helped to coordinate activity with the “full-scale” sailplanes, which had been at the site since the 1930s.
Larry became president of the Gulls on two separate occasions and held essentially every other board position. He was also awarded the TPG “Modeler of the Year” trophy twice.
Larry became known nationally and internationally for his RC Soaring column in Model Builder. At the time there were four main model magazines (Model Builder, Flying Models, Model Airplane News, and Radio Control Modeler), and RC soaring was just taking root. His monthly columns helped to encourage others into the hobby. He took part in many of the early LSF (League of Silent Flight) and SOAR (Silent Order of Aeromodeling by Radio) nationals contests in the 1970s, becoming friends with many modelers nationally.
With the advent of hang-glider activity at Torrey, a less-than-reasonable safety policy, and confrontation between these user groups, Larry helped to form the Torrey Pines Soaring Council and served on that council from its inception in 1978 to 2006 as the AMA representative.
In the 1980s, as a result of flying one of the first larger 1/4-scale model sailplanes at Torrey Pines in 1975, Larry assisted in the cofounding of another user group at Torrey Pines—this one, the Torrey Pines Scale Soaring Society, specifically dedicated to flying larger 1/4-scale models of their full-scale counterparts.
Larry’s Kestrel model in May of 1975 was a significant advancement in the Southern California area, using a seven-channel Kraft radio and a 15-foot wingspan, fiberglass sailplane originally designed in Australia by Ralph Learmont. The aircraft ushered in a new flying tradition of 1/4-scale and 1/3-scale sailplanes at Torrey Pines.
During the 1970s, Larry trained both of his sons (and many others) how to fly RC sailplanes. Larry’s son David was National Soaring Society junior champion for 1977 and continued to fly full-scale sailplanes and powered aircraft, attaining a commercial instrument rating.
His younger son Gary has continued flying RC sailplanes and electric models, setting several world and national records. Gary also writes regularly about the history of soaring.
In the early 1990s, Gary led the effort to establish the Torrey Pines Gliderport as a National Soaring Landmark of the National Soaring Museum. Following this, Larry led the effort to have the same site dedicated as a City Historical Site, and both Larry and Gary worked to have the Gliderport listed on the State and National Registers of Historic Places, preserving the site for future generations of soaring enthusiasts.
This was further capped in the early 2000s when Larry and Gary, together with Rich Hanson, established a program of selecting and recognizing landmarks significant to the development and furtherance of model aviation. The Torrey Pines Gliderport was recognized as the first such Model Aviation Historical Landmark.
In 1996, Larry Fogel was recognized by the AMA as a Life Fellow. In his later years, Larry enjoyed both RC soaring and RC sailing, spending time with friends, and enjoying watching others learn this art.
Southwest Classic (SWC) — 19th Annual
The 19th annual Southwest Classic (SWC) was held February 10–11, 2007, in Queen Creek, Arizona. Hosted by the Central Arizona Soaring League, the SWC is the second largest sanctioned contest in the U.S. This year there were 135 pilots and 240 entries. Each pilot was allowed to fly in multiple classes. The Colorado fliers were happy to get away from the snow and the cold for a few days.
The SWC is held at Schnepf Farms: a recreational facility that is involved in education by hosting field trips for area schools. Farming is demonstrated, from growing crops to raising livestock. The farm also holds a Halloween-themed festival during October.
The field used for the SWC is all grass and is the parking lot for the Halloween event. The site includes restrooms and showers, full motor-home hookups, and ample area for tent camping.
Contest format
The traditional format for the SWC is three rounds of Thermal Duration (TD) and four rounds of Add ’Em Up.
- Saturday: one round of TD, then three rounds of Add ’Em Up.
- Sunday: one round of TD, the remaining Add ’Em Up rounds, and a final round of TD.
Add ’Em Up is four rounds, 10-minute max, with a target total of 33 minutes. This format provides the opportunity to get your 33 minutes even if you have a bad round. The goal is to get as close to 10 minutes as possible on the three Saturday flights, leaving a manageable flight on Sunday.
The conditions were excellent Saturday. Times were fairly easy to get, with our typical sink cycle mixed in. Sunday was a different story: the weather was cool and breezy. We knew a front was on its way and it arrived on schedule, causing the final round to be canceled.
Unlike previous years we had considerable problems with the winch line. This caused delays Saturday that were frustrating to the winch staff. The pilots were understanding. We learned that several clubs had experienced the same problems with the same line from the same supplier, so we were comforted to know it wasn’t something we were doing. The winches were extremely strong but not significantly different from years past.
The line was changed out for Sunday, but the same problems persisted. With the winds the line breaks were more frequent. The delays ultimately prevented getting all the rounds in before the weather hit.
Despite the problems, everyone seemed to have a great time with promises to be back next year. Mark your calendar for the next SWC, held the second full weekend in February. Visit www.rcsoaring.com for all the results.
Fuselage project (continued)
I’ll continue with the fuselage project from last month. The fuselage is ready to lay up.
Materials and preparation
- Electrical wire or heavy cord (secure to the boom about 1 foot from the end; leave a couple extra feet)
- Talcum or baby powder
- Sock material (do not cut to length yet)
- Tape
- Cyanoacrylate (CA)
- 18-gauge wire or similar for nose attachment
- Hanging fixture (nail or screw, doorway or other open space)
- Approximately 10 lb weight (gallon of water, scale weights, or fluorescent light ballast)
- West System or equivalent epoxy (mix cups)
- Foam-rubber block (roughly 2-inch square)
- 1–2 inch–wide brush
- Latex gloves
- Paper towels
- Microballoons or micro-based filler (Rage or similar)
- Sandpaper (coarse through 400-grit)
- Saran Wrap
- X-Acto knife and Dremel hand tool
Make sure the foam mold and your reinforcement fiberglass are sanded smooth. Dust talcum or baby powder over the foam.
Do not cut the sock material to any length yet. Open the end of the sock and push it onto the foam—work slowly. Once you have the sock over the foam, push it roughly 2 inches farther. Tape the end of the sock to the tailboom with several wraps. Pull on the front end to get the sock to conform to the mold; you may have to work it with your hand as you pull to get a good contour.
Approximately 2 inches in front of the nose, pull and twist the sock until you get good conformity to the fuselage. This may take practice. Once you do, wick some cyanoacrylate into the twist to lock it in place. Avoid getting adhesive near the foam mold. The cyanoacrylate should cure quickly.
After the glue is set, cut roughly 1/2 inch in front of the glued portion into the unglued area. Use your finger to push open the fabric so it mushrooms out. Wick cyanoacrylate into this portion so the area remains flared.
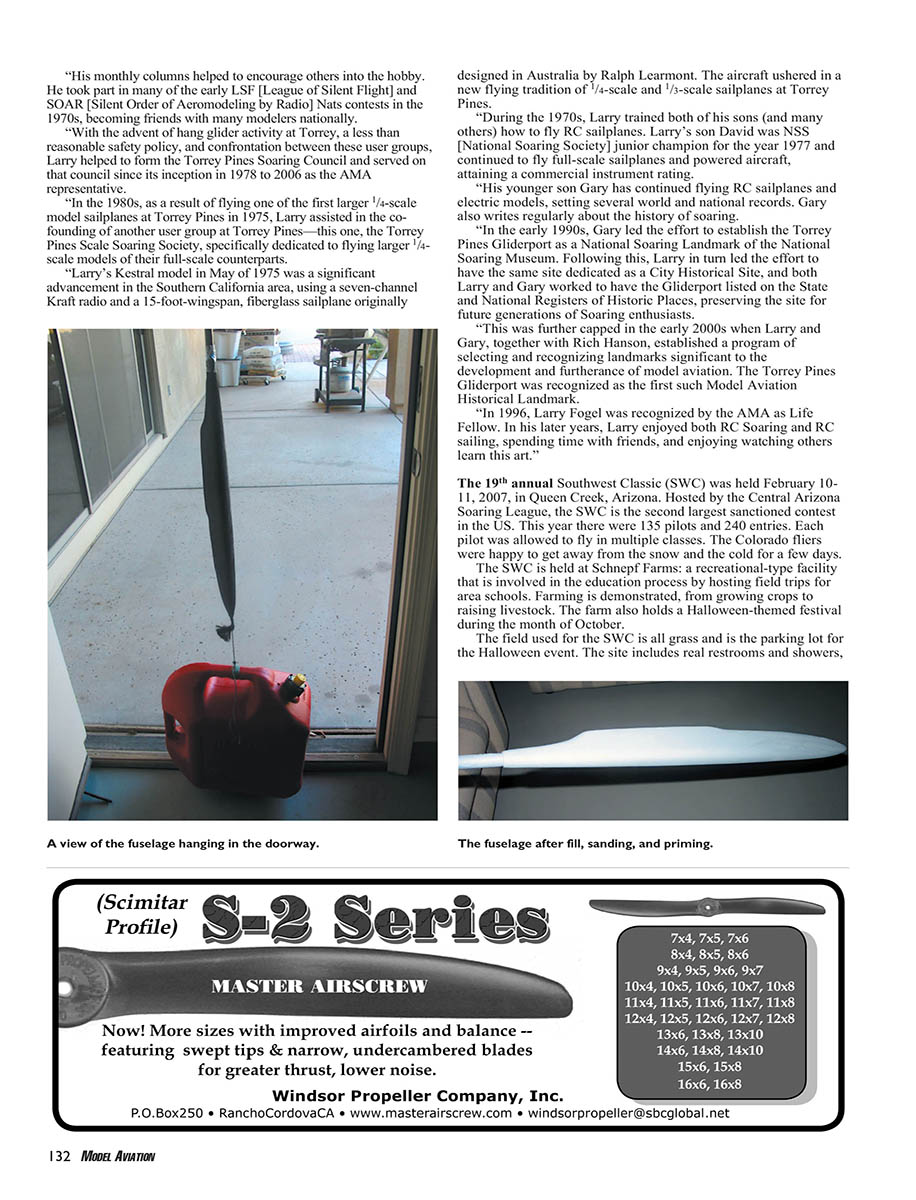
Tie 18-gauge or similar wire firmly to the nose area where you just adhered the fabric. Leave a couple feet extra. Hand-pull to test.
Hanging and epoxy layup
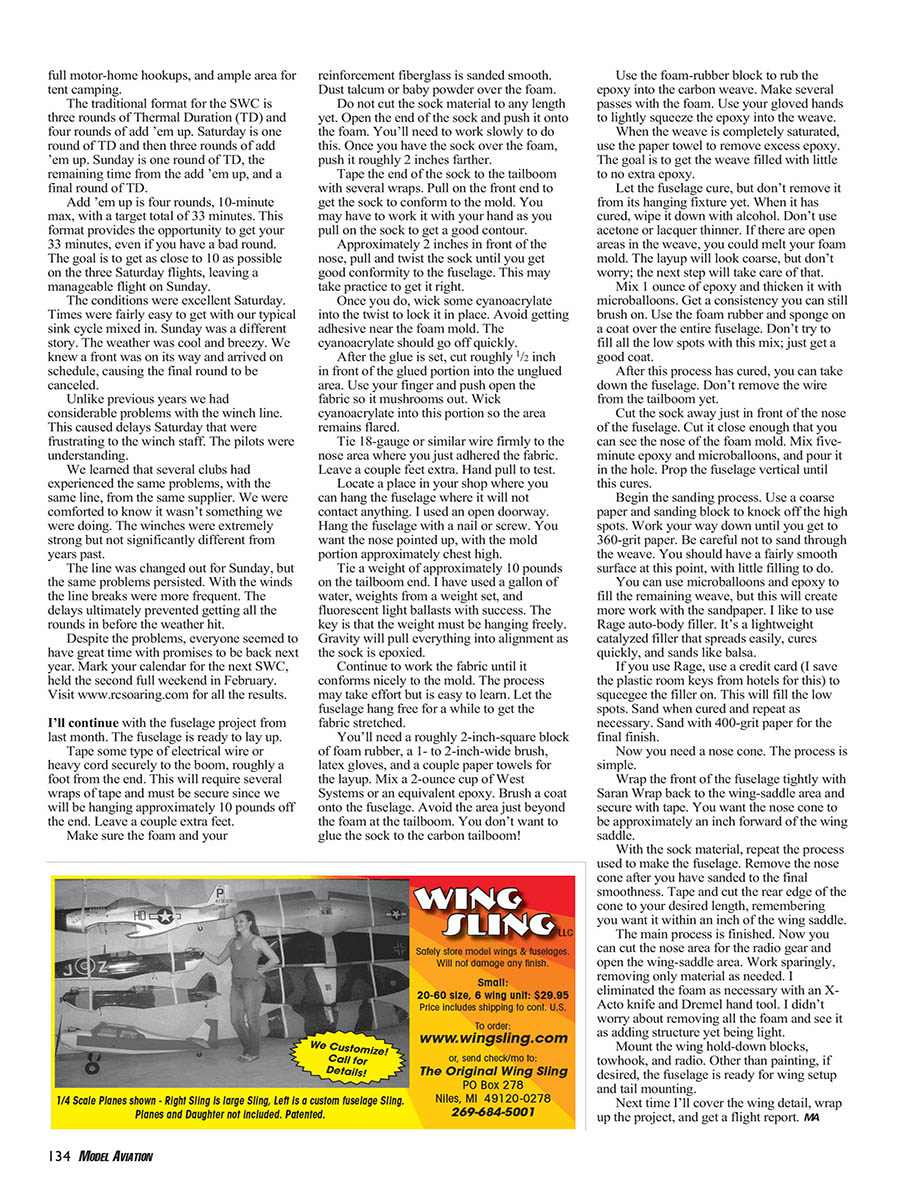
Locate a place in your shop where you can hang the fuselage so it will not contact anything. I used an open doorway. Hang the fuselage with a nail or screw so the nose is pointed up, with the mold portion approximately chest high. Tie a weight of approximately 10 pounds on the tailboom end. The key is that the weight must be hanging freely; gravity will pull everything into alignment as the sock is epoxied.
Continue to work the fabric until it conforms nicely to the mold. Let the fuselage hang free for a while to get the fabric stretched.
Mix a 2-ounce cup of West System or equivalent epoxy. Brush a coat onto the fuselage, avoiding the area just beyond the foam at the tailboom—you don’t want to glue the sock to the carbon tailboom. Use the foam-rubber block to rub the epoxy into the carbon weave. Make several passes with the foam, then use your gloved hands to lightly squeeze the epoxy into the weave.
When the weave is completely saturated, use a paper towel to remove excess epoxy. The goal is to have the weave filled with little to no extra epoxy.
Let the fuselage cure, but don’t remove it from its hanging fixture yet. When it has cured, wipe it down with alcohol. Don’t use acetone or lacquer thinner. If there are open areas in the weave, you could still see your foam mold. The layup will look coarse, but the next step will take care of that.
Mix 1 ounce of epoxy and thicken it with microballoons to a brushable consistency. Use the foam rubber and sponge on a coat over the entire fuselage. Don’t try to fill all the low spots with this mix; just get a good coat.
After this has cured, you can take down the fuselage. Don’t remove the wire from the tailboom yet.
Cut the sock away just in front of the nose of the fuselage. Cut it close enough that you can see the nose of the foam mold. Mix five-minute epoxy and microballoons, and pour it into the hole. Prop the fuselage vertical until this cures.
Finishing and sanding
Begin sanding. Use a coarse paper and sanding block to knock off high spots. Work your way down until you get to 360-grit paper. Be careful not to sand through the weave. You should have a fairly smooth surface at this point, with little filling to do.
You can use microballoons and epoxy to fill the remaining weave, but this will create more sanding work. An alternative is a micro-based filler (a lightweight catalyzed filler that spreads easily, cures quickly, and sands like glass). If you use Rage, use a credit card or similar plastic card to squeeze the filler on and fill low spots. Sand when cured and repeat as necessary. Sand with 400-grit paper for the final finish.
Nose cone and final assembly
Wrap the front of the fuselage tightly with Saran Wrap back to the wing-saddle area and secure with tape. You want the nose cone to be approximately an inch forward of the wing saddle.
With the sock material, repeat the process used to make the fuselage to form the nose cone. Remove the nose cone after you have sanded to the final smoothness. Tape and cut the rear edge of the cone to your desired length, remembering you want it within an inch of the wing saddle.
The main process is finished. Now you can cut the nose area for the radio gear and open the wing-saddle area. Work sparingly, removing only material as needed. Remove foam as necessary with an X-Acto knife and Dremel hand tool. Leaving some foam in place adds structure while keeping weight low.
Mount the wing hold-down blocks, tow hook, and radio. Other than painting, if desired, the fuselage is ready for wing setup and trimming.
Next time I’ll cover the wing detail, wrap up the project, and get a flight report.
MA
Transcribed from original scans by AI. Minor OCR errors may remain.

