
Radio Control Scale Aerobatics
John Glezellis [[email protected]]
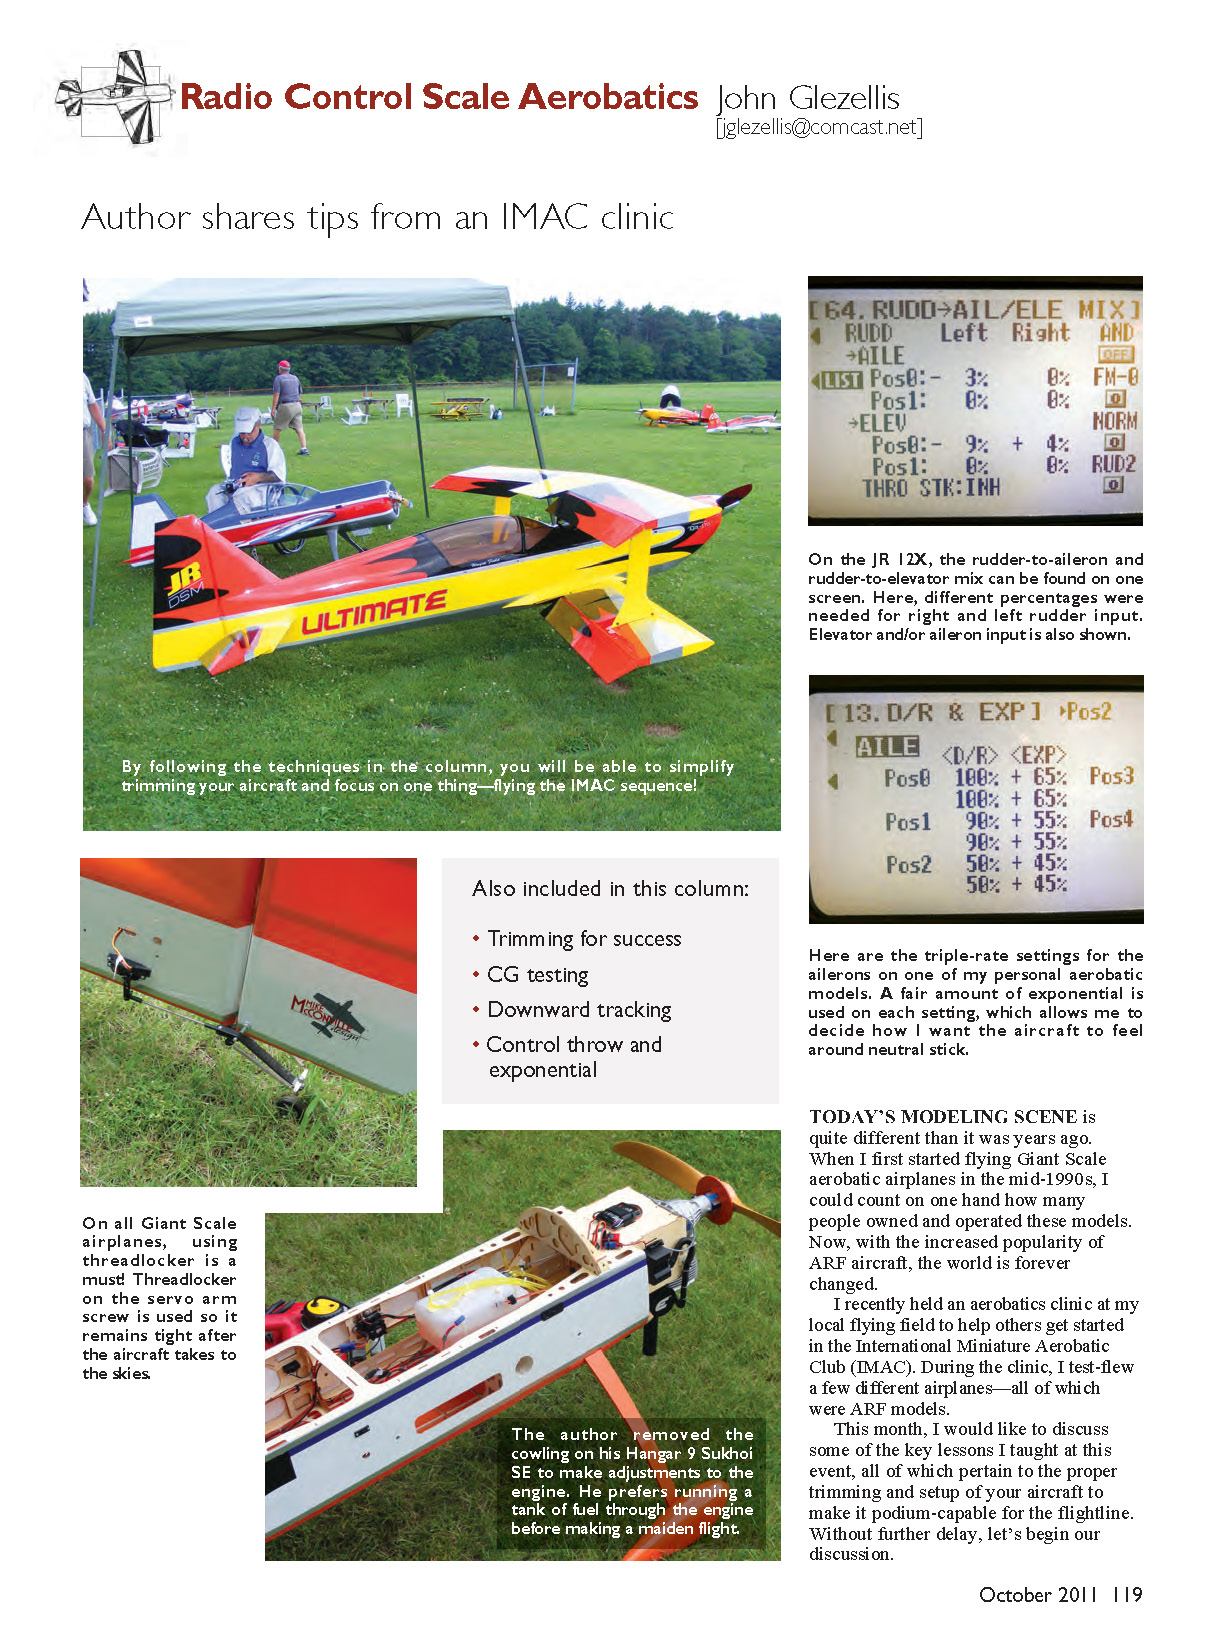
Author shares tips from an IMAC clinic
Also included in this column:
- Trimming for success
- CG testing
- Downward tracking
- Control throw and exponential
TODAY'S MODELING SCENE is quite different than it was years ago. When I first started flying Giant Scale aerobatic airplanes in the mid-1990s, I could count on one hand how many people owned and operated these models. Now, with the increased popularity of ARF aircraft, the world is forever changed.
I recently held an aerobatics clinic at my local flying field to help others get started in the International Miniature Aerobatic Club (IMAC). During the clinic, I test-flew a few different airplanes—all of which were ARF models.
This month, I would like to discuss some of the key lessons I taught at this event, all of which pertain to the proper trimming and setup of your aircraft to make it podium-capable for the flightline. Without further delay, let's begin our discussion.
Trimming for success:
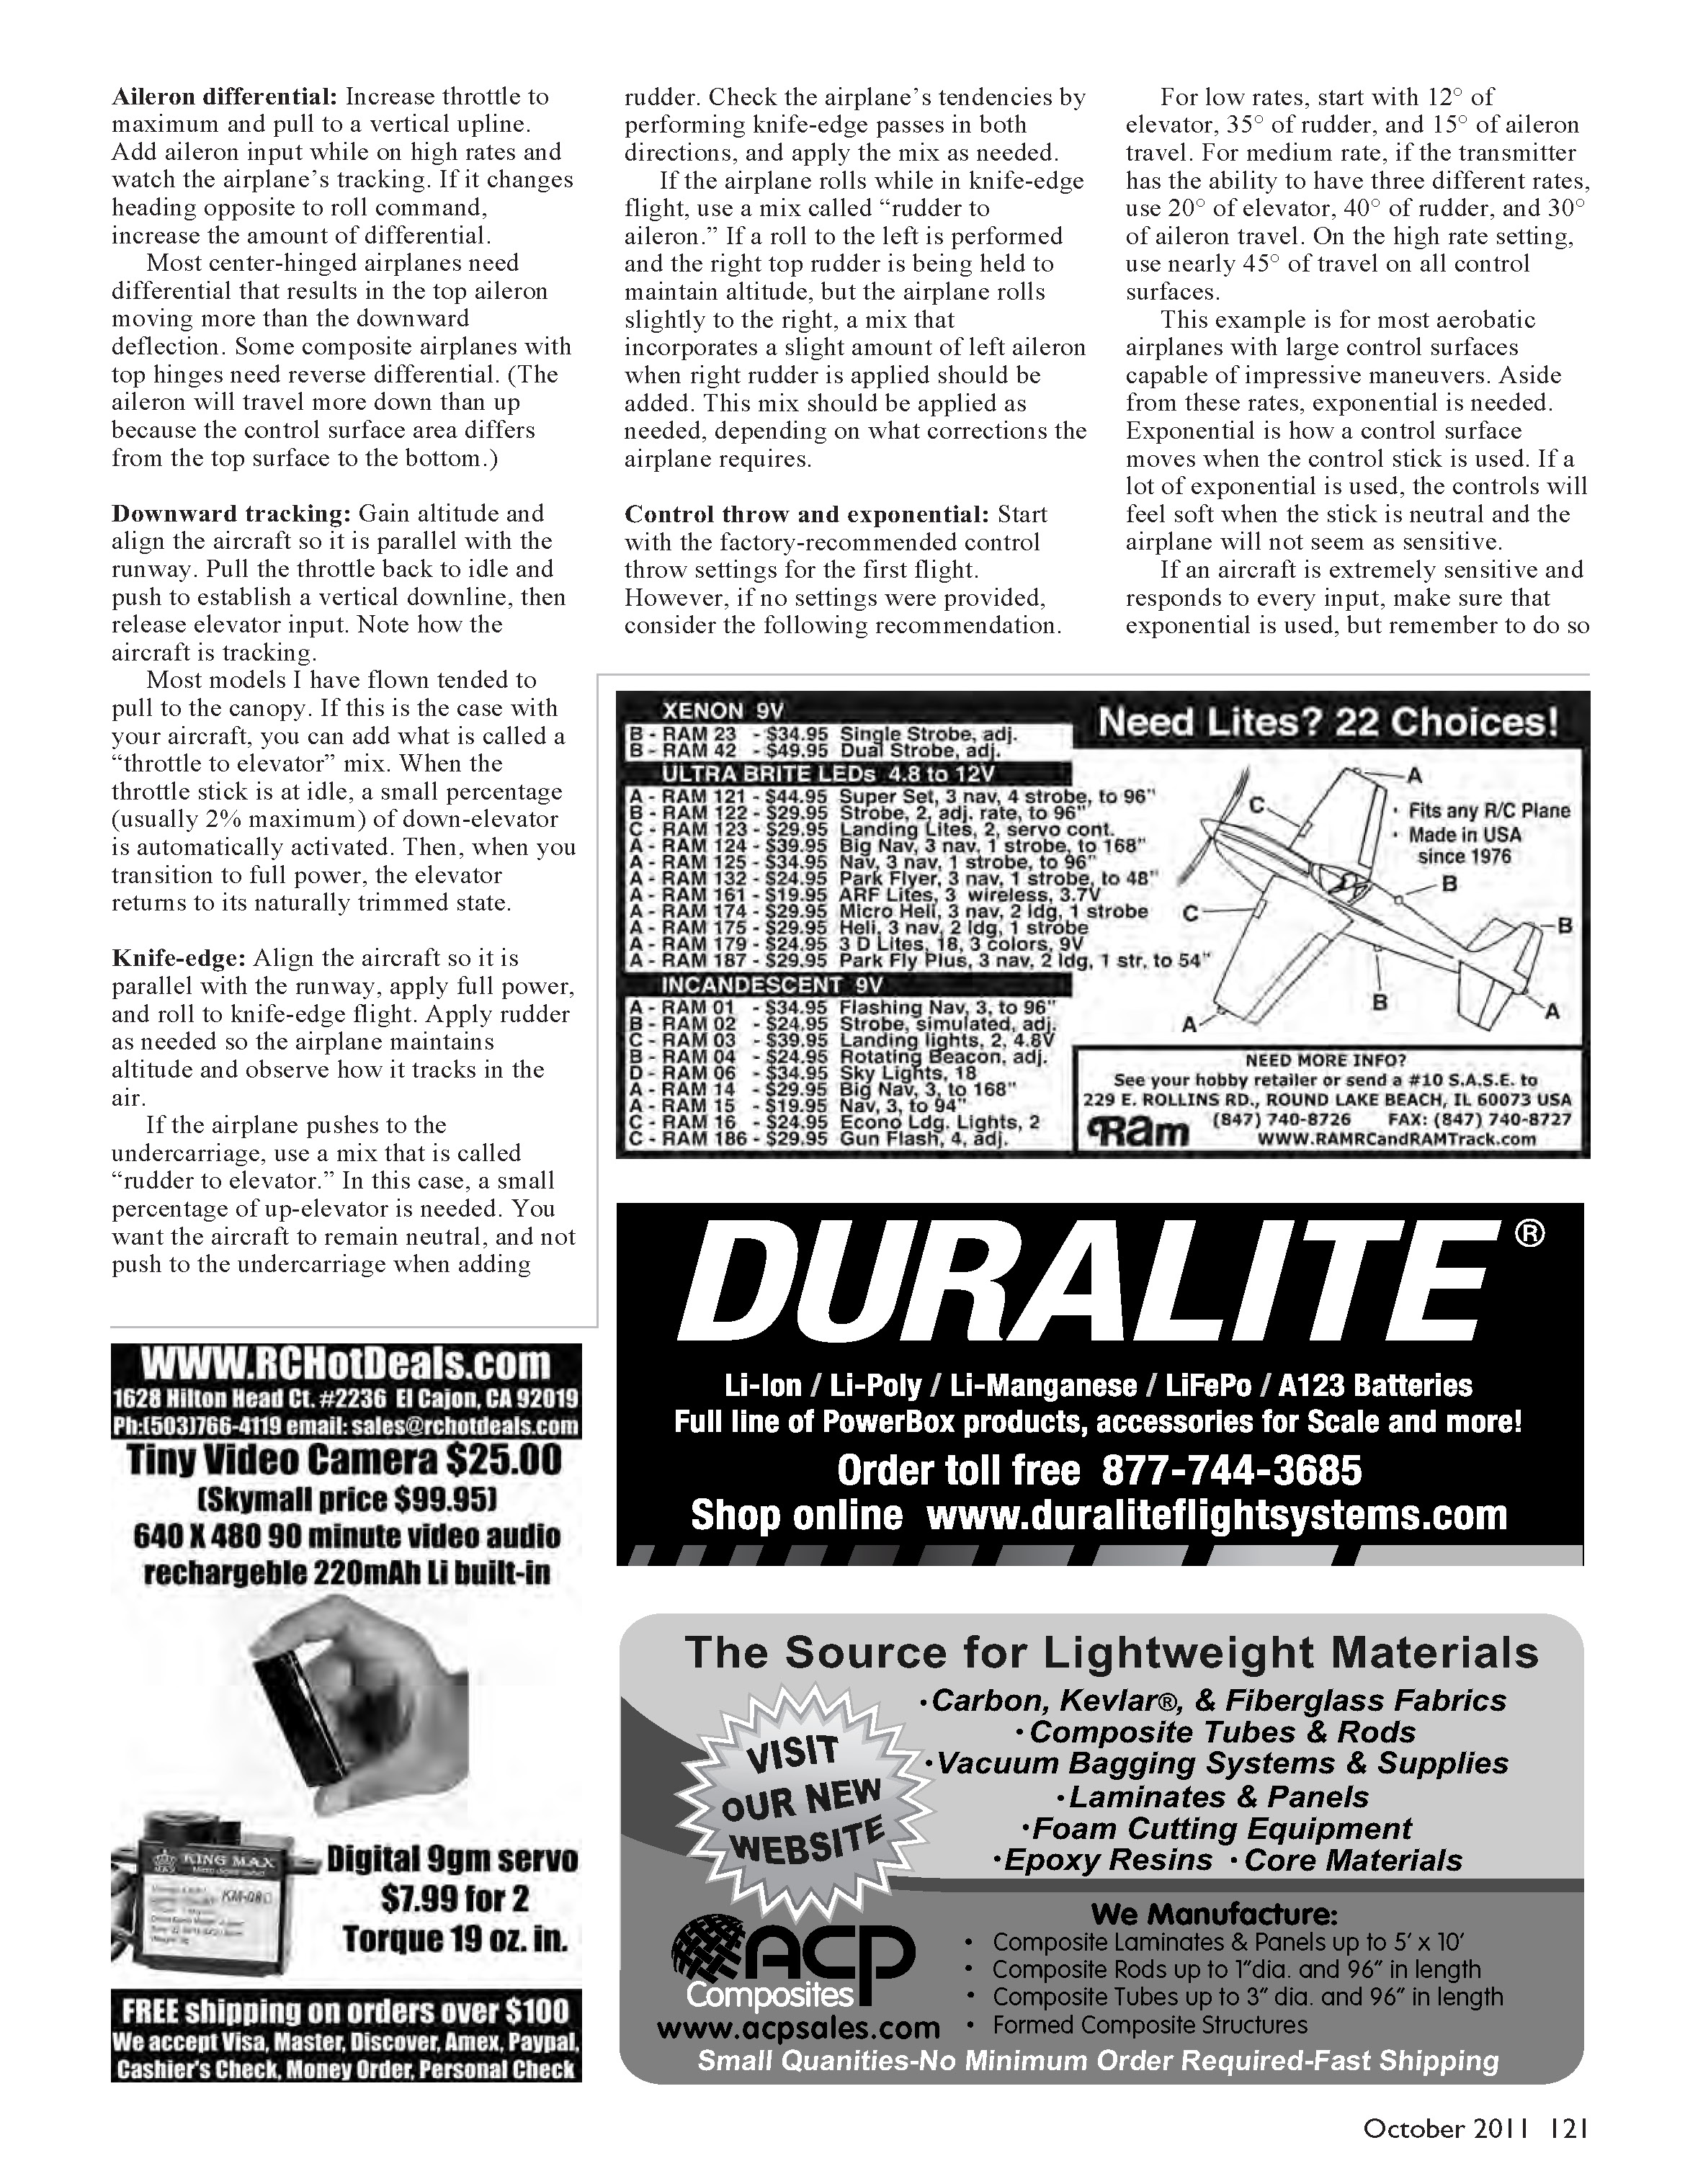
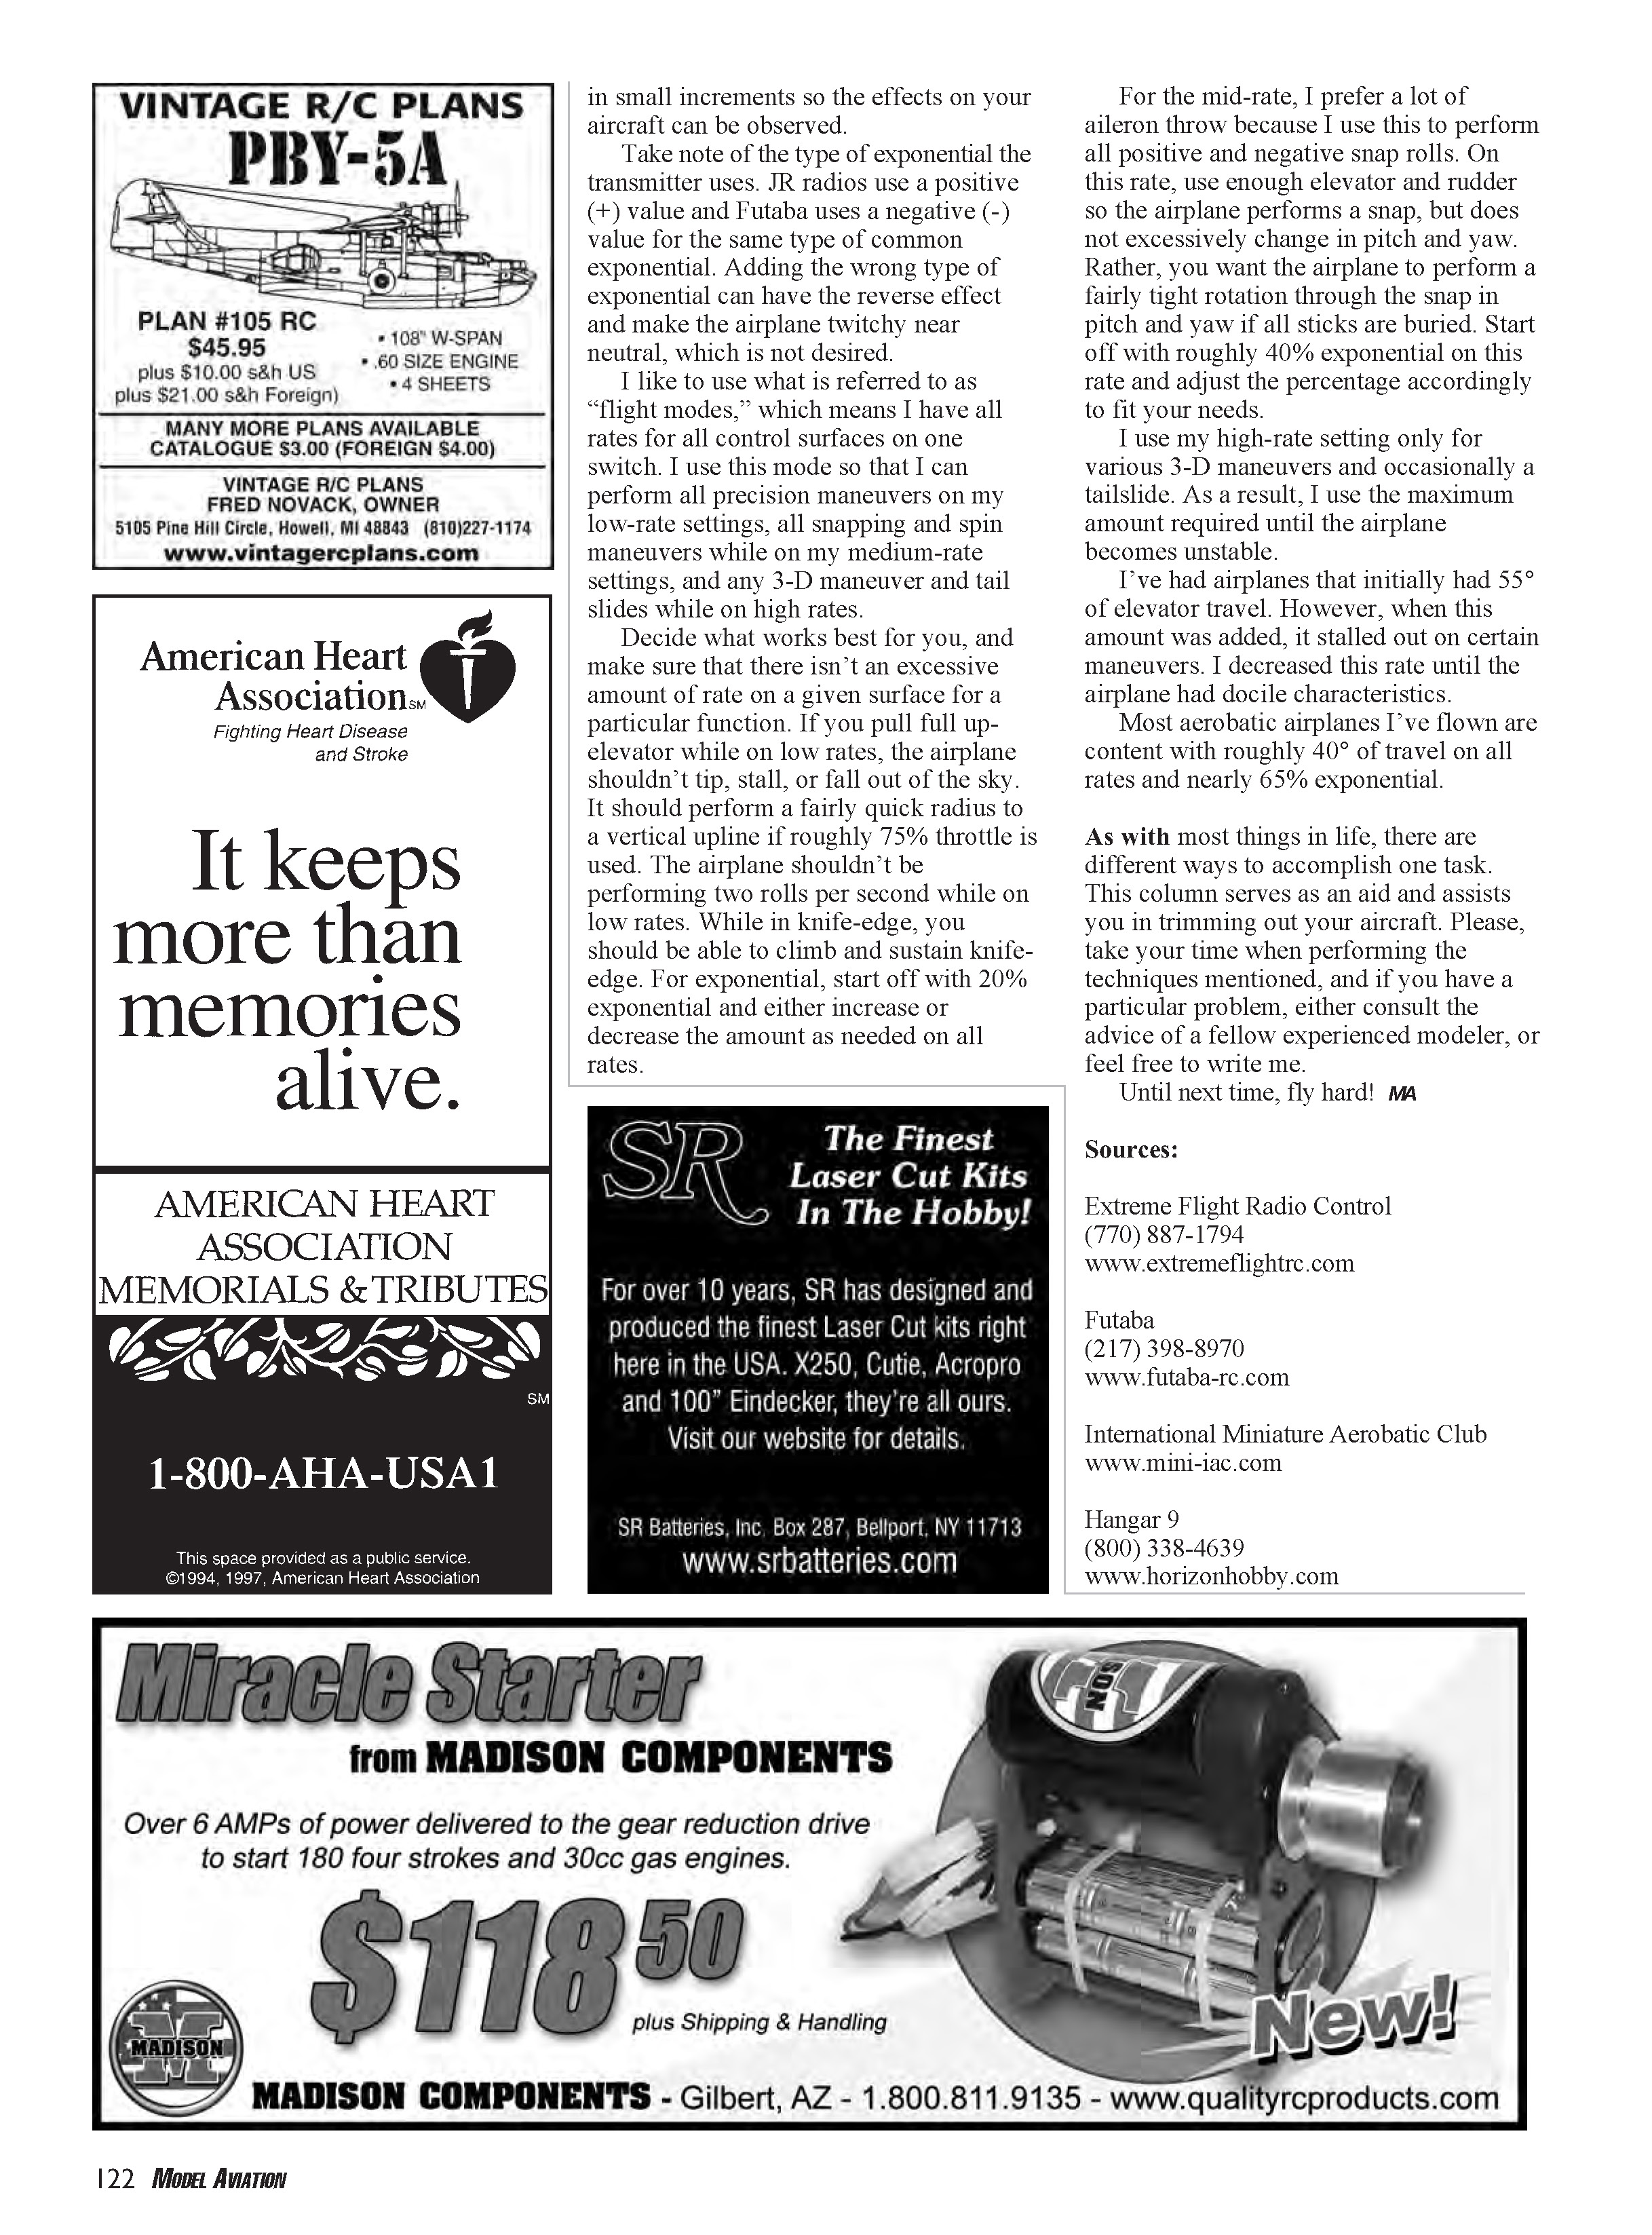
Once you are at the flying field, perform the range test for your radio system and run the engine to ensure that it has a reliable idle and smooth transition to maximum power. After the engine is adjusted, make sure all batteries are fully charged and get flying.
If you are an experienced pilot, you may be able to fine-tune your aircraft within a day or so. However, make sure that there is little to no wind when you decide to properly trim your model because wind will affect the overall outcome.
Basic trimming:
Apply maximum power and various aileron, elevator, and rudder trims as needed to sustain level flight and maintain the roll, pitch, and yaw. If you have an advanced computer radio, you may have a trim-step feature.
Consult your transmitter’s instruction manual to determine if it has this feature. This setting allows the user to trim an aircraft with steps that can either be coarse or fine. Sometimes people have this value turned up so that each click of trim impacts the aircraft by moving the control surface quite a bit. I prefer fine adjustments and always have my trim step set to the lowest number.
Right or left thrust:
Apply full throttle and pull to a vertical upline. Pay particular attention to the tracking of the aircraft. If the airplane veers to the left, which is common, increase the right thrust on your airplane. If the airplane veers to the right, add left thrust. If the airplane tracks perfectly, do nothing.
Earlier, I wrote that flying in wind may alter some of the findings. In this case, if one is flying in a manner that is from right to left down the runway and there is a strong crosswind blowing out, the aircraft will crab to the left once a vertical upline is established. As a result, unnecessary thrust could be added. Make sure that it is dead calm when this test or any of the following are performed.
CG:
Apply full power while traveling into the wind and parallel to the runway. Perform a half-roll to inverted and pay attention to the airplane. If the aircraft climbs and up-elevator is needed to maintain level flight, it is tail-heavy. As a result, either weight can be added to the front of the aircraft, or equipment within the airplane can be moved forward.
If the aircraft remains at the same altitude, it is neutral. The airplane doesn’t need to be changed if you prefer that it requires minimal control inputs when performing various maneuvers.
I prefer my airplanes to dive slightly, when rolled to inverted. I find that with this CG, snap rolls feel crisp and exits are cleaner than when the airplane has a “neutral” CG. However, if the airplane dives excessively, it is nose-heavy and tail weight should be added in small increments.
I do not recommend adding weight to your airplane. This should only be done if the electronics in the airplane cannot be moved. I suggest that you add 6-ounce self-stick weights before your airplane takes its maiden flight.
Add weight as needed on the first few flights, until the ideal CG is reached. Then, balance the airplane. After the flight, remove the weights and shuffle the internal components until the balance point is achieved.
In the past, I’ve had tail-heavy airplanes that used rudder servos in the tail. I removed the tail servos and added a pull-pull rudder setup with servos in the canopy region of the aircraft. This eliminated the need to add weight to the nose of the aircraft. This process is time-consuming, but pays off in the end.
Aileron differential:
Increase throttle to maximum and pull to a vertical upline. Add aileron input while on high rates and watch the airplane’s tracking. If it changes heading opposite to roll command, increase the amount of differential.
Most center-hinged airplanes need differential that results in the top aileron moving more than the downward deflection. Some composite airplanes with top hinges need reverse differential. (The aileron will travel more down than up because the control surface area differs from the top surface to the bottom.)
Downward tracking:
Gain altitude and align the aircraft so it is parallel with the runway. Pull the throttle back to idle and push to establish a vertical downline, then release elevator input. Note how the aircraft is tracking.
Most models I have flown tended to pull to the canopy. If this is the case with your aircraft, you can add what is called a “throttle to elevator” mix. When the throttle stick is at idle, a small percentage (usually 2% maximum) of down-elevator is automatically activated. Then, when you transition to full power, the elevator returns to its naturally trimmed state.
Knife-edge:
Align the aircraft so it is parallel with the runway, apply full power, and roll to knife-edge flight. Apply rudder as needed so the airplane maintains altitude and observe how it tracks in the air.
If the airplane pushes to the undercarriage, use a mix that is called “rudder to elevator.” In this case, a small percentage of up-elevator is needed. You want the aircraft to remain neutral, and not push to the undercarriage when adding rudder. Check the airplane’s tendencies by performing knife-edge passes in both directions, and apply the mix as needed.
If the airplane rolls while in knife-edge flight, use a mix called “rudder to aileron.” If a roll to the left is performed and the right top rudder is being held to maintain altitude, but the airplane rolls slightly to the right, a mix that incorporates a slight amount of left aileron when right rudder is applied should be added. This mix should be applied as needed, depending on what corrections the airplane requires.
Control throw and exponential:
Start with the factory-recommended control throw settings for the first flight. However, if no settings were provided, consider the following recommendation.
For low rates, start with 12° of elevator, 35° of rudder, and 15° of aileron travel. For medium rate, if the transmitter has the ability to have three different rates, use 20° of elevator, 40° of rudder, and 30° of aileron travel. On the high rate setting, use nearly 45° of travel on all control surfaces.
This example is for most aerobatic airplanes with large control surfaces capable of impressive maneuvers. Aside from these rates, exponential is needed. Exponential is how a control surface moves when the control stick is used. If a lot of exponential is used, the controls will feel soft when the stick is neutral and the airplane will not seem as sensitive.
If an aircraft is extremely sensitive and responds to every input, make sure that exponential is used, but remember to do so in small increments so the effects on your aircraft can be observed.
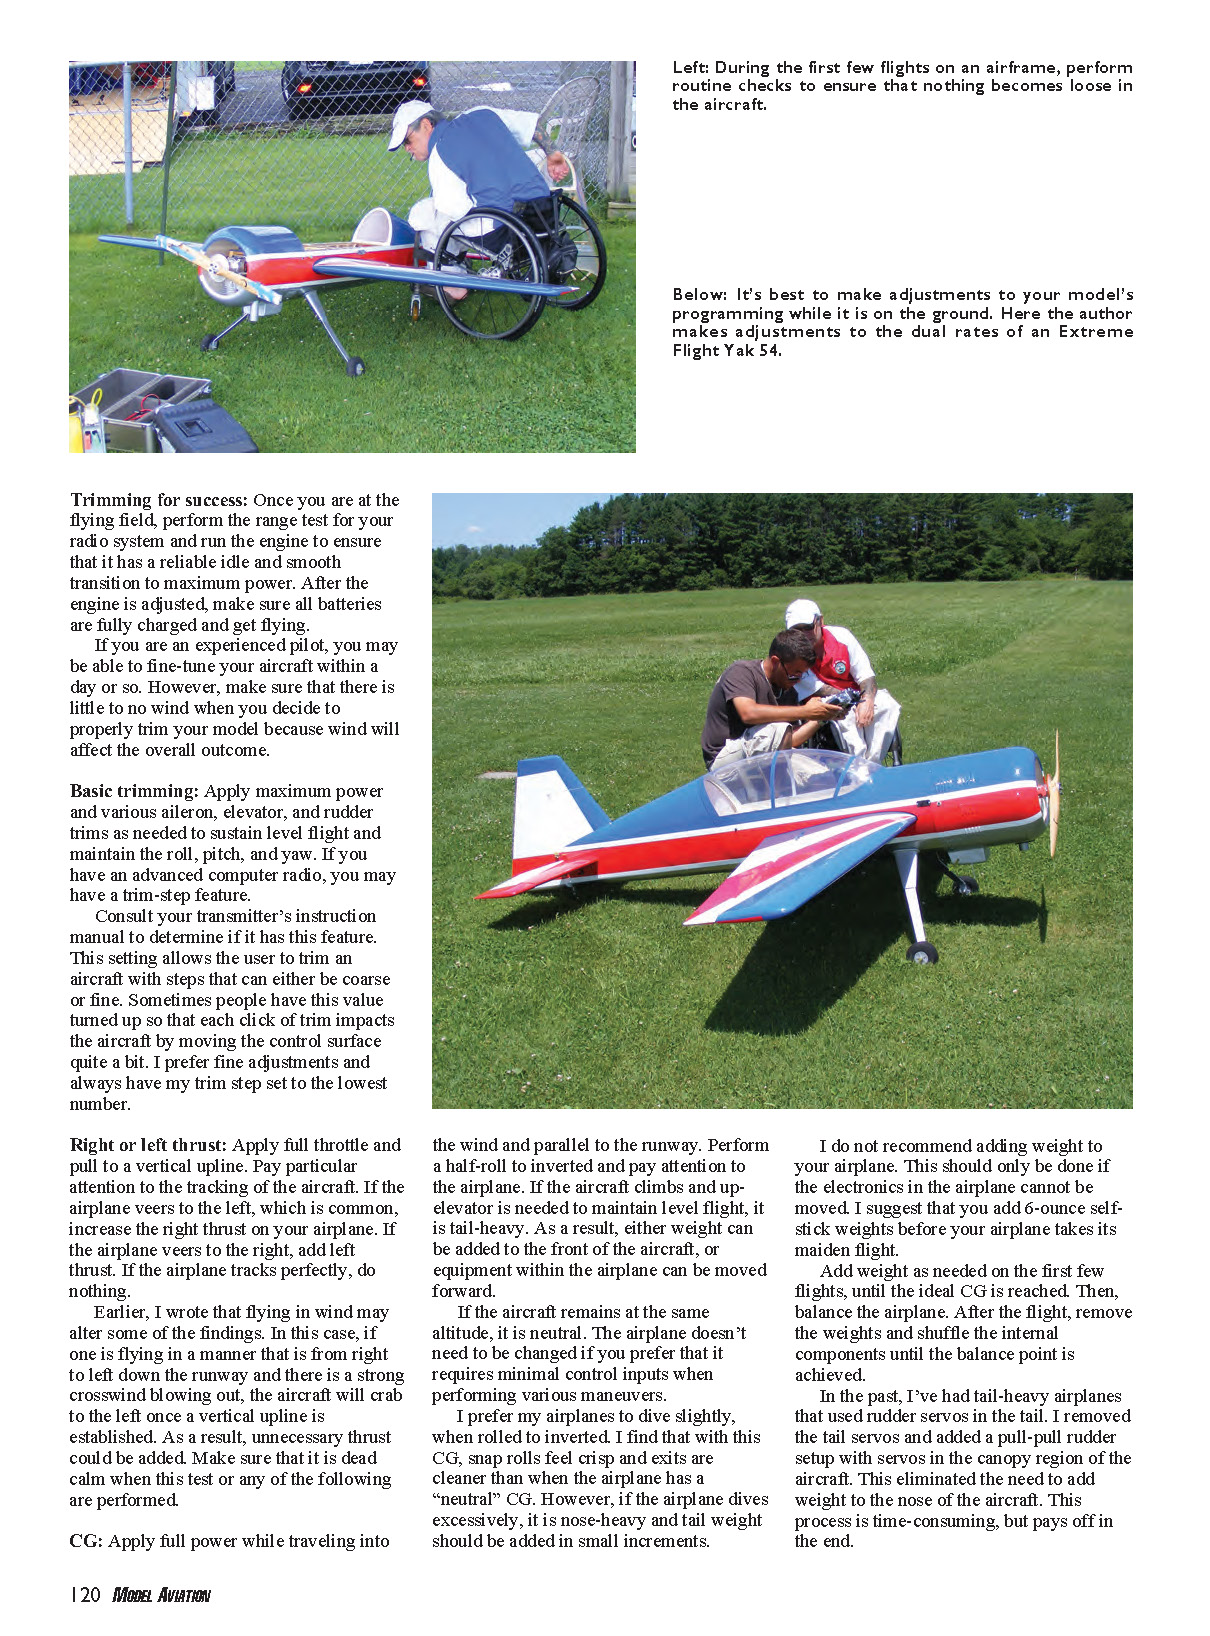
Take note of the type of exponential the transmitter uses. JR radios use a positive (+) value and Futaba uses a negative (-) value for the same type of common exponential. Adding the wrong type of exponential can have the reverse effect and make the airplane twitchy near neutral, which is not desired.
I like to use what is referred to as "flight modes," which means I have all rates for all control surfaces on one switch. I use this mode so that I can perform all precision maneuvers on my low-rate settings, all snapping and spin maneuvers while on my medium-rate settings, and any 3-D maneuver and tail slides while on high rates.
Decide what works best for you, and make sure that there isn't an excessive amount of rate on a given surface for a particular function. If you pull full up-elevator while on low rates, the airplane shouldn't tip, stall, or fall out of the sky. It should perform a fairly quick radius to a vertical upline if roughly 75% throttle is used. The airplane shouldn't be performing two rolls per second while on low rates. While in knife-edge, you should be able to climb and sustain knife-edge. For exponential, start off with 20% exponential and either increase or decrease the amount as needed on all rates.
For the mid-rate, I prefer a lot of aileron throw because I use this to perform all positive and negative snap rolls. On this rate, use enough elevator and rudder so the airplane performs a snap, but does not excessively change in pitch and yaw. Rather, you want the airplane to perform a fairly tight rotation through the snap in pitch and yaw if all sticks are buried. Start off with roughly 40% exponential on this rate and adjust the percentage accordingly to fit your needs.
I use my high-rate setting only for various 3-D maneuvers and occasionally a tailslide. As a result, I use the maximum amount required until the airplane becomes unstable.
I've had airplanes that initially had 55° of elevator travel. However, when this amount was added, it stalled out on certain maneuvers. I decreased this rate until the airplane had docile characteristics.
Most aerobatic airplanes I've flown are content with roughly 40° of travel on all rates and nearly 65% exponential.
As with most things in life, there are different ways to accomplish one task. This column serves as an aid and assists you in trimming out your aircraft. Please, take your time when performing the techniques mentioned, and if you have a particular problem, either consult the advice of a fellow experienced modeler, or feel free to write me.
Until next time, fly hard! MA
Sources:
Extreme Flight Radio Control (770) 887-1794 www.extremeflightrc.com
Futaba (217) 398-8970 www.futaba-rc.com
International Miniature Aerobatic Club www.mini-iac.com
Hangar 9 (800) 338-4639 www.horizonhobby.com
Transcribed from original scans by AI. Minor OCR errors may remain.

