
Builder's resourcefulness pays off
by Mark Fadely [email protected]
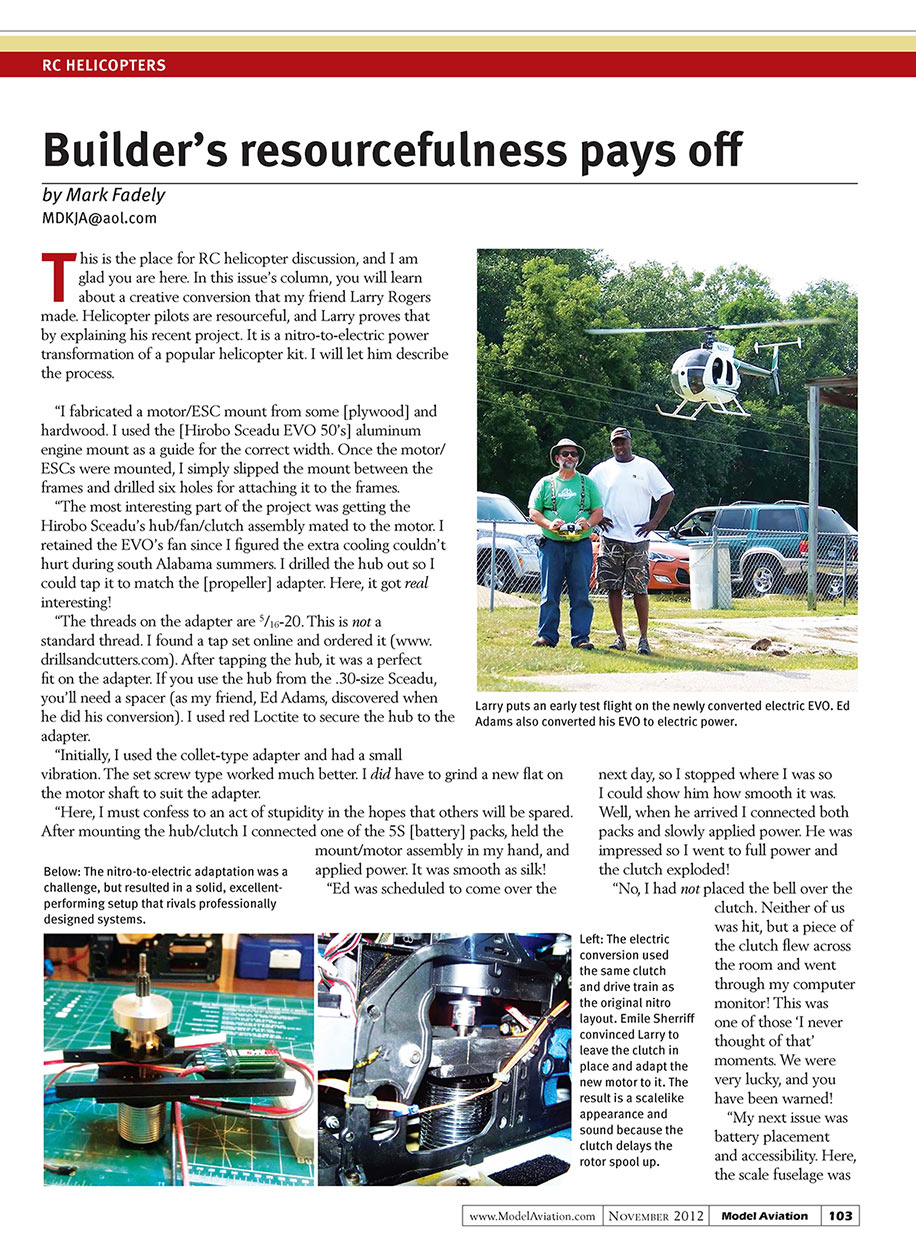
This is the place for RC helicopter discussion, and I am glad you are here. In this issue’s column, you will learn about a creative conversion that my friend Larry Rogers made. Helicopter pilots are resourceful, and Larry proves that by explaining his recent project. It is a nitro-to-electric power transformation of a popular helicopter kit. I will let him describe the process.
Conversion by Larry Rogers
“I fabricated a motor/ESC mount from some plywood and hardwood. I used the Hirobo Sceadu EVO 50’s aluminum engine mount as a guide for the correct width. Once the motor and ESCs were mounted, I simply slipped the mount between the frames and drilled six holes for attaching it to the frames.
“The most interesting part of the project was getting the Hirobo Sceadu’s hub/fan/clutch assembly mated to the motor. I retained the EVO’s fan since I figured the extra cooling couldn’t hurt during south Alabama summers. I drilled the hub out so I could tap it to match the propeller adapter. Here, it got real interesting!
“The threads on the adapter are 5/16-20. This is not a standard thread. I found a tap set online and ordered it (www.drillsandcutters.com). After tapping the hub, it was a perfect fit on the adapter. If you use the hub from the .30-size Sceadu, you’ll need a spacer (as my friend, Ed Adams, discovered when he did his conversion). I used red Loctite to secure the hub to the adapter.
“Initially, I used the collet-type adapter and had a small vibration. The set-screw type worked much better. I did have to grind a new flat on the motor shaft to suit the adapter.
“Here, I must confess to an act of stupidity in the hopes that others will be spared. After mounting the hub/clutch I connected one of the 5S battery packs, held the mount/motor assembly in my hand, and applied power. It was smooth as silk!
“Ed was scheduled to come over the next day, so I stopped where I was so I could show him how smooth it was. Well, when he arrived I connected both packs and slowly applied power. He was impressed so I went to full power and the clutch exploded!
“No, I had not placed the bell over the clutch. Neither of us was hit, but a piece of the clutch flew across the room and went through my computer monitor! This was one of those ‘I never thought of that’ moments. We were very lucky, and you have been warned!
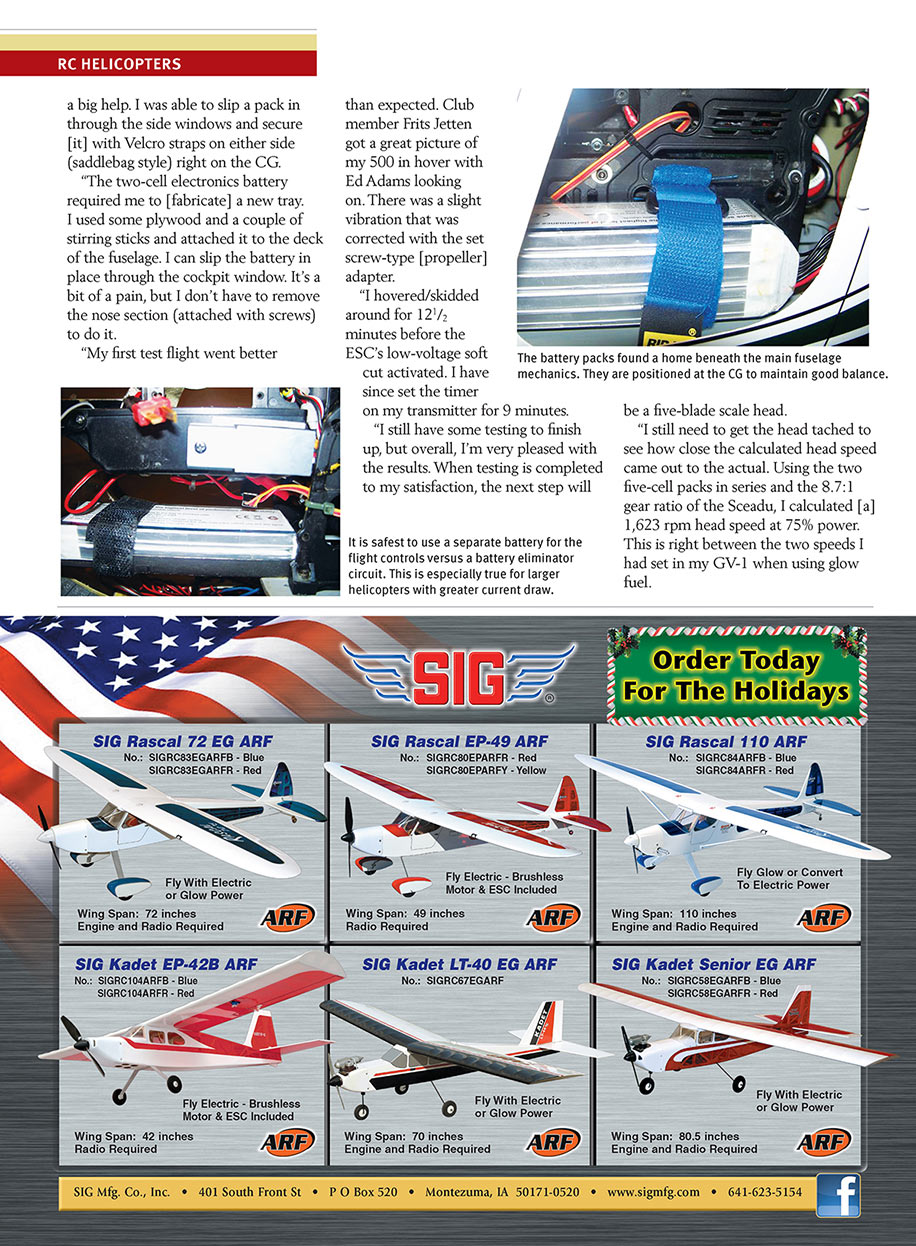
“My next issue was battery placement and accessibility. Here, the scale fuselage was a big help. I was able to slip a pack in through the side windows and secure it with Velcro straps on either side (saddlebag style) right on the CG.
“The two-cell electronics battery required me to fabricate a new tray. I used some plywood and a couple of stirring sticks and attached it to the deck of the fuselage. I can slip the battery in place through the cockpit window. It’s a bit of a pain, but I don’t have to remove the nose section (attached with screws) to do it.
“My first test flight went better than expected. Club member Frits Jetten got a great picture of my 500 in hover with Ed Adams looking on. There was a slight vibration that was corrected with the set-screw-type propeller adapter.
“I hovered/skidded around for 12 1/2 minutes before the ESC’s low-voltage soft cut activated. I have since set the timer on my transmitter for 9 minutes.
“I still have some testing to finish up, but overall, I’m very pleased with the results. When testing is completed to my satisfaction, the next step will be a five-blade scale head.
“It is safest to use a separate battery for the flight controls versus a battery eliminator circuit. This is especially true for larger helicopters with greater current draw.
“I still need to get the head attached to see how close the calculated head speed came out to the actual. Using the two five-cell packs in series and the 8.7:1 gear ratio of the Sceadu, I calculated a 1,623 rpm head speed at 75% power. This is right between the two speeds I had set in my GV-1 when using glow fuel.
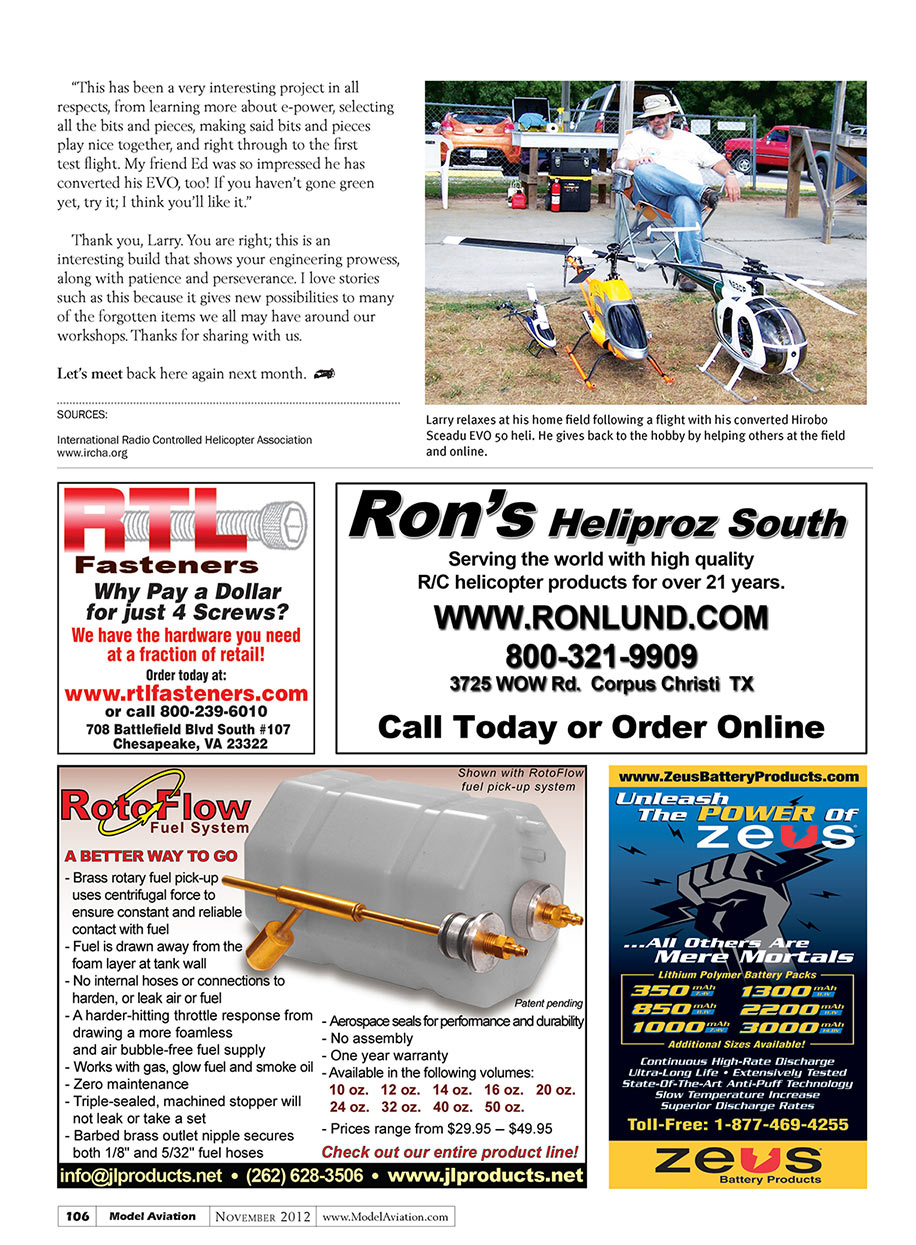
“This has been a very interesting project in all respects, from learning more about e-power, selecting all the bits and pieces, making said bits and pieces play nice together, and right through to the first test flight. My friend Ed was so impressed he has converted his EVO, too! If you haven't gone green yet, try it; I think you'll like it.”
Thank you, Larry. You are right; this is an interesting build that shows your engineering prowess, along with patience and perseverance. I love stories such as this because it gives new possibilities to many of the forgotten items we all may have around our workshops. Thanks for sharing with us.
Let's meet back here again next month.
SOURCES
- International Radio Controlled Helicopter Association
- www.ircha.org
Transcribed from original scans by AI. Minor OCR errors may remain.

