
Heli maintenance tips
Chris Mulcahy [email protected]
When to perform maintenance
For many of us, the early months of the year are cold and wintery, which limits outdoor flying time. Although it's a good time for simulator practice, it's also a great time to tear down helicopters for maintenance. Maintenance can be performed anytime and is not limited to winter projects—the more often you go through your setup, the better.
Our helis "talk" to us when they fly, and with experience we learn to identify potential problems by sound. However, many problems develop without audible warning, and regular hands-on inspection can catch these before they become failures.
Disassembly and inspection
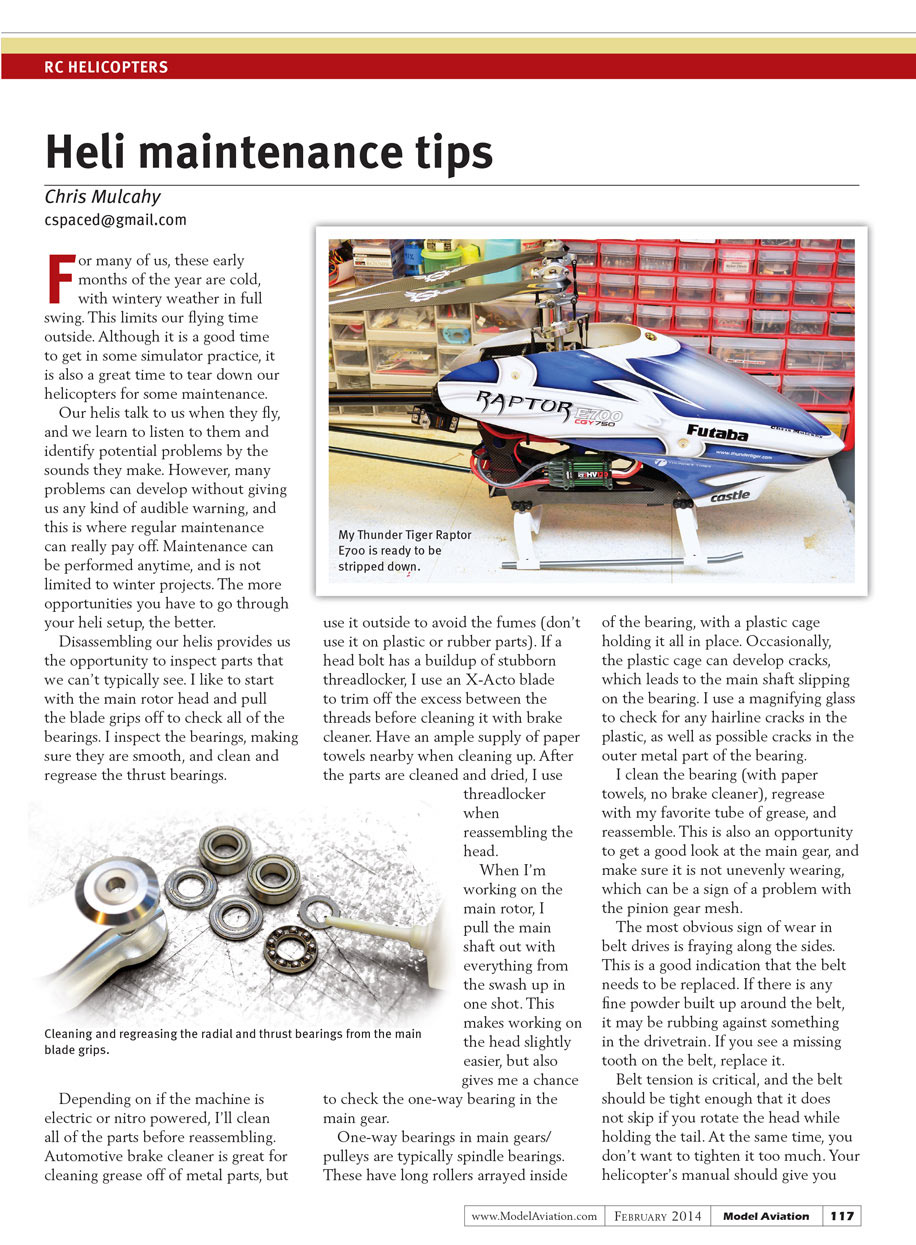
Disassembling a helicopter lets you inspect parts that are normally hidden. I like to start with the main rotor head and pull the blade grips off to check all bearings.
- Inspect bearings to ensure they run smoothly.
- Clean and regrease thrust bearings.
- Look for wear on the main gear; uneven wear can indicate a pinion-mesh problem.
When working on the main rotor, I pull the main shaft out with everything from the swashplate up in one shot. This makes head work easier and allows inspection of the one-way bearing in the main gear.
Bearings
One-way bearings in main gears or pulleys are typically spindle bearings, which have long rollers held by a plastic cage.
- Inspect the plastic cage for hairline cracks and check the outer metal race for cracks using a magnifying glass.
- Clean the bearing with paper towels (do not use brake cleaner on these), regrease with your preferred grease, and reassemble.
Cleaning and reassembly
- For metal parts, automotive brake cleaner works well to remove grease—use it outside to avoid fumes. Do not use brake cleaner on plastic or rubber parts.
- If a head bolt has a buildup of threadlocker, trim the excess between the threads with an X-Acto blade before cleaning with brake cleaner.
- Keep an ample supply of paper towels handy when cleaning.
- After parts are cleaned and dried, use threadlocker when reassembling the head.
Belt drives
- The most obvious sign of belt wear is fraying along the sides—this indicates the belt should be replaced.
- Fine powder around the belt may indicate the belt is rubbing against something in the drivetrain.
- If any tooth is missing on the belt, replace the belt.
Belt tension is critical: the belt should be tight enough that it does not skip if you rotate the head while holding the tail, but you also don't want to overtighten it. Your helicopter's manual should give the recommended belt tension or the proper procedure for measuring it.
Transcribed from original scans by AI. Minor OCR errors may remain.

