

Tips and tricks
Chris Mulcahy [email protected]
Throughout the years I’ve learned to do things a certain way—whether it is something I figured out for myself or something I learned from another pilot. One thing is for sure: I wish I had known these things when I first started flying RC helicopters. They would have made my life a little easier!
Everyone develops their own tips and tricks, and it’s fun and interesting to learn new and more efficient ways of doing things. I’ve been doing some maintenance and building recently, and I decided to share some of the things I’ve learned so far—both self-taught and from other pilots.
Threadlocker
Threadlocker is a “force” that binds our heli universe together! It is used on most screws that are screwed into metal parts. It is a liquid that you drip onto the end of your screw. When the screw is in place, it dries into a crusty/rubbery compound that prevents the screw from vibrating loose. It can only be used on metal parts.
There are various strengths of threadlocker, but the two most common we use are blue and red. Occasionally we also use a little green retaining threadlocker to hold bearings in bearing blocks, but for most of the screws on our helis, blue threadlocker is used. The red threadlocker is stronger and is typically only used on clutch assemblies on nitro-powered helicopters (mainly on the crankshaft), or where specified by the manufacturer.
With great power comes great responsibility. Sometimes people can be overzealous when applying threadlocker. You might think, “Wouldn’t that do a better job of holding the screw in place?” The answer is that there is no benefit to flooding your screws with threadlocker.
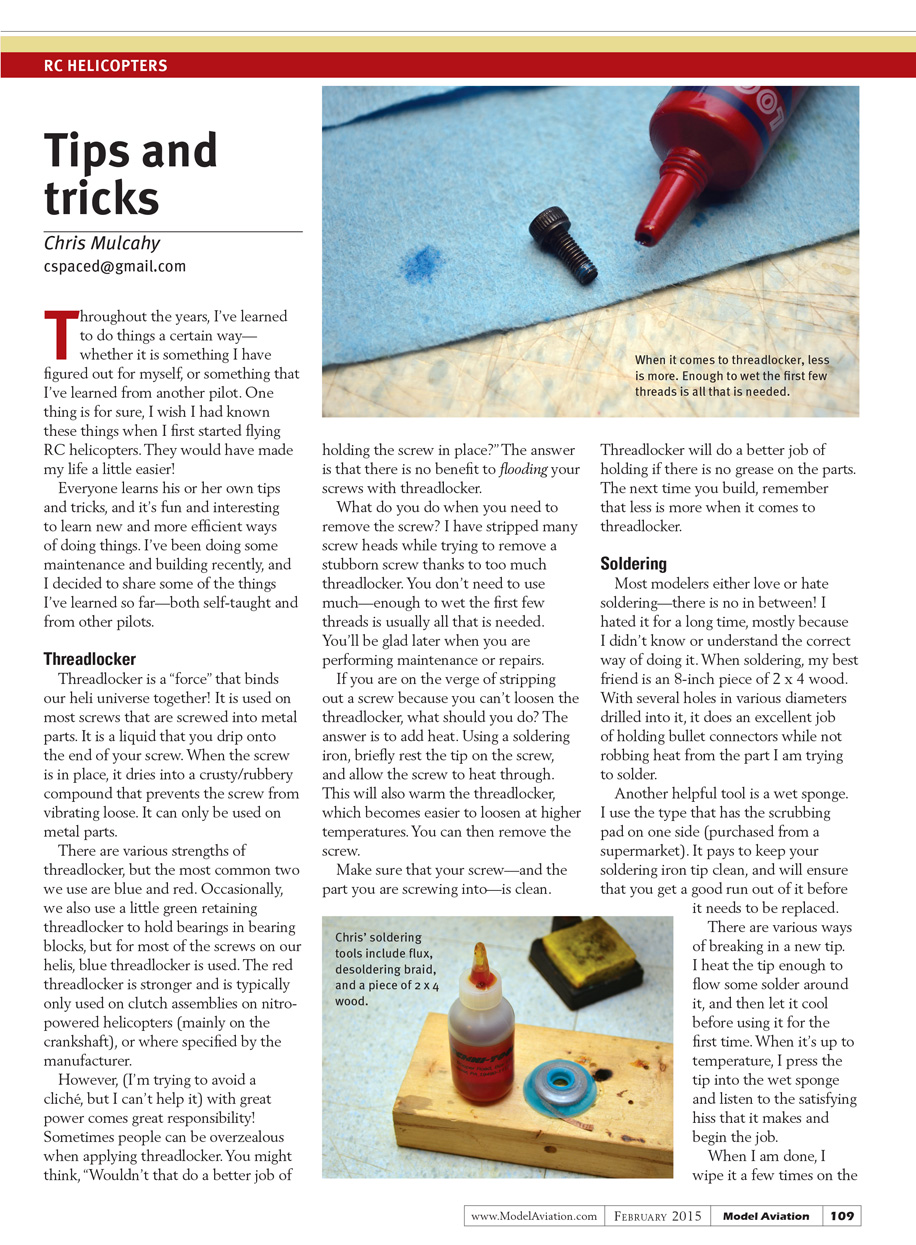
What do you do when you need to remove the screw? I have stripped many screw heads while trying to remove a stubborn screw thanks to too much threadlocker. You don’t need to use much—enough to wet the first few threads is usually all that is needed. You’ll be glad later when you are performing maintenance or repairs.
If you are on the verge of stripping out a screw because you can’t loosen the threadlocker, add heat. Using a soldering iron, briefly rest the tip on the end of the screw and allow it to heat the screw. This will also warm the threadlocker, which becomes easier to loosen at higher temperatures. You can then remove the screw.
Make sure that your screw—and the part you are screwing into—is clean. Threadlocker will do a better job of holding if there is no grease on the parts. The next time you build, remember that less is more when it comes to threadlocker.
Soldering
Most modelers either love or hate soldering—there is no in between! I hated it for a long time, mostly because I didn’t know or understand the correct way of doing it. When soldering, my best friend is an 8-inch piece of 2 x 4 wood. With several holes in various diameters drilled into it, it does an excellent job of holding bullet connectors while not robbing heat from the part I am trying to solder.
Another helpful tool is a wet sponge. I use the type that has a scrubbing pad on one side (purchased from a supermarket). It pays to keep your soldering iron tip clean—this will ensure you get a good run out of it before it needs to be replaced.
There are various ways of breaking in a new tip. I heat the tip enough to flow some solder around it and then let it cool before using it for the first time. When it’s up to temperature, I press the tip into the wet sponge, listen to the satisfying hiss, and then begin the job. When I am done, I wipe it a few times on the wet sponge after I’ve unplugged it (but while it is still hot).
The tip of your soldering iron should be shiny and almost look like chrome. If it is dull and black, you will not be able to get your solder to melt no matter how much heat you apply. Sometimes you can lightly sand the solder tip and get a little more life out of it, but in most cases it must be replaced.
Liquid solder flux, a flowing agent, is also useful. If you apply a small drop of flux to a bare wire end, it will soak in between all of the strands. It will then pull the solder into the wire, resulting in a nice, even coverage of solder throughout the wire (also known as tinning).
After you have tinned the wire and the connector you are soldering it to, you can simply melt the solder in the connector and plunge the wire into it. The solder on the wire will melt on contact with the liquid solder in the connector, and you then simply hold it in place until the solder solidifies.
The key is to keep the wire steady while the solder cools because you will end up with a poor electrical connection if you move it while the solder is still pasty. Additionally, the solder should be shiny and in liquid form before you try to join it with another piece.
It can be frustrating if you happen to spill solder where you don't want it (such as down the side of your bullet connector). You can sand it or cut it—whatever works—to get the solder off the side of the connector, but I’ve found that a desoldering braid works best. It is a spool of braided wire (usually with flux built into it) that easily soaks up any unwanted solder. Simply press the braid against the unwanted solder, heat the braid with your soldering iron, and the solder will melt into the braid.
If you have any tips or tricks you’d like to share, drop me an email and let me know. In the meantime, happy building and I will see you at the flightline.
Sources
- McMaster-Carr
(330) 342-3330 www.mcmaster.com
- International Radio Controlled Helicopter Association (IRCHA)
Transcribed from original scans by AI. Minor OCR errors may remain.

