

The next generation of pilots
Chris Mulcahy [email protected]
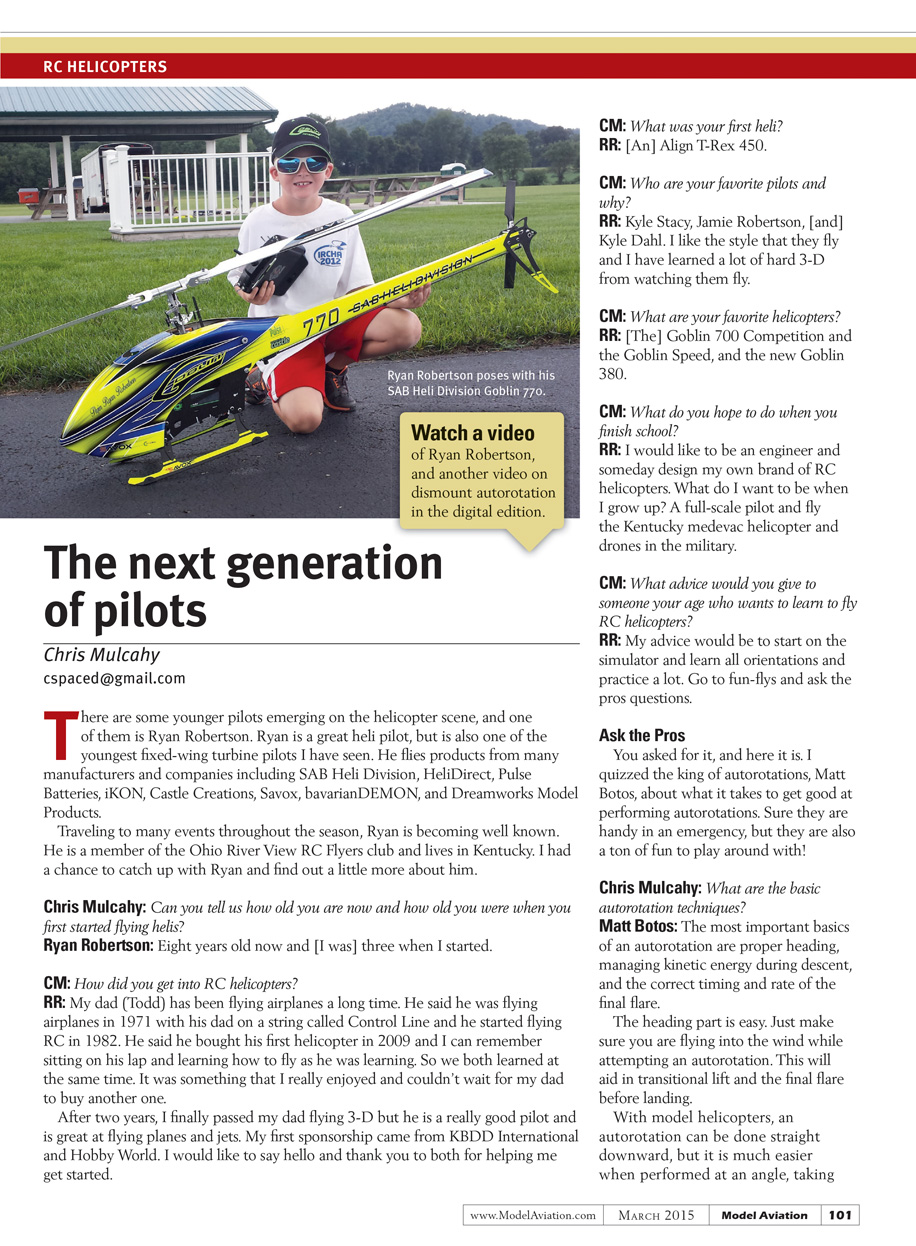
There are some younger pilots emerging on the helicopter scene, and one of them is Ryan Robertson. Ryan is a great heli pilot and is also one of the youngest fixed-wing turbine pilots I have seen. He flies products from many manufacturers and companies including SAB Heli Division, HeliDirect, Pulse Batteries, iKON, Castle Creations, Savox, bavarianDEMON, and Dreamworks Model Products.
Traveling to many events throughout the season, Ryan is becoming well known. He is a member of the Ohio River View RC Flyers club and lives in Kentucky. I had a chance to catch up with Ryan and find out a little more about him.
Interview: Ryan Robertson
Chris Mulcahy: Can you tell us how old you are now and how old you were when you first started flying helis? Ryan Robertson: Eight years old now and I was three when I started.
CM: How did you get into RC helicopters? RR: My dad (Todd) has been flying airplanes a long time. He said he was flying airplanes in 1971 with his dad on a string called control line and he started flying RC in 1982. He said he bought his first helicopter in 2009 and I can remember sitting on his lap and learning how to fly as he was learning. So we both learned at the same time. It was something that I really enjoyed and couldn't wait for my dad to buy another one.
After two years, I finally passed my dad flying 3-D but he is a really good pilot and is great at flying planes and jets. My first sponsorship came from KBDD International and Hobby World. I would like to say hello and thank you to both for helping me get started.
CM: What was your first heli? RR: An Align T-Rex 450.
CM: Who are your favorite pilots and why? RR: Kyle Stacy, Jamie Robertson, and Kyle Dahl. I like the style that they fly and I have learned a lot of hard 3-D from watching them fly.
CM: What are your favorite helicopters? RR: The Goblin 700 Competition, the Goblin Speed, and the new Goblin 380.
CM: What do you hope to do when you finish school? RR: I would like to be an engineer and someday design my own brand of RC helicopters. I also want to be a full-scale pilot and fly the Kentucky medevac helicopter and drones in the military.
CM: What advice would you give to someone your age who wants to learn to fly RC helicopters? RR: My advice would be to start on the simulator and learn all orientations and practice a lot. Go to fun-flys and ask the pros questions.
Ask the Pros
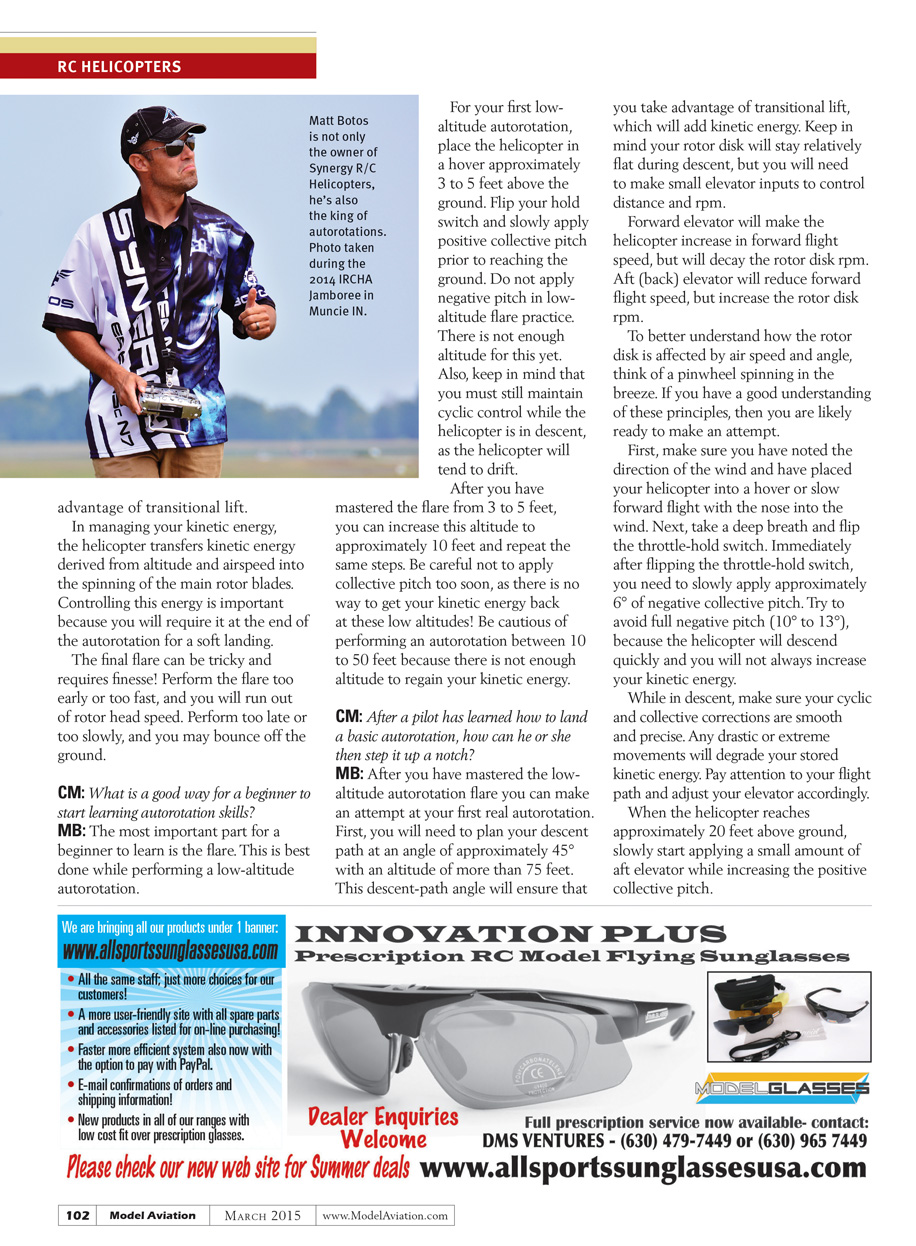
You asked for it, and here it is. I quizzed the king of autorotations, Matt Botos, about what it takes to get good at performing autorotations. Sure they are handy in an emergency, but they are also a ton of fun to play around with!
Autorotations with Matt Botos
Chris Mulcahy: What are the basic autorotation techniques? Matt Botos: The most important basics of an autorotation are proper heading, managing kinetic energy during descent, and the correct timing and rate of the final flare.
The heading part is easy. Just make sure you are flying into the wind while attempting an autorotation. This will aid in translational lift and the final flare before landing.
With model helicopters, an autorotation can be done straight downward, but it is much easier when performed at an angle, taking advantage of transitional lift. In managing your kinetic energy, the helicopter transfers kinetic energy derived from altitude and airspeed into the spinning of the main rotor blades. Controlling this energy is important because you will require it at the end of the autorotation for a soft landing. The final flare can be tricky and requires finesse. Perform the flare too early or too fast, and you will run out of rotor head speed. Perform too late or too slowly, and you may bounce off the ground.
CM: What is a good way for a beginner to start learning autorotation skills? MB: The most important part for a beginner to learn is the flare. This is best done while performing a low-altitude autorotation. For your first low-altitude autorotation, place the helicopter in a hover approximately 3 to 5 feet above the ground. Flip your hold switch and slowly apply positive collective pitch prior to reaching the ground. Do not apply negative pitch in low-altitude flare practice. There is not enough altitude for this yet. Also, keep in mind that you must still maintain cyclic control while the helicopter is in descent, as the helicopter will tend to drift.
After you have mastered the flare from 3 to 5 feet, you can increase this altitude to approximately 10 feet and repeat the same steps. Be careful not to apply collective pitch too soon, as there is no way to get your kinetic energy back at these low altitudes. Be cautious of performing an autorotation between 10 to 50 feet because there is not enough altitude to regain your kinetic energy.
CM: After a pilot has learned how to land a basic autorotation, how can he or she then step it up a notch? MB: After you have mastered the low-altitude autorotation flare you can make an attempt at your first real autorotation. First, you will need to plan your descent path at an angle of approximately 45° with an altitude of more than 75 feet. This descent-path angle will ensure that you take advantage of transitional lift, which will add kinetic energy. Keep in mind your rotor disk will stay relatively flat during descent, but you will need to make small elevator inputs to control distance and rpm.
Forward elevator will make the helicopter increase in forward flight speed, but will decay the rotor disk rpm. Aft (back) elevator will reduce forward flight speed, but increase the rotor disk rpm.
To better understand how the rotor disk is affected by airspeed and angle, think of a pinwheel spinning in the breeze. If you have a good understanding of these principles, then you are likely ready to make an attempt.
First, make sure you have noted the direction of the wind and have placed your helicopter into a hover or slow forward flight with the nose into the wind. Next, take a deep breath and flip the throttle-hold switch. Immediately after flipping the throttle-hold switch, you need to slowly apply approximately 6° of negative collective pitch. Try to avoid full negative pitch (10° to 13°), because the helicopter will descend quickly and you will not always increase your kinetic energy.
While in descent, make sure your cyclic and collective corrections are smooth and precise. Any drastic or extreme movements will degrade your stored kinetic energy. Pay attention to your flight path and adjust your elevator accordingly.
When the helicopter reaches approximately 20 feet above ground, slowly start applying a small amount of aft elevator while increasing the positive collective pitch. As mentioned, the action of applying aft elevator will speed up the rotor disk and reduce forward flight speed in preparation for landing. Applying positive collective pitch proportionate to how quickly the helicopter is approaching the ground is crucial in making a soft landing.
When the helicopter has almost reached the ground and forward flight has diminished, you can then level the rotor disk and prepare to land. If done correctly, you should have enough kinetic energy left over to safely and softly land the helicopter.
After basic autorotation is mastered, you can start attempting aerobatic autorotations. All of the same principles apply to the aerobatic autorotation. The main difference is that you will be transitioning from right-side-up to inverted and potentially pirouetting at the same time. The key to aerobatic autorotations is making certain that your transition is smooth and precise.
While the helicopter is knife-edge relative to the airflow direction, the collective pitch should be as close to zero as possible. This will ensure your rotor disk is maintaining its kinetic energy as efficiently as possible. When transitioning back to a flat rotor disk, your collective pitch transition should not be abrupt, but smooth and precise.
After you have mastered the basics and have attempted some variations of aerobatic autorotations, you will find that the world of autorotations is just as fun and rewarding as flying the helicopter while it's powered.
If you break a few sets of landing gear on your first attempts, don't get discouraged. Just like any other aspect of this hobby, you will eventually progress and feel as if you have accomplished something.
Sources
- International Radio Controlled Helicopter Association (IRCHA) — www.ircha.org
- The Dismount Auto Rotation — E7SE — www.youtube.com/watch?v=3Ulik9oeGBw
- Flyin' Ryan Robertson — www.youtube.com/watch?v=upoqzZEy-Uc
Transcribed from original scans by AI. Minor OCR errors may remain.

