
RC Helicopters
Eric Hawkinson, 319 Yellowstone Ave., Billings MT 59101; E-mail: [email protected]
IT'S ANOTHER great month to be enjoying Radio Control (RC) helicopters! It's cold and snowy as I write this, but you'll read it in the spring when those of us in the North will be ending our winter "building season" and getting back to flying on a regular basis.
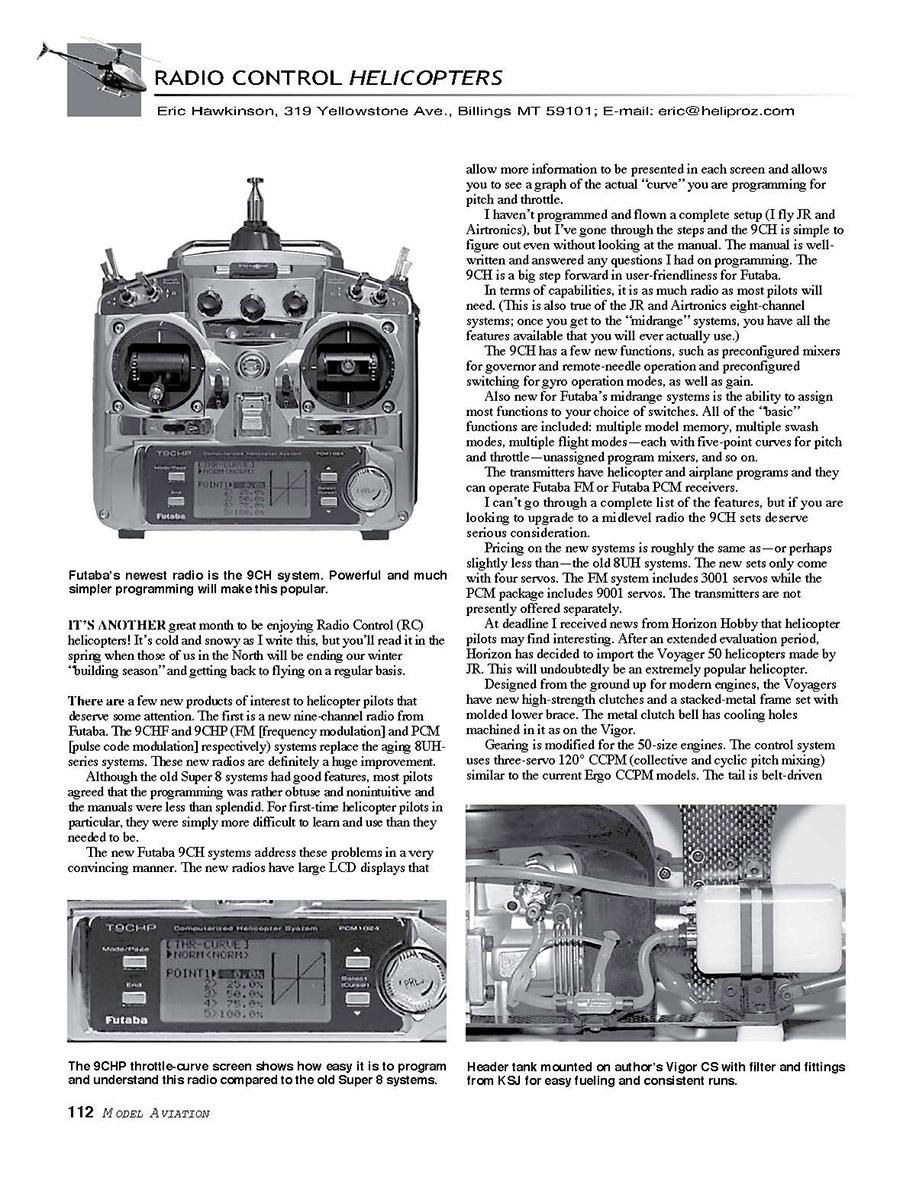
There are a few new products of interest to helicopter pilots that deserve some attention. The first is a new nine-channel radio from Futaba. The 9CHP and 9CHP FM (frequency modulation) and PCM (pulse code modulation) respectively systems replace the aging 8UH series systems. These new radios are definitely a huge improvement.
Although the old Super 8 systems had good features, most pilots agreed that the programming was rather obtuse and nonintuitive and the manuals were less than splendid. For first-time helicopter pilots in particular, they were simply more difficult to learn and use than they needed to be.
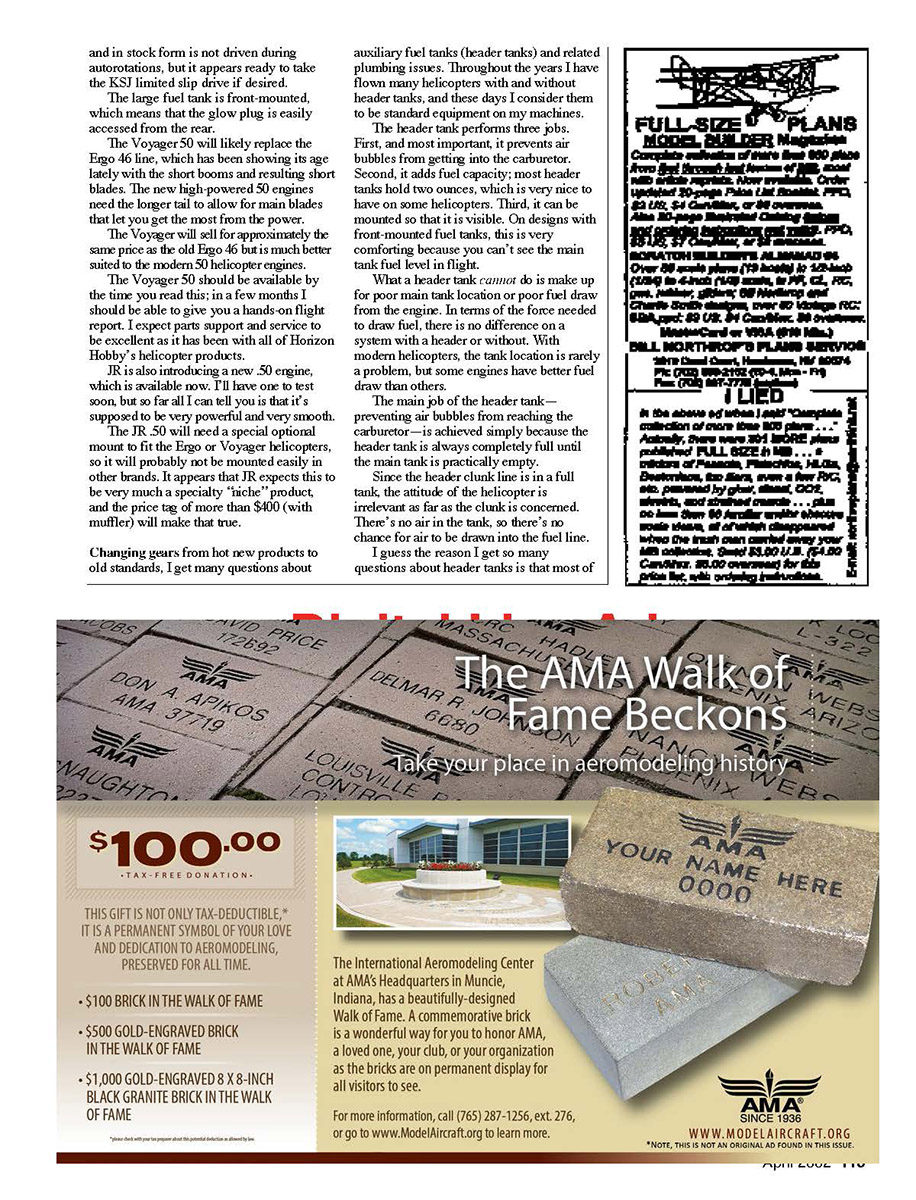
The new Futaba 9CH systems address these problems in a very convincing manner. The new radios have large LCD displays that allow more information to be presented in each screen and allows you to see a graph of the actual "curve" you are programming for pitch and throttle.
I haven't programmed and flown a complete setup (I fly JR and Airtronics), but I've gone through the steps and the 9CH is simple to figure out even without looking at the manual. The manual is well-written and answered any questions I had on programming. The 9CH is a big step forward in user-friendliness for Futaba.
In terms of capabilities, it is as much radio as most pilots will need. (This is also true of the JR and Airtronics eight-channel systems; once you get to the "midrange" systems, you have all the features available that you will ever actually use.)
The 9CH has a few new functions, such as preconfigured mixers for governor and remote-needle operation and preconfigured switching for gyro operation modes, as well as gain.
Also new for Futaba's midrange systems is the ability to assign most functions to your choice of switches. All of the "basic" functions are included: multiple model memory, multiple swash modes, multiple flight modes—each with five-point curves for pitch and throttle—unassigned program mixers, and so on.
The transmitters have helicopter and airplane programs and they can operate Futaba FM or Futaba PCM receivers.
I can't go through a complete list of the features, but if you are looking to upgrade to a midlevel radio the 9CH sets deserve serious consideration.
Pricing on the new systems is roughly the same as—or perhaps slightly less than—the old 8UH systems. The new sets only come with four servos. The FM system includes 3001 servos while the PCM package includes 9001 servos. The transmitters are not presently offered separately.
At deadline I received news from Horizon Hobby that helicopter pilots may find interesting. After an extended evaluation period, Horizon has decided to import the Voyager 50 helicopter made by IR. This will undoubtedly be an extremely popular helicopter.
Designed from the ground up for modern engines, the Voyagers have new high-strength clutches and a stacked-metal frame set with molded lower brace. The metal clutch bell has cooling holes machined in it as on the Vigor.
Gearing is modified for the 50-size engines. The control system uses three-servo 120° CCPM (collective and cyclic pitch mixing) similar to the current Ergo CCPM models. The tail is belt-driven.
Header tanks don't come with instructions. This is probably because the technology is not new or complicated. Still, if you are new to helicopters the hookup may not be obvious. So here are the universal rules of hooking up any header-tank system.
The clunk line on the header tank always goes to the carburetor inlet on the engine. This is the line in which you want to install the filter. When fueling, make sure that you are fueling on the outside of the filter — not in the clunk line. (Filling through the filter will simply trap any dirt on the engine side of the filter, meaning it will immediately be drawn into the engine.)
The vent line on the header tank always attaches to the return line on the main tank. When you are fueling, the fuel fills the header tank then vents into the main tank. When the engine is running the fuel is drawn to the engine from the clunk line on the header tank, and the header tank's vent draws fuel from the main tank's clunk line.
The vent line on the main tank will either go to the muffler pressure tap as usual, or on YS engines, this line will go to the pressure up on the engine. On YS engines this line will run to the one where the check valve is installed.
The location of the header tank will depend on the layout of your helicopter. In general, you want the header-tank outlet to be slightly below the carburetor inlet. You can either drill a new hole for the mounting bracket bolt or, on some helicopters, you can use an existing bolt.
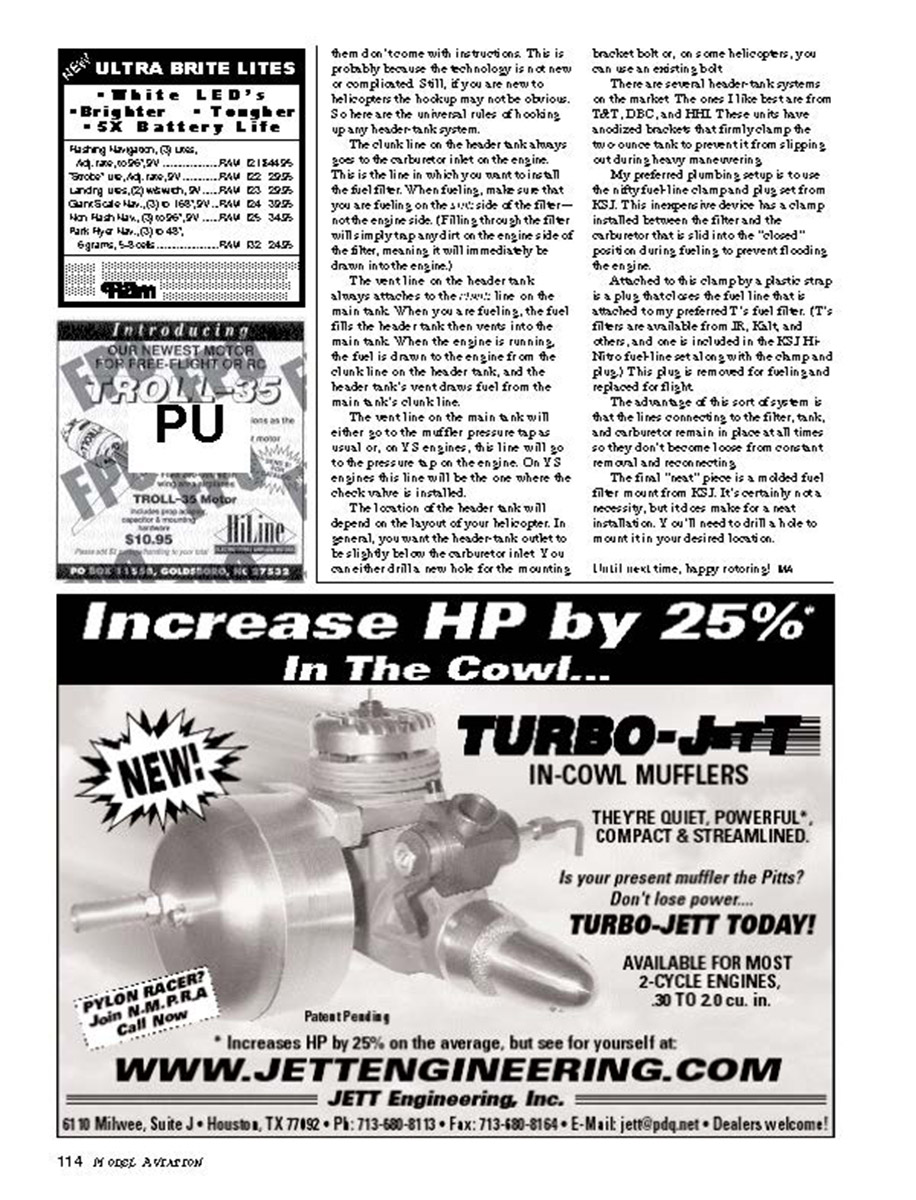
There are several header-tank systems on the market. The ones I like best are from T&T, DBC, and HPI. These units have anodized brackets that firmly clamp the clunk or return line to prevent it from slipping out during heavy maneuvering.
My preferred plumbing setup is to use the nifty Helimike clamp and plug set from KSI. This inexpensive device has a clamp installed between the filter and the carburetor that is slid into the "closed" position during fueling to prevent flooding the engine.
Attached to this clamp is a plastic strap or plug that closes the fuel line that is attached to my preferred T's fuel filter. (T's filters are available from IR, Kalt, and others, and one is included in the KSI Hi-Nitro fuel line set along with the clamp and plug.) This plug is removed for fueling and replaced for flight.
The advantage of this sort of system is that the lines connecting to the filter, tank, and carburetor remain in place at all times so they don't become loose from constant removal and reconnection.
The final "vent" piece is a molded fuel-filter mount from KSI. It's certainly not a necessity, but it does make for a neat installation. You'll need to drill a hole to mount it in your desired location.
Until next time, happy rotoring! WA
Transcribed from original scans by AI. Minor OCR errors may remain.

