
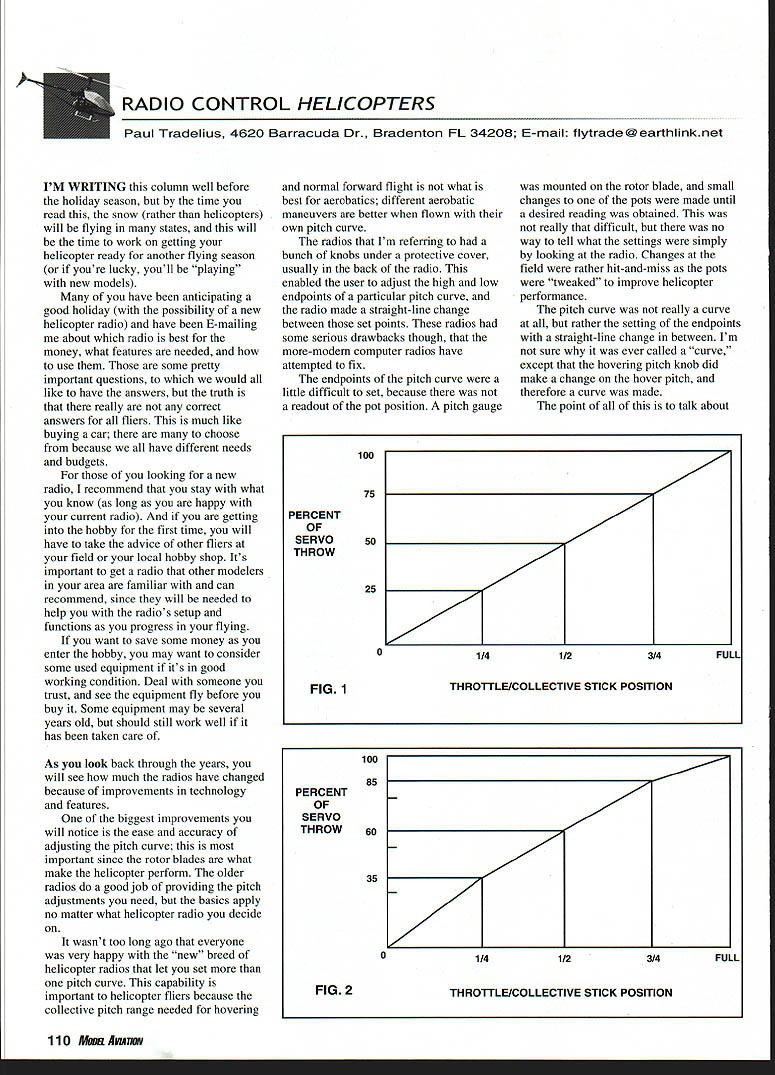
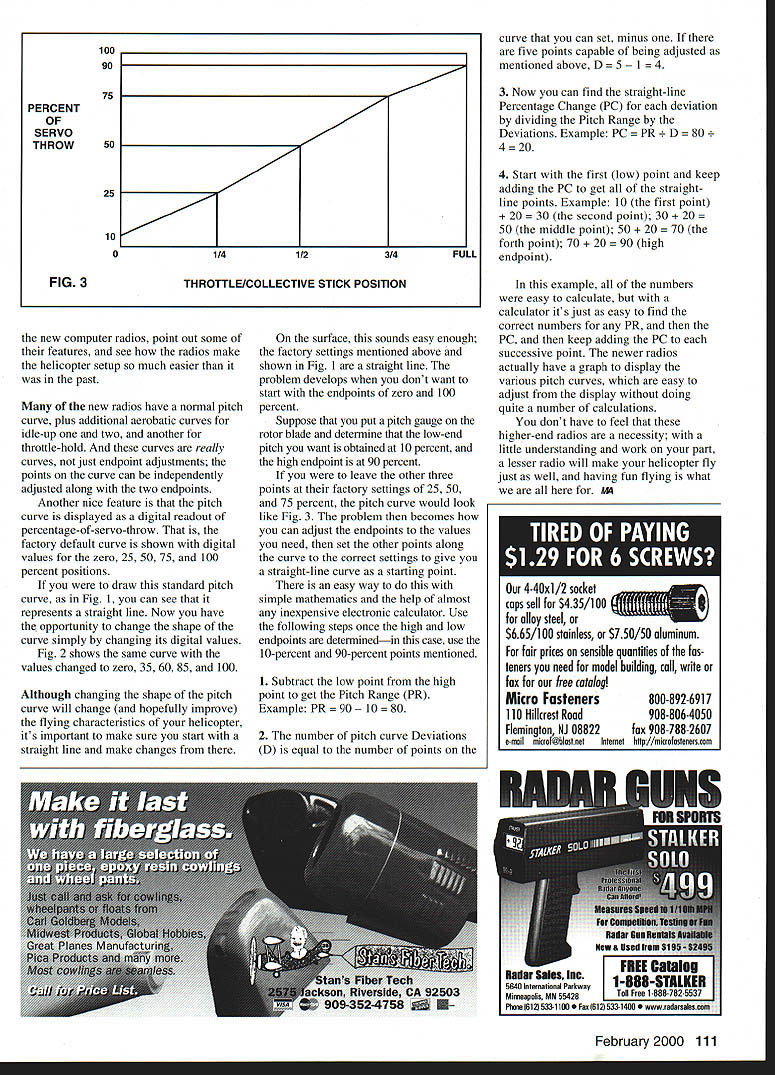
RC Helicopters
Paul Tradelius, 4620 Barracuda Dr., Bradenton FL 34208; E-mail: [email protected]
I'm writing this column well before the holiday season, but by the time you read this, the snow (rather than helicopters) will be flying in many states, and this will be the time to work on getting your helicopter ready for another flying season (or if you're lucky, you'll be "playing" with new models).
Many of you have been anticipating a good holiday (with the possibility of a new helicopter radio) and have been E-mailing me about which radio is best for the money, what features are needed, and how to use them. Those are some pretty important questions, to which we would all like to have the answers, but the truth is that there really are not any correct answers for all fliers. This is much like buying a car; there are many to choose from because we all have different needs and budgets.
For those of you looking for a new radio, I recommend that you stay with what you know (as long as you are happy with your current radio). And if you are getting into the hobby for the first time, you will have to take the advice of other fliers at your field or your local hobby shop. It's important to get a radio that other modelers in your area are familiar with and can recommend, since they will be needed to help you with the radio's setup and functions as you progress in your flying.
If you want to save some money as you enter the hobby, you may want to consider some used equipment if it's in good working condition. Deal with someone you trust, and see the equipment fly before you buy it. Some equipment may be several years old, but should still work well if it has been taken care of.
As you look back through the years, you will see how much the radios have changed because of improvements in technology and features.
Pitch-curve adjustments and radios
One of the biggest improvements you will notice is the ease and accuracy of adjusting the pitch curve; this is most important since the rotor blades are what make the helicopter perform. The older radios do a good job of providing the pitch adjustments you need, but the basics apply no matter what helicopter radio you decide on.
It wasn't too long ago that everyone was very happy with the "new" breed of helicopter radios that let you set more than one pitch curve. This capability is important to helicopter fliers because the collective pitch range needed for hovering and normal forward flight is not what is best for aerobatics; different aerobatic maneuvers are better when flown with their own pitch curve.
The radios that I'm referring to had a bunch of knobs under a protective cover, usually in the back of the radio. This enabled the user to adjust the high and low endpoints of a particular pitch curve, and the radio made a straight-line change between those set points. These radios had some serious drawbacks though, that the more-modern computer radios have attempted to fix.
The endpoints of the pitch curve were a little difficult to set, because there was not a readout of the pot position. A pitch gauge was mounted on the rotor blade, and small changes to one of the pots were made until a desired reading was obtained. This was not really that difficult, but there was no way to tell what the settings were simply by looking at the radio. Changes at the field were rather hit-and-miss as the pots were "tweaked" to improve helicopter performance.
The pitch curve was not really a curve at all, but rather the setting of the endpoints with a straight-line change in between. I'm not sure why it was ever called a "curve," except that the hovering pitch knob did make a change on the hover pitch, and therefore a curve was made.
The point of all of this is to talk about the new computer radios, point out some of their features, and see how the radios make the helicopter setup so much easier than it was in the past.
Many of the new radios have a normal pitch curve, plus additional aerobatic curves for idle-up one and two, and another for throttle-hold. And these curves are really curves, not just endpoint adjustments; the points on the curve can be independently adjusted along with the two endpoints.
Another nice feature is that the pitch curve is displayed as a digital readout of percentage-of-servo-throw. That is, the factory default curve is shown with digital values for the zero, 25, 50, 75, and 100 percent positions.
If you were to draw this standard pitch curve, as in Fig. 1, you can see that it represents a straight line. Now you have the opportunity to change the shape of the curve simply by changing its digital values.
Fig. 2 shows the same curve with the values changed to zero, 35, 60, 85, and 100.
Although changing the shape of the pitch curve will change (and hopefully improve) the flying characteristics of your helicopter, it’s important to make sure you start with a straight line and make changes from there.
On the surface, this sounds easy enough; the factory settings mentioned above and shown in Fig. 1 are a straight line. The problem develops when you don’t want to start with the endpoints of zero and 100 percent.
Suppose that you put a pitch gauge on the rotor blade and determine that the low-end pitch you want is obtained at 10 percent, and the high endpoint is at 90 percent.
If you were to leave the other three points at their factory settings of 25, 50, and 75 percent, the pitch curve would look like Fig. 3. The problem then becomes how you can adjust the endpoints to the values you need, then set the other points along the curve to the correct settings to give you a straight-line curve as a starting point.
Calculating straight-line pitch-curve points
There is an easy way to do this with simple mathematics and the help of almost any inexpensive electronic calculator. Use the following steps once the high and low endpoints are determined—in this case, the 10-percent and 90-percent points mentioned.
- Subtract the low point from the high point to get the Pitch Range (PR).
- Example: PR = 90 − 10 = 80.
- The number of pitch curve Deviations (D) is equal to the number of points on the curve that you can set, minus one.
- If there are five points capable of being adjusted as mentioned above, D = 5 − 1 = 4.
- Now you can find the straight-line Percentage Change (PC) for each deviation by dividing the Pitch Range by the Deviations.
- Example: PC = PR ÷ D = 80 ÷ 4 = 20.
- Start with the first (low) point and keep adding the PC to get all of the straight-line points.
- Example: 10 (the first point) + 20 = 30 (the second point); 30 + 20 = 50 (the middle point); 50 + 20 = 70 (the fourth point); 70 + 20 = 90 (high endpoint).
In this example, all of the numbers were easy to calculate, but with a calculator it’s just as easy to find the correct numbers for any PR, and then the PC, and then keep adding the PC to each successive point. The newer radios actually have a graph to display the various pitch curves, which are easy to adjust from the display without doing quite a number of calculations.
You don’t have to feel that these higher-end radios are a necessity; with a little understanding and work on your part, a lesser radio will make your helicopter fly just as well, and having fun flying is what we are all here for.
MA
Transcribed from original scans by AI. Minor OCR errors may remain.

