
RC JETS
Jim Hiller, 6090 Downs Rd., Champion, OH 44481
Top Gun and Scale success
Congratulations to all the award winners at Top Gun this year, and especially to our jet-flying buddies. The success of the scale-jet competitors was unbelievable, with first places in Expert Scale, Designer Scale, Team Scale, and the Top Gun award. That success will be a topic throughout the scale community.
One neat thing about jet fun-flys across the country is how often you see the same modelers and their scale jets flying at meets. Many of the Top Gun scale competition models were present at Superman 2001 and, in most cases, flying. These guys didn't compete with hangar queens but with well-tested, well-flown scale aircraft.
Notable models and manufacturers
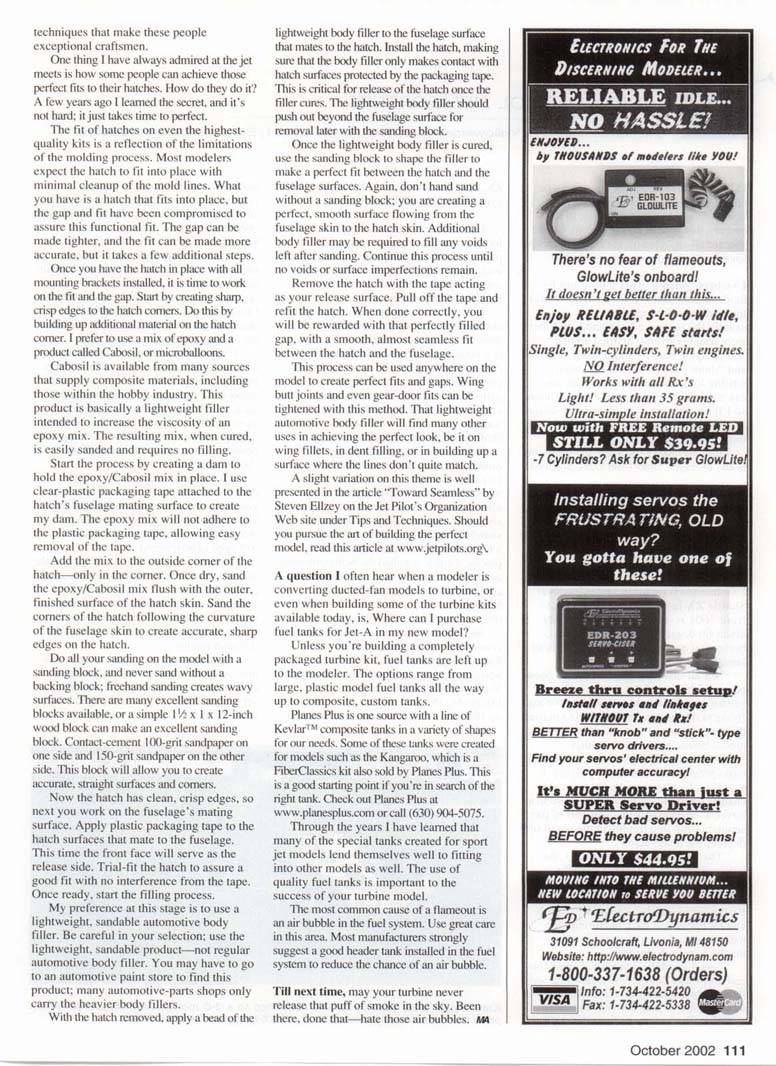
- Expert Scale winner Joe Rafalowski flew a Jet Model Products T-33 designed and manufactured by Tom Cook. It’s an older design but remains one of the highest-quality, most sophisticated fully molded airframe kits on the market. The complete package—landing gear, wheels and brakes, fuel systems, and the turbine-installation package—is well proven for both competition and sport flying.
- The Bob Violett Models F-100, flown by Bob Violett in Designer Scale and by Joe Grice and David Shulman in Team Scale, is a newer entry but is proving reliable and durable.
Tom Cook and Bob Violett understand that most customers want these scale models for sport flying rather than competition. Sport flying places higher demands on reliability and durability; success is measured by maintenance hours per flight, not judges’ scores. Many other manufacturers also provide quality products, but the T-33 and F-100 have simply had opportunities to showcase themselves in skilled hands.
We’re fortunate to have so many high-quality products that a reliable, enjoyable sport aircraft can also be a scale model—true for both jet kits and many military and civilian propeller-model kits.
Learning the techniques: perfect hatch fits
You might think award-winning modelers have skills beyond mere mortals, but you can learn many of the same techniques. One thing I’ve always admired at jet meets is how some modelers achieve perfect hatch fits. The secret isn’t hard; it just takes practice.
The fit of hatches, even on high-quality kits, reflects molding limitations. Most kits are made to fit functionally with minimal cleanup, which compromises gap tightness and accuracy. You can tighten gaps and improve fit by following a few additional steps once the hatch is mounted with all brackets installed.
Steps to create sharp, crisp hatch corners and a near-seamless fit:
- Build up material on the hatch corners. I prefer a mix of epoxy and Cabosil (microballoons). Cabosil is a lightweight filler that increases epoxy viscosity; when cured it sands easily and typically needs no further filler.
- Create a dam to hold the epoxy/Cabosil mix using clear-plastic packaging tape attached to the hatch’s fuselage-mating surface. The epoxy won’t adhere to the tape, allowing easy removal.
- Apply the epoxy/Cabosil mix only to the outside corner of the hatch. After curing, sand the mix flush with the outer, finished surface of the hatch skin, following the fuselage curvature to create accurate, sharp edges.
- Use a sanding block for all sanding; never sand freehand. Freehand sanding creates wavy surfaces. A simple 1½ x 1 x 12-inch wood block works well—contact-cement 100-grit sandpaper on one side and 150-grit on the other.
- With hatch faces cleaned and edges crisp, protect hatch mating surfaces with plastic packaging tape (the front face serves as the release surface). Trial-fit the hatch to check for tape interference.
- Apply a bead of lightweight, sandable automotive body filler to the fuselage surface that mates to the hatch (use the lightweight sandable type, not regular heavy body filler). Install the hatch so the filler only contacts surfaces protected by the tape—this ensures release after curing.
- Once the filler cures, sand with the block to shape the filler for a perfect fit. Add more filler as needed and continue until no voids or surface imperfections remain.
- Remove the hatch (the tape acts as the release), pull off the tape, and refit the hatch. Done correctly, you’ll have a nearly seamless gap and smooth transition between hatch and fuselage.
Materials and tools
- Epoxy mixed with Cabosil (microballoons) for building sharp corners.
- Clear-plastic packaging tape for creating release dams.
- Lightweight, sandable automotive body filler (available at paint stores).
- Sanding block (1½ x 1 x 12 in. wood block recommended) with 100- and 150-grit paper.
- Patience and careful trial-fitting.
This method can be used anywhere on the model to create perfect fits and gaps: wing butt joints, gear-door fits, wing fillets, dent filling, or building up a surface where lines don’t quite match.
A useful variation is presented in Steven Elzey’s article “Toward Seamlessness” on the Jet Pilot’s Organization website under Tips and Techniques. Read it at www.jetpilots.org.
Fuel tanks and flight safety
A common question when converting ducted-fan models to turbine power, or when building turbine kits, is: Where can I purchase fuel tanks for Jet-A?
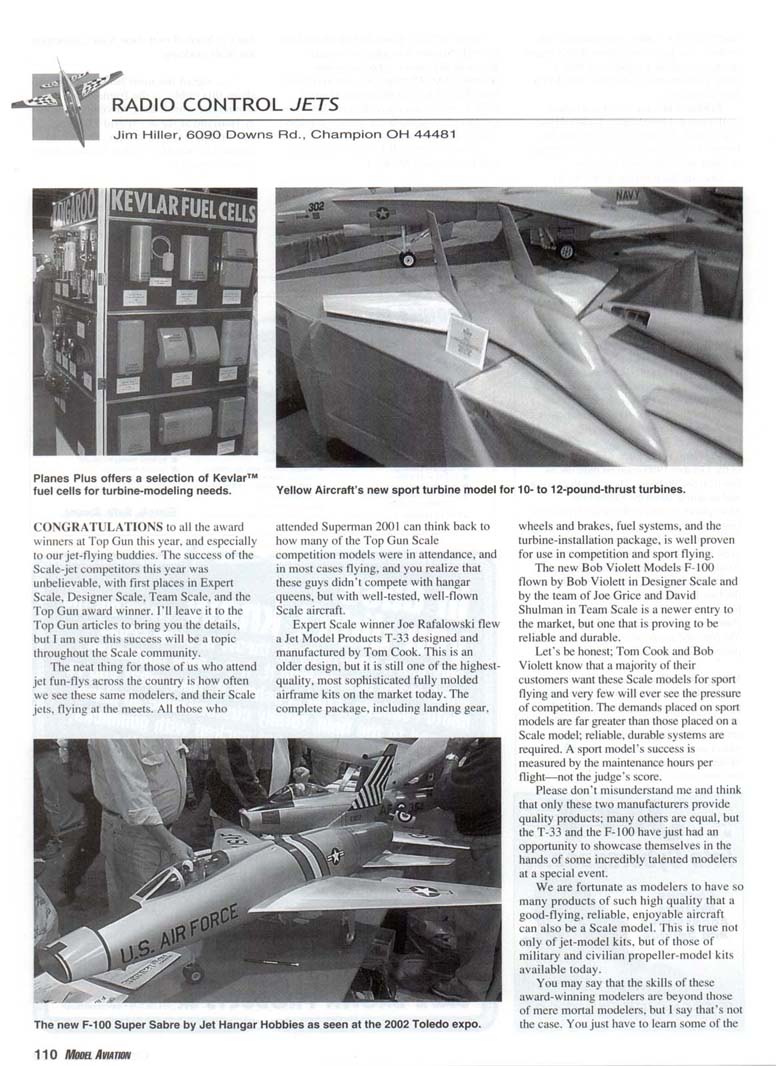
Unless you buy a fully packaged turbine kit, fuel tanks are the modeler’s responsibility. Options range from large plastic model fuel tanks to custom composite tanks. Planes Plus offers a line of Kevlar composite tanks in various shapes for many sport turbine kits; fiberglass tanks are also available. Planes Plus is a good starting point: www.planesplus.com or (630) 904-5075.
Through the years I’ve found many special tanks made for sport jets fit well in other models. Proper fuel tank selection is important to turbine success.
The most common cause of a flameout is an air bubble in the fuel system. Most manufacturers strongly recommend installing a good header tank to reduce the chance of air entering the system.
Till next time—may your turbine never release that puff of smoke in the sky. Been there, done that—hate those air bubbles.
—Jim Hiller
Transcribed from original scans by AI. Minor OCR errors may remain.

