

Eye candy at Toledo
by Jim Hiller [email protected]
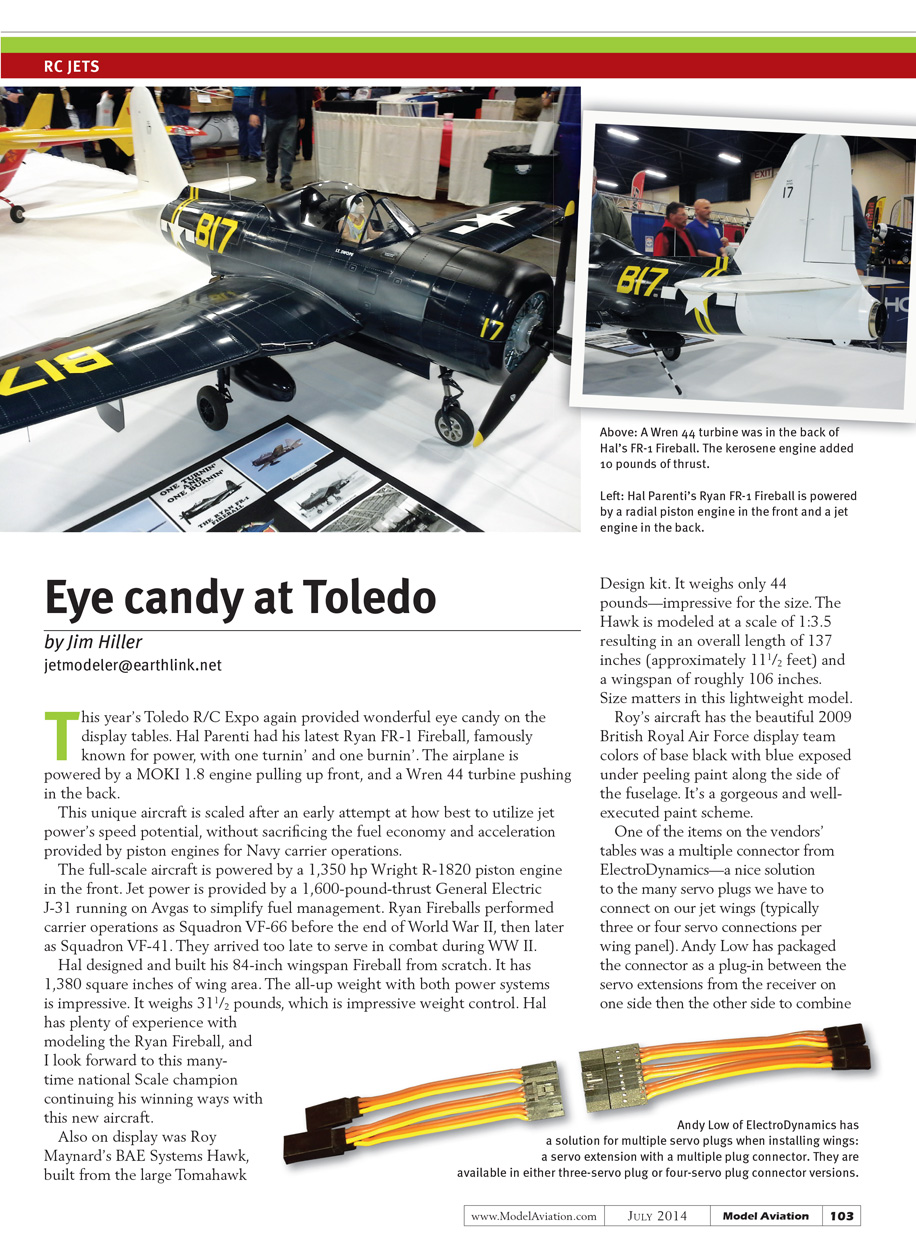
This year’s Toledo R/C Expo again provided wonderful eye candy on the display tables. Hal Parenti had his latest Ryan FR-1 Fireball, famously known for power, with one turnin' and one burnin'. The airplane is powered by a MOKI 1.8 engine pulling up front and a Wren 44 turbine pushing in the back.
This unique aircraft is scaled after an early attempt at how best to utilize jet power’s speed potential without sacrificing the fuel economy and acceleration provided by piston engines for Navy carrier operations. The full-scale aircraft is powered by a 1,350 hp Wright R-1820 piston engine in the front. Jet power is provided by a 1,600-pound-thrust General Electric J-31 running on avgas to simplify fuel management. Ryan Fireballs performed carrier operations as Squadron VF-66 before the end of World War II, then later as Squadron VF-41. They arrived too late to serve in combat during WWII.
Hal designed and built his 84-inch wingspan Fireball from scratch. It has 1,380 square inches of wing area. The all-up weight with both power systems is impressive at 31.5 pounds, a testament to excellent weight control. Hal has plenty of experience modeling the Ryan Fireball, and I look forward to this many-time national scale champion continuing his winning ways with this new aircraft.
Also on display was Roy Maynard’s BAE Systems Hawk, built from the large Tomahawk Design kit. It weighs only 44 pounds—impressive for the size. The Hawk is modeled at a scale of 1:3.5, resulting in an overall length of 137 inches (approximately 11.5 feet) and a wingspan of roughly 106 inches. Size matters in this lightweight model.
Roy’s aircraft wears the beautiful 2009 British Royal Air Force display team colors: base black with blue exposed under peeling paint along the side of the fuselage. It’s a gorgeous and well-executed paint scheme.
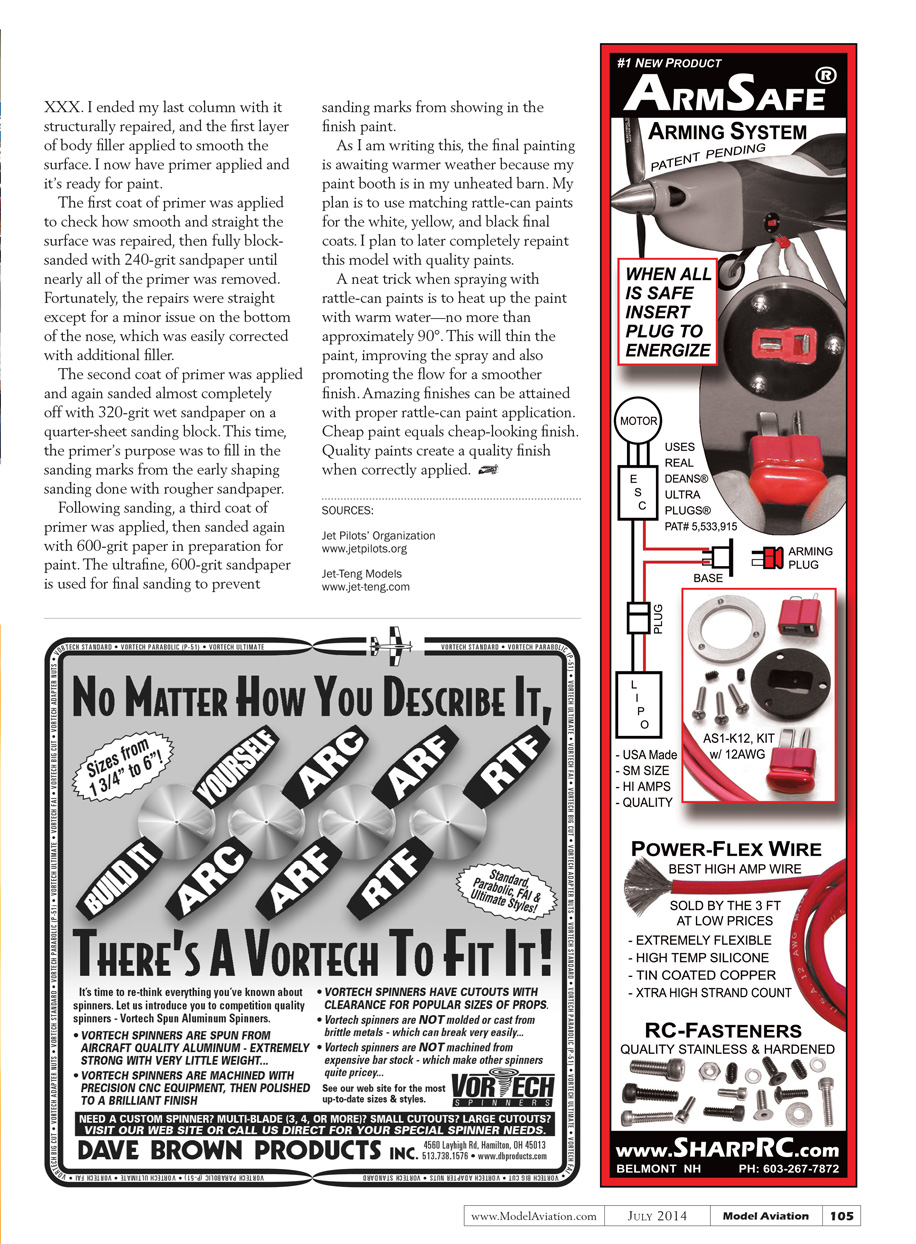
One of the items on the vendors’ tables was a multi-connector from ElectroDynamics—a nice solution to the many servo plugs we have to connect on our jet wings (typically three or four servo connections per wing panel). Andy Low has packaged the connector as a plug-in between the servo extensions from the receiver on one side and the wing-panel servo leads on the other side. You then have only one multi-connector to plug in when installing the wing panel. I asked Andy if someone could special order the lead length on the fuselage side so there would be no servo extensions from the receiver to the plug, and he said yes. Instead of purchasing servo extensions from the receiver to the wing plug, order one of these multi-connectors with the proper length leads and enjoy the simplicity of a single connector when installing your wings. They are available in three-plug and four-plug versions and include a locking tab for a secure connection. You know I’ll be using these on my next project.
Unattended LiPos
I want to thank all of the modelers who remind us of how much damage a LiPo battery can cause when they experience a thermal event. These pilots remind us all of how dangerous batteries can be. David Searles shared his experience—along with the damage to his RV—as a result of a three-cell LiPo catching fire while unattended after charging. Modelers typically think of LiPos having problems during charging or post-crash, but this should be a reminder to never drop our respect for the high energy stored in a LiPo battery and how much damage they can cause when they fail. Thanks, David, for sharing.
Jet-Teng EDF XXX Jet
Now back to the repairs to the nose section of my sport EDF Jet-Teng XXX. I ended my last column with it structurally repaired and the first layer of body filler applied to smooth the surface. I now have primer applied and it’s ready for paint. The first coat of primer was applied to check how smooth and straight the repaired surface was, then fully block-sanded with 240-grit sandpaper until nearly all of the primer was removed. Fortunately, the repairs were straight except for one minor issue on the bottom of the nose, which was easily corrected with additional filler.
The second coat of primer was applied and again sanded almost completely off with 320-grit wet sandpaper on a quarter-sheet sanding block. This coat’s purpose was to fill in the sanding marks from the earlier shaping done with rougher sandpaper.
Following sanding, a third coat of primer was applied, then sanded again with 600-grit paper in preparation for paint. Ultrafine 600-grit sandpaper is used for final sanding to prevent sanding marks from showing in the finish paint.
As I write this, final painting is awaiting warmer weather because my paint booth is in an unheated barn. My plan is to use matching rattle-can paints for the white, yellow, and black final coats. I plan to later completely repaint this model with quality paints.
A neat trick when spraying with rattle-can paints is to heat the paint in warm water—no more than approximately 90°F (about 32°C). This will thin the paint, improve the spray, and promote flow for a smoother finish. Amazing finishes can be attained with proper rattle-can paint application. Cheap paint equals a cheap-looking finish; quality paints create a quality finish when correctly applied.
SOURCES
- Jet Pilots’ Organization — www.jetpilots.org
- Jet-Teng Models — www.jet-teng.com
Transcribed from original scans by AI. Minor OCR errors may remain.

