
Setting the correct transmitter spring tension
by Jim Hiller [email protected]
Nearly all transmitters have adjustable control stick spring tension. Have you ever adjusted the spring tension on your transmitter sticks to match your style?
How much spring tension is correct? My answer is to do what works for you. Stick tension can help correct bad habits, and aid in completing precision maneuvers and achieving smooth flying. As you tighten your transmitter’s springs, the stick will have a higher breakout pressure (the force required to move the stick off center). A softer spring adjustment will reduce this breakout pressure, which can also be used in your favor.
Tighter springs prevent you from inputting the incorrect control axis. As you pull back on the elevator, strong aileron springs restrict you from moving the stick off center and inputting aileron—eliminating the risk of your loop drifting to the side or your landing drifting to the edge of the runway. Some precision aerobatics pilots utilize strong springs for this reason. It prevents inputting roll when moving the elevator, and likewise from accidentally inputting elevator when rolling the model. If you have this problem, consider using stiffer springs.
I prefer soft spring settings on the control stick. The light breakout pressures help me smoothly fly the aircraft. I have to be more conscious of the fact that I can easily move the stick incorrectly and input ailerons when I only want elevator movement.
This often happens when landing a new airplane. We’ve likely all seen it or done it. While concentrating on getting the elevator movement correct for a smooth flare, we get behind and start making coarse elevator corrections. The aircraft starts rolling and heading off the runway. At this point, it is not uncommon for a pilot’s workload to go into overload—resulting in a bad landing, typically off the runway, damaging the landing gear.
Let’s discuss whether stick tension settings can help in this adrenaline-packed moment.
Pilots who are thumb fliers tend to pull the stick down and to the right, causing the model to drift to the right. I have found that pinchers (pilots who pinch the sticks with their thumbs and forefingers) often pull down and to the left. This tendency can be reduced with stick spring tension. When you realize what is happening, it is easier to correct yourself and save a bad landing.
A fellow pilot taught me that a medium elevator spring setting and harder aileron spring tension make it difficult to accidentally move the stick off to the side, inputting roll when pulling back on the stick. This has worked for me. My transmitter is similarly set up, with a soft elevator spring and a slightly stiffer aileron spring.
Does setting stronger aileron spring tension solve the problem of accidental aileron input when pulling the elevator? The answer is: not entirely. But the act of setting up the transmitter springs will make you aware of this tendency so you can recognize what is happening and make corrections. Having the aileron springs tighter than the elevator has helped me perform straighter loops.
Andy Andrews' F-86
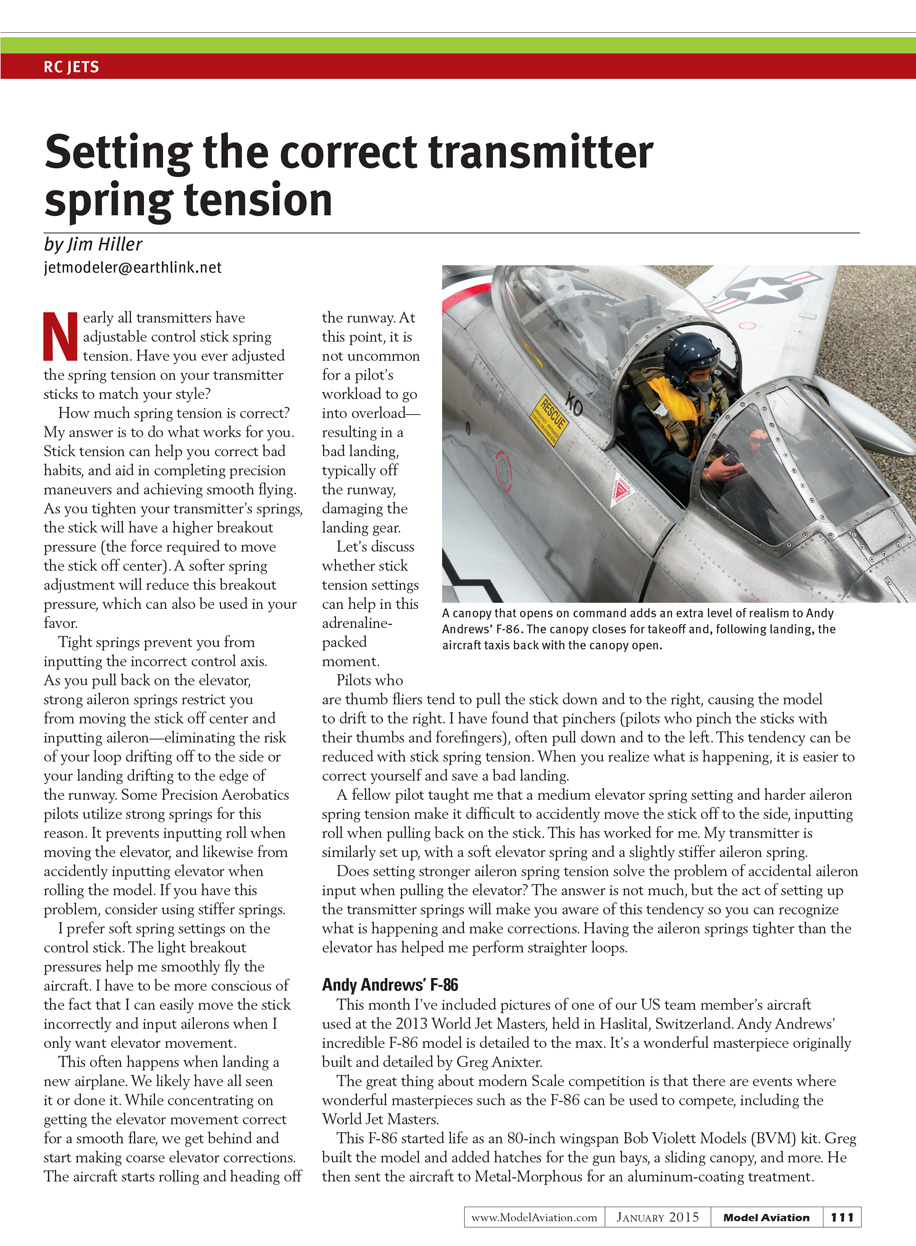
This month I’ve included pictures of one of our US team members’ aircraft used at the 2013 World Jet Masters, held in Haslital, Switzerland. Andy Andrews’ incredible F-86 model is detailed to the max. It’s a wonderful masterpiece originally built and detailed by Greg Anixter.
The great thing about modern scale competition is that there are events where masterpieces such as the F-86 can be used to compete, including the World Jet Masters.
This F-86 started life as an 80-inch wingspan Bob Violett Models (BVM) kit. Greg built the model and added hatches for the gun bays, a sliding canopy, and more. He then sent the aircraft to Metal‑Morphous for an aluminum-coating treatment. Metal‑Morphous applied a thin layer of aluminum to the aircraft’s nonmetallic surfaces. The finish is hard and durable. This process gives the aircraft a mirror finish, so finishing work prior to plating is critical.
Much time, effort, care, and attention to detail were needed to get the model prepped for plating. The result is stunning. Additional information about this process and how much work is involved can be found on the Metal‑Morphous website.
The effort did not end when the plating was finished. Rivets and screws were duplicated, paint was applied, and then the proper nomenclature was added in all the right places.
Pro‑Mark Graphics was the supplier of choice for the paint stencils and the model’s nomenclature. This company is known for the quality of its work, and this F-86 shows it.
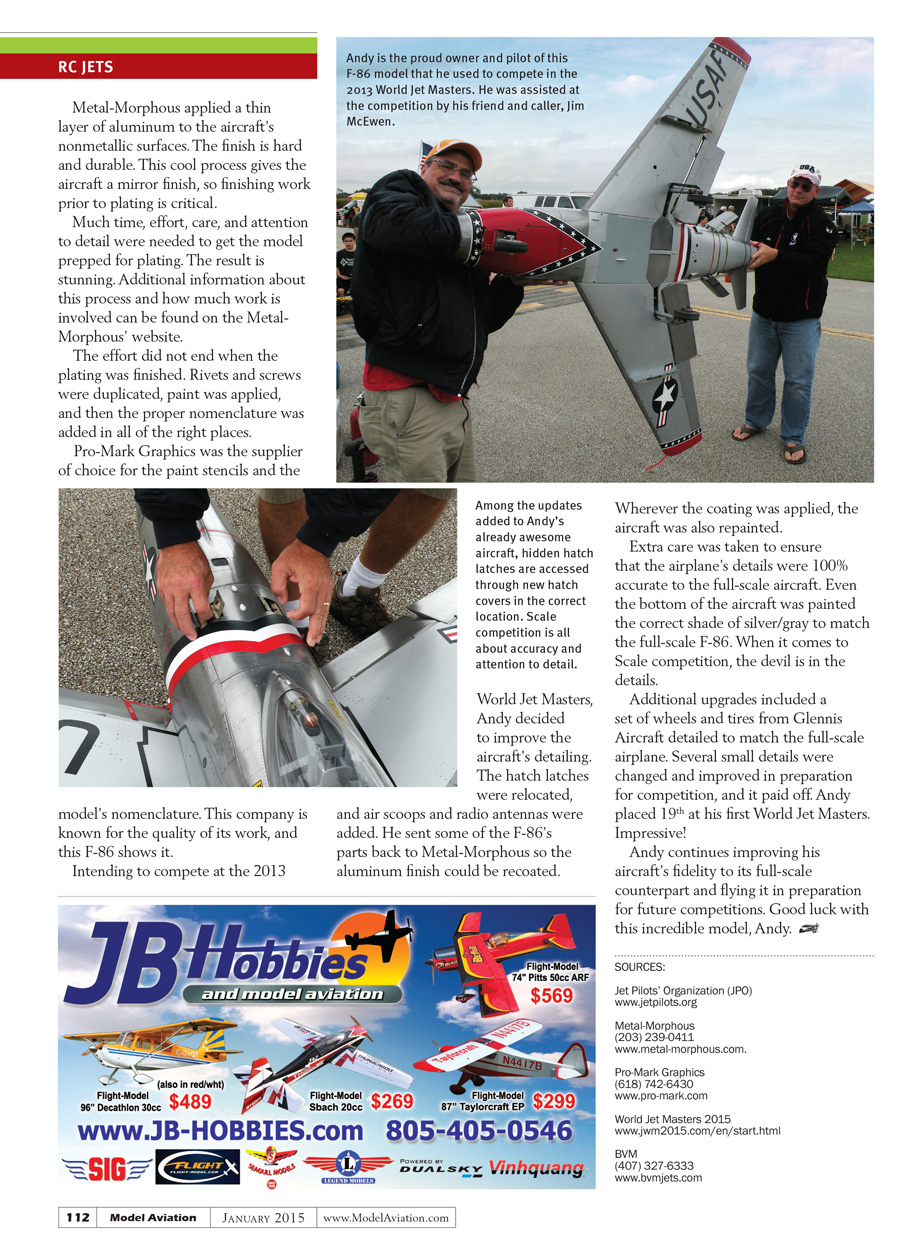
Intending to compete at the 2013 World Jet Masters, Andy decided to improve the aircraft’s detailing. The hatch latches were relocated, and air scoops and radio antennas were added. He sent some of the F-86’s parts back to Metal‑Morphous so the aluminum finish could be recoated. Wherever the coating was applied, the aircraft was also repainted.
Extra care was taken to ensure that the airplane’s details were 100% accurate to the full-scale aircraft. Even the bottom of the aircraft was painted the correct shade of silver/gray to match the full-scale F-86. When it comes to scale competition, the devil is in the details.
Additional upgrades included a set of wheels and tires from Glennis Aircraft detailed to match the full-scale airplane. Several small details were changed and improved in preparation for competition, and it paid off. Andy placed 19th at his first World Jet Masters. Impressive!
Andy continues improving his aircraft’s fidelity to its full-scale counterpart and flying it in preparation for future competitions. Good luck with this incredible model, Andy.
Sources
- Jet Pilots’ Organization (JPO)
- Metal‑Morphous
(203) 239-0411 www.metal-morphous.com
- Pro‑Mark Graphics
(618) 742-6430 www.pro-mark.com
- World Jet Masters 2015
- BVM (Bob Violett Models)
(407) 327-6333 www.bvmjets.com
Transcribed from original scans by AI. Minor OCR errors may remain.

