
Flight testing the FeiBao Hawk
by Jim Hiller [email protected]
Today I took my FeiBao Hawk for its second flying session. My goal was to refine the airplane's setup—an endeavor that typically takes several flights. Since my first outing and test flight, I have removed some nose weight.
I prefer to set up control throws on a new airplane before the test flight. I set mid-rate at the recommended control throws, high rate at 30% greater, and low rate where I believe the control throws should be, based on experience.
Exponential settings for these rates are kept to a minimum unless the airframe manufacturer has recommendations. I set the high rate greater than recommended in case I experience problems such as excessive trim requirements.
I fly with a JR 12X and certain flight modes allow individual trimming for each setting. I set up flight modes on the flap switch: up-flap for normal flying, mid-position for takeoff, and down for landing.
The advantage of this setup is that I can trim after takeoff with flaps up for normal flight conditions, then lower the landing gear and flaps to takeoff position, trim the model again, then lower the flaps to the landing position and trim the model again. These trim settings are only active in their assigned flight modes.
When I take the time to set up flight modes during the first landing, I have a properly trimmed airplane, even if the flaps create a roll from not extending evenly, or if they cause excessive pitch/trim changes. All of this can be corrected when landing.
After the first flight is over, it's time to dial in the model. I am a former Pattern flier and I tend to spend much time on this phase, but with jets my trim goals are slightly different than what one tries to achieve with a Pattern airplane.
Many jets are not the friendliest airplanes to fly. Many do not have gentle stall characteristics. The FeiBao Hawk, with its early wing, has a reputation for a nasty stall. A quick search on RCUinverse.com led me to plenty of shared experiences on this model's proper setup.
The manual's recommended CG makes the aircraft nose-heavy, so my initial balance was based on the values I read on RCUinverse.
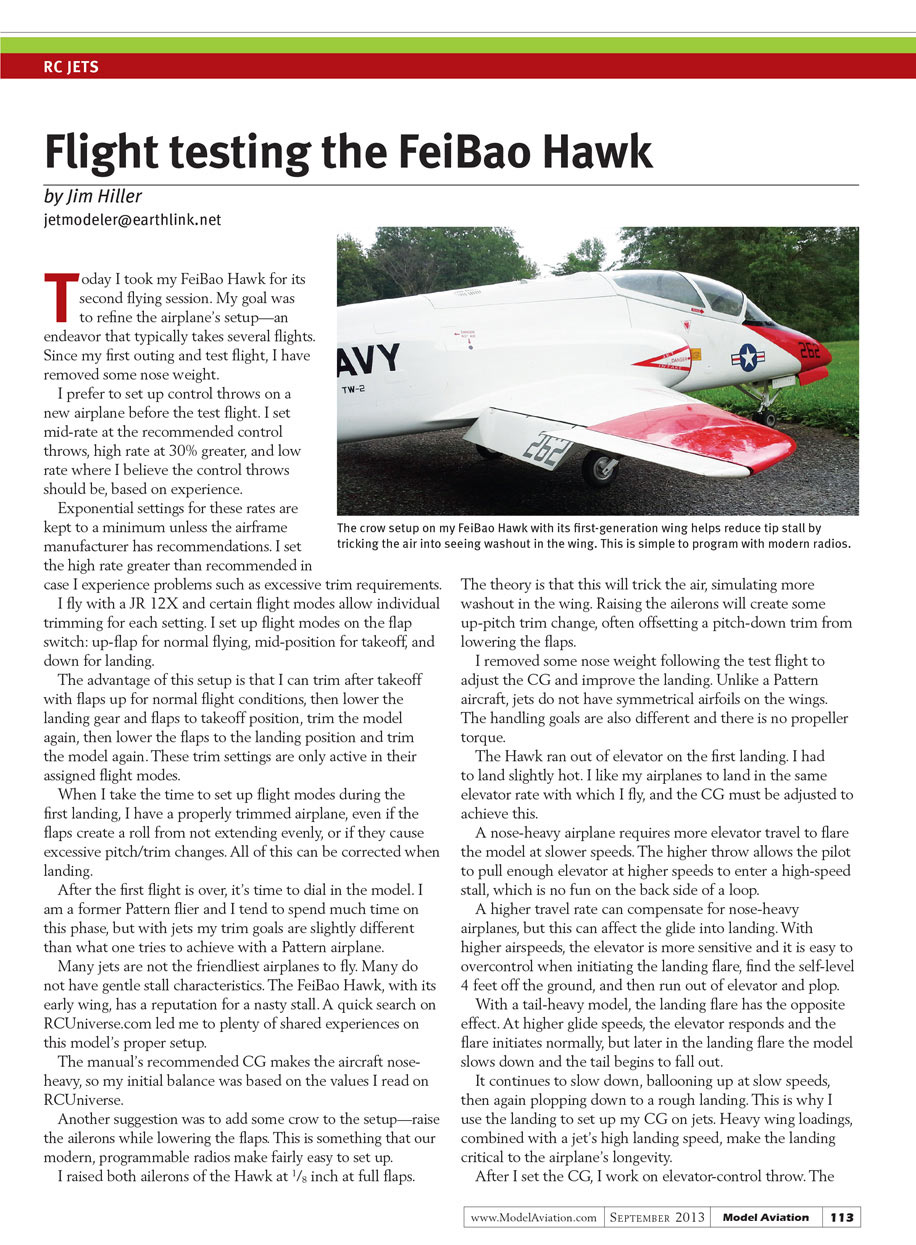
Another suggestion was to add some crow to the setup—raise the ailerons while lowering the flaps. This is something that our modern, programmable radios make fairly easy to set up.
I raised both ailerons of the Hawk at 1/8 inch at full flaps. The crow setup on my FeiBao Hawk with its first-generation wing helps reduce tip stall by tricking the air into seeing washout in the wing. This is simple to program with modern radios.
The theory is that this will trick the air, simulating more washout in the wing. Raising the ailerons will create some up-pitch trim change, often offsetting a pitch-down trim from lowering the flaps.
I removed some nose weight following the test flight to adjust the CG and improve the landing. Unlike a Pattern aircraft, jets do not have symmetrical airfoils on the wings. The handling goals are also different and there is no propeller torque.
The Hawk ran out of elevator on the first landing. I had to land slightly hot. I like my airplanes to land in the same elevator rate with which I fly, and the CG must be adjusted to achieve this.
A nose-heavy airplane requires more elevator travel to flare the model at slower speeds. The higher throw allows the pilot to pull enough elevator at higher speeds to enter a high-speed stall, which is no fun on the back side of a loop.
A higher travel rate can compensate for nose-heavy airplanes, but this can affect the glide into landing. With higher airspeeds, the elevator is more sensitive and it is easy to overcontrol when initiating the landing flare, find the self-level 4 feet off the ground, and then run out of elevator and plop.
With a tail-heavy model, the landing flare has the opposite effect. At higher glide speeds, the elevator responds and the flare initiates normally, but later in the landing flare the model slows down and the tail begins to fall out.
It continues to slow down, ballooning up at slow speeds, then again plopping down to a rough landing. This is why I use the landing to set up my CG on jets. Heavy wing loadings, combined with a jet's high landing speed, make their landing critical to the airplane's longevity.
After I set the CG, I work on elevator-control throw. The
RC Jets
Jim Hiller
elevator throw can be reduced to a near stall with a full-elevator application. I do this in low rate—my normal flying rate. I check this at slow speed in landing configuration and again at moderate-to-high speeds, but not too fast. Jet wings can tear in full-speed, full-control deflection maneuvers.
The full-elevator stall will start some wing drop, relaxing the control as it recovers from the stall with minimal altitude loss. Take some time to set this reduced rate. It will pay off when you are making a late turn to final, pulling hard on the elevator, and the model stalls. It is much easier to recover from being at a near-stall than a fully developed stall.
Why not just use the recommended setup from the manufacturers? The recommendations are only as good as the people who make them. In the old days, highly motivated modelers grew to become kit manufacturers. Their recommendations were good because they were experienced fliers offering quality advice.
Today, ARFs are manufactured worldwide. Some of these manufacturers have no aircraft flying experience, yet build something that looks like an airplane. They copy from others then sell their products. Good luck if you buy from one of those.
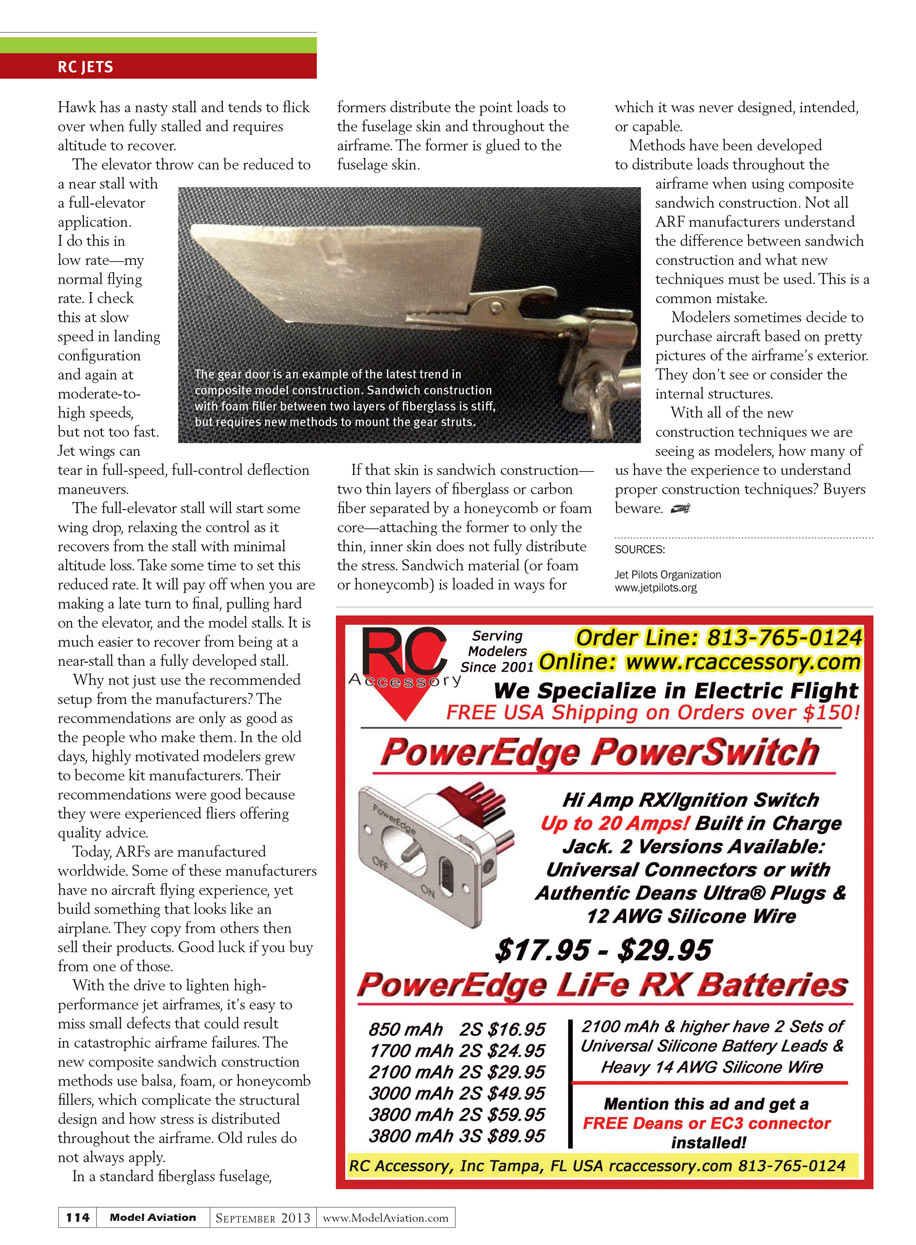
With the drive to lighten high-performance jet airframes, it's easy to miss small defects that could result in catastrophic airframe failures. The new composite sandwich construction methods use balsa, foam, or honeycomb fillers, which complicate the structural design and how stress is distributed throughout the airframe. Old rules do not always apply.
In a standard fiberglass fuselage, formers distribute the point loads to the fuselage skin and throughout the airframe. The former is glued to the fuselage skin.
If that skin is sandwich construction—two thin layers of fiberglass or carbon fiber separated by a honeycomb or foam core—attaching the former to only the thin, inner skin does not fully distribute the stress. Sandwich material (or foam or honeycomb) is loaded in ways for which it was never designed, intended, or capable.
Methods have been developed to distribute loads throughout the airframe when using composite sandwich construction. Not all ARF manufacturers understand the difference between sandwich construction and what new techniques must be used. This is a common mistake.
Modelers sometimes decide to purchase aircraft based on pretty pictures of the airframe's exterior. They don't see or consider the internal structures.
With all of the new construction techniques we are seeing as modelers, how many of us have the experience to understand proper construction techniques? Buyers beware.
SOURCES: Jet Pilots Organization www.jetpilots.org
Transcribed from original scans by AI. Minor OCR errors may remain.

