
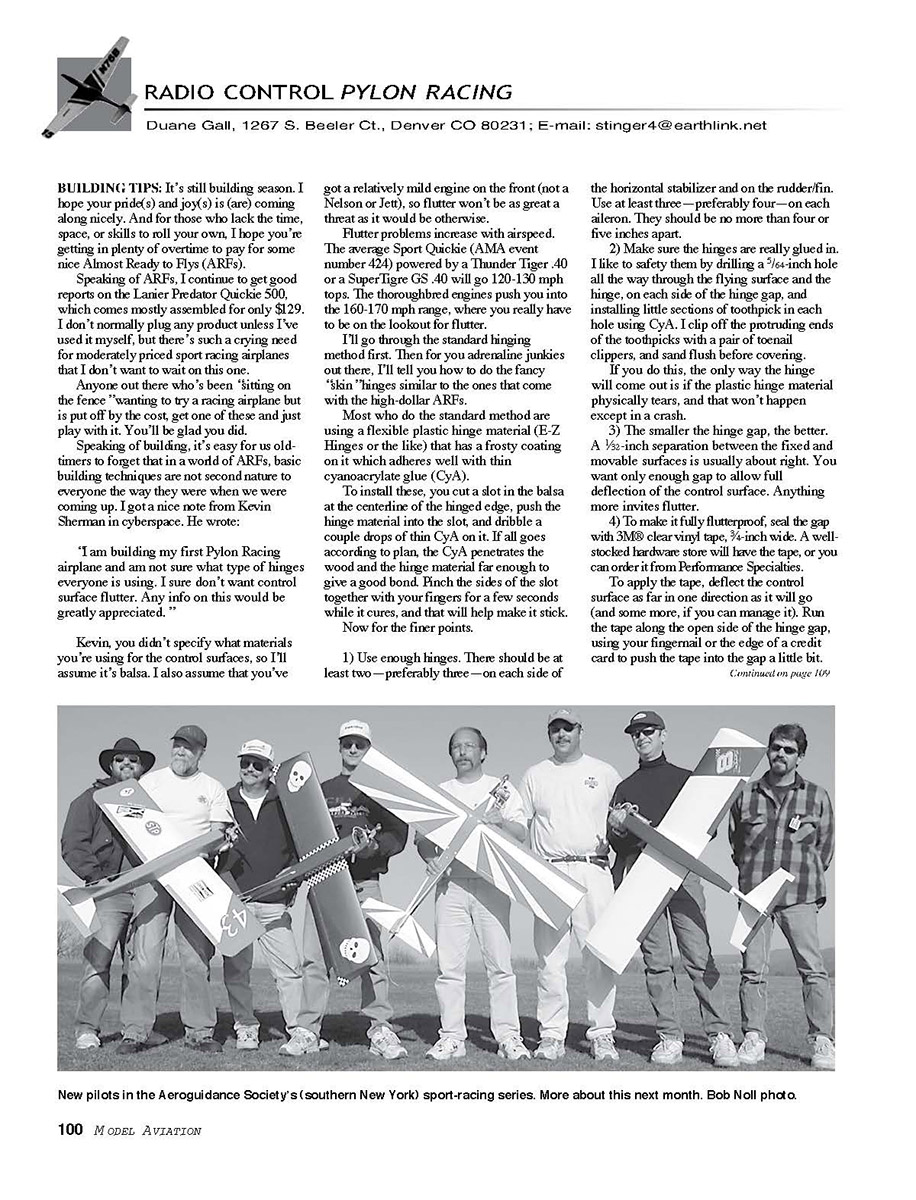
RADIO CONTROL PYLON RACING
Duane Gall, 1267 S. Beeler Ct., Denver CO 80231; E-mail: [email protected]
BUILDING TIPS:
It's still building season. I hope your pride(s) and joy(s) is (are) coming along nicely. And for those who lack the time, space, or skills to roll your own, I hope you're getting in plenty of overtime to pay for some nice Almost Ready to Flys (ARFs).
Speaking of ARFs, I continue to get good reports on the Lancer Predator Quickie 500, which comes mostly assembled for only $129. I don't normally plug any product unless I've used it myself, but there's such a crying need for moderately priced sport racing airplanes that I don't want to wait on this one.
Anyone out there who's been "sitting on the fence" wanting to try a racing airplane but is put off by the cost, get one of these and just play with it. You'll be glad you did.
Speaking of building, it's easy for us old-timers to forget that in a world of ARFs, basic building techniques are not second nature to everyone the way they were when we were coming up. I got a nice note from Kevin Sherman in cyberspace. He wrote:
"I am building my first Pylon Racing airplane and am not sure what type of hinges everyone is using. I sure don't want control surface flutter. Any info on this would be greatly appreciated."
Kevin, you didn't specify what materials you're using for the control surfaces, so I'll assume it's balsa. I also assume that you've got a relatively mild engine on the front (not a Nelson or Jett), so flutter won't be as great a threat as it would be otherwise.
Flutter problems increase with airspeed. The average Sport Quickie (AMA event number 424) powered by a Thunder Tiger .40 or a SuperTiger G5 .40 will go 120-130 mph tops. The thoroughbred engines push you into the 160-170 mph range, where you really have to be on the lookout for flutter.
I'll go through the standard hinging method first. Then for you adrenaline junkies out there, I'll tell you how to do the fancy "skin" hinges similar to the ones that come with the high-dollar ARFs.
Most who do the standard method are using a flexible plastic hinge material (E-Z Hinges or the like) that has a frosty coating on it which adheres well with thin cyanoacrylate glue (CYA).
To install these, you cut a slot in the balsa at the centerline of the hinged edge, push the hinge material into the slot, and dribble a couple drops of thin CYA on it. If all goes according to plan, the CYA penetrates the wood and the hinge material far enough to give a good bond. Pinch the sides of the slot together with your fingers for a few seconds while it cures, and that will help make it stick.
Now for the finer points.
- Use enough hinges. There should be at least two—preferably three—on each side of the horizontal stabilizer and on the rudder/fin. Use at least three—preferably four—on each aileron. They should be no more than four or five inches apart.
- Make sure the hinges are really glued in. I like to safety them by drilling a 5/64-inch hole all the way through the flying surface and the hinge, on each side of the hinge gap, and installing little sections of toothpick in each hole using CYA. I clip off the protruding ends of the toothpicks with a pair of toenail clippers, and sand flush before covering.
If you do this, the only way the hinge will come out is if the plastic hinge material physically tears, and that won't happen except in a crash.
- The smaller the hinge gap, the better. A 1/32-inch separation between the fixed and movable surfaces is usually about right. You want only enough gap to allow full deflection of the control surface. Anything more invites flutter.
- To make it fully flutterproof, seal the gap with 3M® clear vinyl tape, 3/4-inch wide. A well-stocked hardware store will have the tape, or you can order it from Performance Specialties.
To apply the tape, deflect the control surface as far in one direction as it will go (and some more, if you can manage it). Run the tape along the open side of the hinge gap, using your fingernail or the edge of a credit card to push the tape into the gap a little bit.
Continued on page 101
Those who are good at planning ahead can use a variation of this method wherein the fiberglass or Kevlar™ strips placed under the top sheeting at the same time the sheeting is bonded to the foam core. Instead of cutting the aileron completely free, you'll need to carefully rout a slot on the bottom without cutting through the fiberglass. You'll also need to score the balsa top skin with a ballpoint pen, then rock the hinge back and forth a few times to free it up.
If you are drilling the ailerons using torque rods, the hinge-under-the-skin method is a slight improvement because it makes the hinge more coaxial with the torque rod. The result is more available throw and less binding in the linkage.
I like to set up my airplanes with fairly crisp aileron response, so it's nice to be able to increase the throw beyond what's available on most of the composite prebuilt stuff.
Q: Small Feeding of Engines:
Since I'm doing radial types and I have a little space left, I'll answer a question that's quite common this time of year. I can't remember who asked it, but someone you know either has or will soon!
Q: My engine has been sitting around for a while, and the bearings are stiff. What should I do?
A: Unless the bearings have actually rusted—remember, fuel has alcohol in it, which attracts water, which causes rust—you just have some dried castor oil from the residual fuel that was in it after you ran it the last time. Usually, all it needs is some fresh fuel and some gentle hand turning of the crankshaft.
In serious cases use lacquer thinner. A few drops is all it takes. Use an eyedropper, available in most pharmacies in a package with one of those little brown glass bottles—you know the ones.
Apply a drop of lacquer thinner to the front bearing, two to three drops down the venturi, and two to three drops in the exhaust or through the glow-plug hole. Turn the engine, dump or carry excess, and follow immediately with Marvel Mystery Oil or Peerless Specialties magic engine oil—same quantity, same locations.
Do this after each flying session, and your bearings will outlast the rest of the engine.
Transcribed from original scans by AI. Minor OCR errors may remain.

