
Tips to prepare you for competition day
by John Glezellis [email protected]
General Aircraft Setup Techniques
As a pilot gains experience and progresses up the competition ladder, he or she quickly learns that every point counts. Attention must not only be given to perfecting a particular sequence, but also to the aircraft’s setup. If you are too focused on correcting odd tendencies caused by improper trimming, the result will be downgrades and lower placings.
Before taking to the skies, evaluate the airframe:
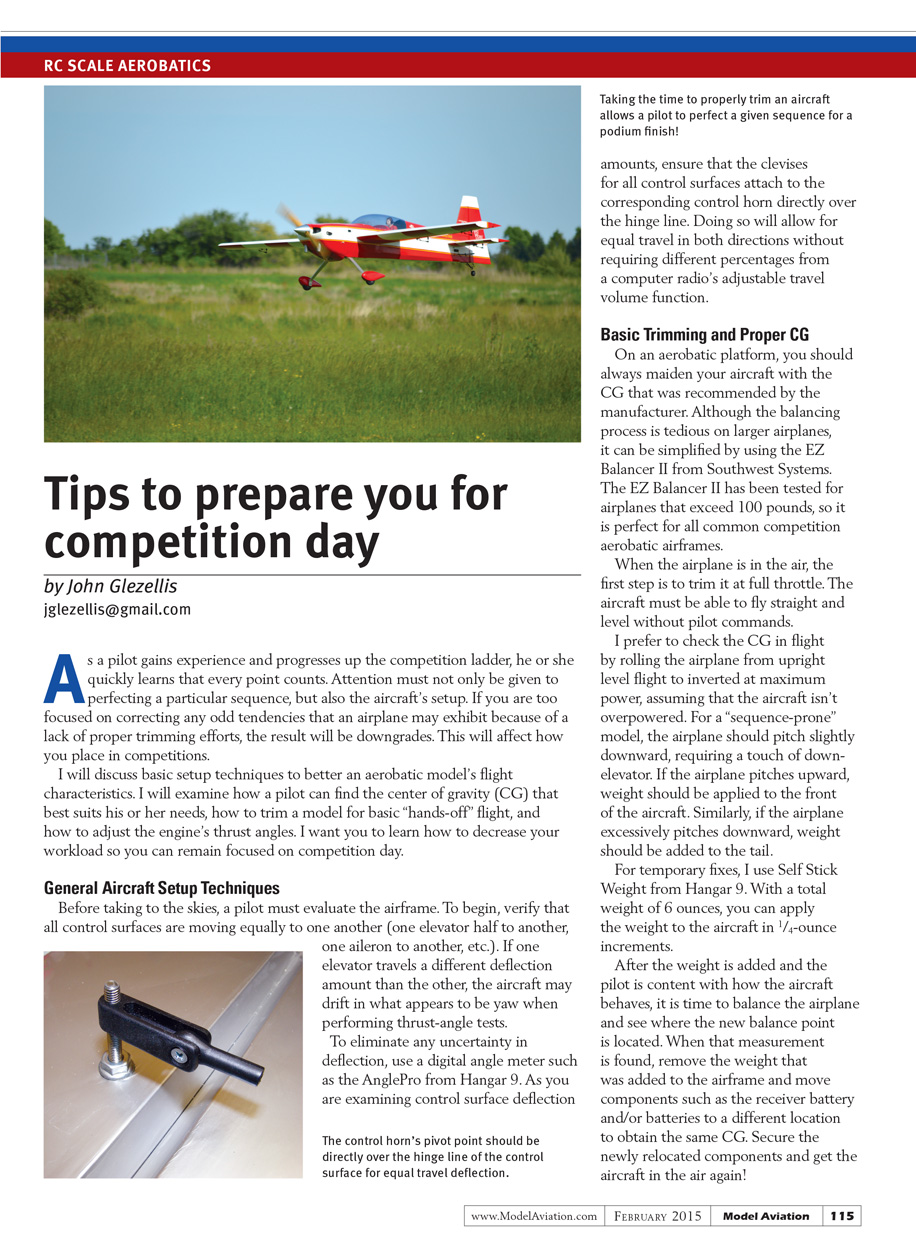
- Verify that all control surfaces move equally (one elevator half to the other, one aileron to the other, etc.). Unequal deflection can make the aircraft appear to yaw during thrust-angle tests.
- To eliminate uncertainty in deflection, use a digital angle meter (for example, the AnglePro from Hangar 9).
- Ensure clevises attach to the corresponding control horn directly over the hinge line. This allows equal travel in both directions without needing asymmetric travel percentages in your radio.
Basic Trimming and Proper CG
- Maiden the aircraft with the center of gravity (CG) recommended by the manufacturer.
- For balancing larger models, tools like the EZ Balancer II from Southwest Systems simplify the process; it’s rated for airplanes that exceed 100 pounds and suits common competition aerobatic airframes.
In flight trimming:
- Trim at full throttle first. The aircraft must fly straight and level without pilot commands.
- Check the CG in flight by rolling the airplane from upright level flight to inverted at maximum power (assuming the aircraft isn't overpowered):
- If the airplane pitches slightly downward when inverted, it will need a touch of down-elevator (acceptable for a “sequence-prone” model).
- If the airplane pitches upward when inverted, add weight to the nose.
- If the airplane excessively pitches downward, add weight to the tail.
For temporary adjustments, use Self Stick Weight from Hangar 9 (total 6 ounces, applied in 1/4-ounce increments). After achieving the desired behavior with temporary weight:
- Balance the airplane and note the new balance point.
- Remove the temporary weight and relocate permanent components (for example, receiver battery/batteries) to obtain the same CG.
- Secure relocated components and test-fly again.
The goal is an aircraft that performs to the pilot’s liking with minimal visible elevator trim. Be aware behavior can change with power setting: a tail-heavy airplane will require down-elevator trim for hands-off upright level flight, which will then cause the airplane to climb when rolled inverted. Elevator trim also affects knife-edge flight by inducing pitch.
Thrust Angles
Start by confirming the engine thrust is set per the manufacturer’s recommendations. Conduct initial thrust checks in calm winds so the nose won’t lean into the wind.
To check side (right/left) thrust:
- Align the aircraft parallel to the runway, apply maximum power, pull to a vertical upline, and release all controls.
- Observe the nose: if it drifts left, add right thrust; if it drifts right, add left thrust.
To check upthrust/downthrust:
- Fly a line parallel to the runway, into the wind, at maximum power.
- Quickly reduce throttle to idle and observe the pitch:
- If the airplane pitches downward, add downthrust.
- If the airplane pitches upward, add upthrust.
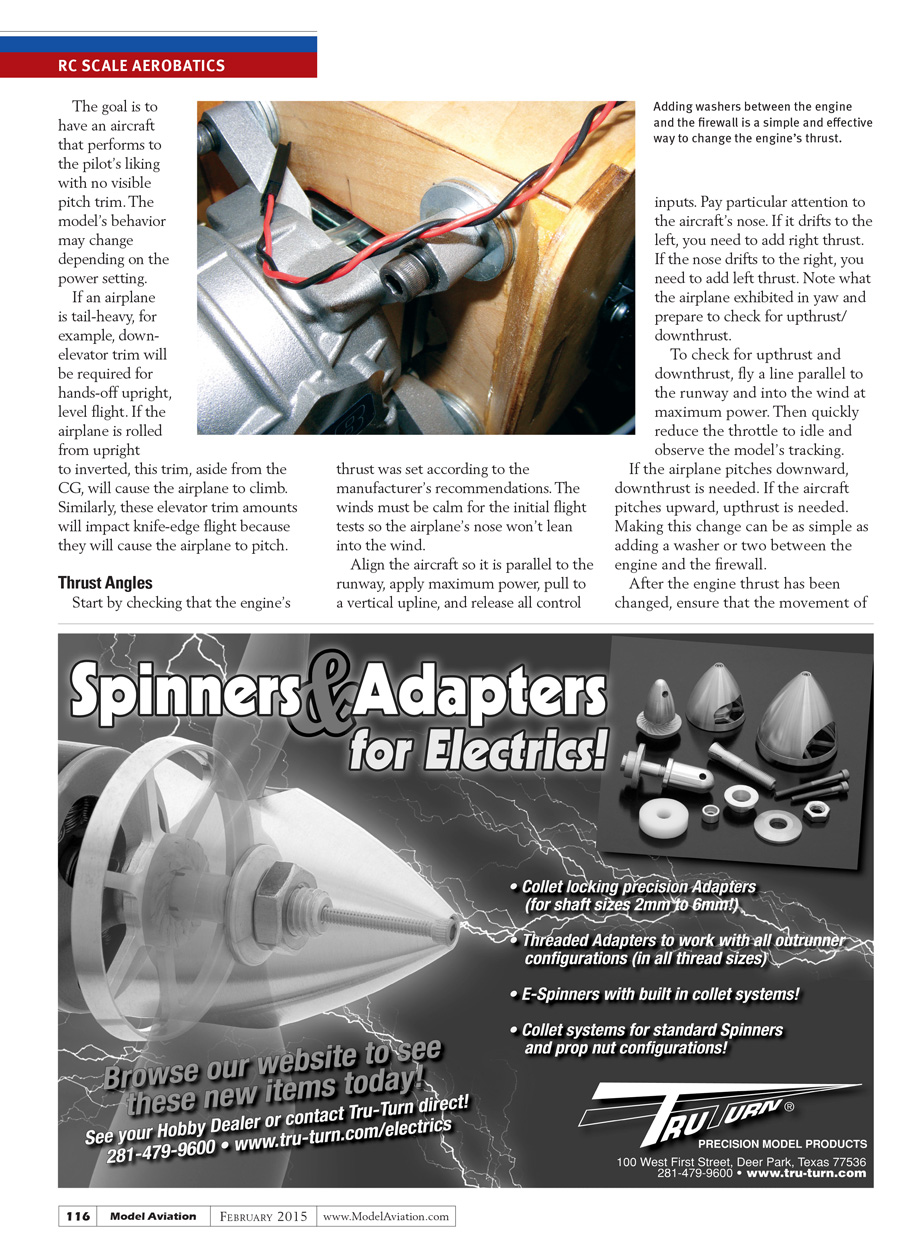
- Adjustments can often be made by adding a washer or two between the engine and the firewall.
After changing thrust angles:
- Ensure the throttle servo movement and endpoints remain correct; changing thrust can alter servo geometry and may require endpoint or choke-servo adjustments.
- Fly again and recheck up/down and left/right thrust. Perform CG checks afterward to ensure elevator trim remains near neutral.
SWB Manufacturing offers engine motor mounts with built-in right thrust for various Desert Aircraft, DLE, and 3W engines (examples: mounts for DA-150, DA-170, DA-200 available with 0°, 2.5°, 3°, and 3.5° of right thrust). Using a pre-angled mount can save time compared with fabricating spacers.
Final Thoughts
Properly tuning an aircraft is time-consuming but mandatory if you want consistent competition flights. On competition day, you should be focused only on the sequence and how to adapt to the weather.
Learn from each experience, ask skilled pilots for advice, and enjoy the sport.
Until next time, fly hard!
SOURCES
- Desert Aircraft
(520) 722-0607 www.desertaircraft.com
- Hangar 9
(877) 504-0233 www.hangar-9.com
- Southwest Systems (EZ Balancer)
[email protected] www.ezbalancer.com
- SWB Manufacturing Inc.
(262) 675-2848 www.swbmfg.com
- International Miniature Aerobatic Club (IMAC)
Transcribed from original scans by AI. Minor OCR errors may remain.

