
Ready for Liftoff - 2011/03
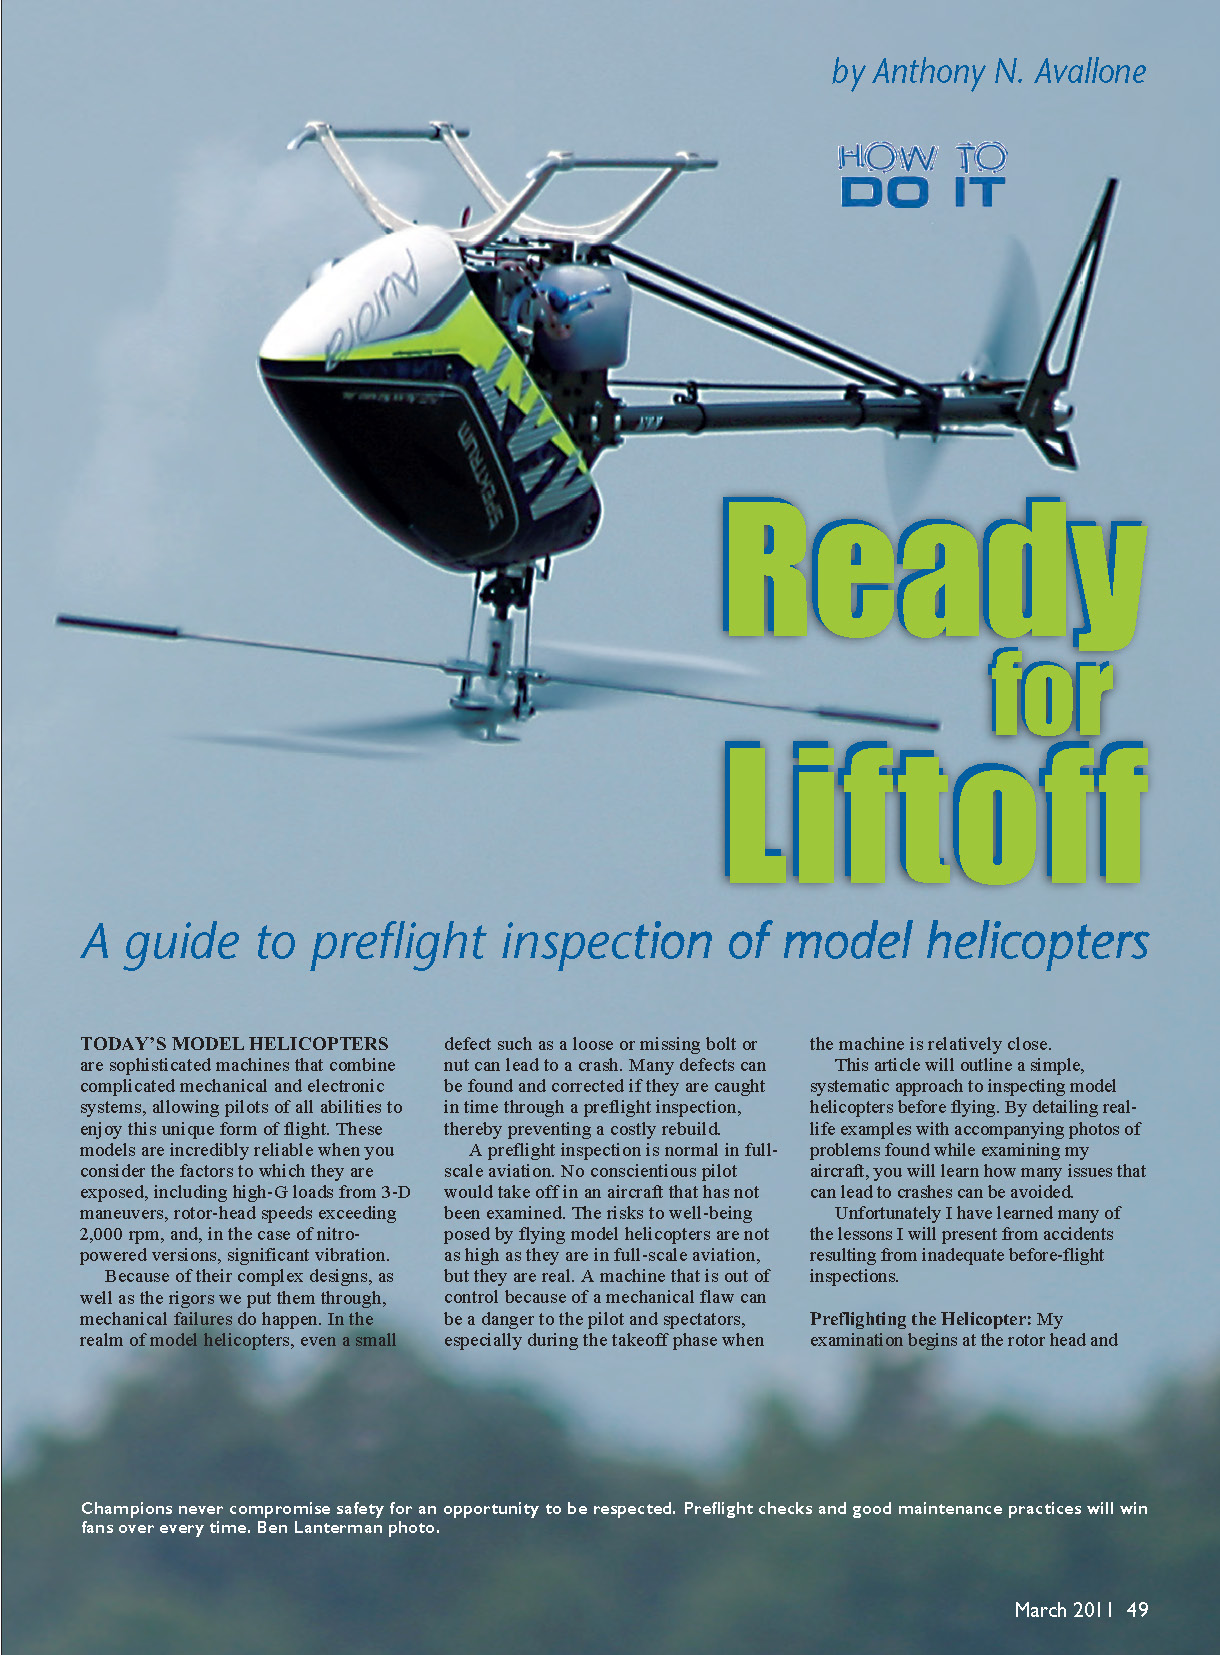
TODAY'S MODEL HELICOPTERS are sophisticated machines that combine complicated mechanical and electronic systems, allowing pilots of all abilities to enjoy this unique form of flight. These models are incredibly reliable when you consider the factors to which they are exposed, including high-G loads from 3-D maneuvers, rotor-head speeds exceeding 2,000 rpm, and, in the case of nitro-powered versions, significant vibration.
Because of their complex designs, as well as the rigors we put them through, mechanical failures do happen. In the realm of model helicopters, even a small defect such as a loose or missing bolt or nut can lead to a crash. Many defects can be found and corrected if they are caught in time through a preflight inspection, thereby preventing a costly rebuild.
A preflight inspection is normal in full-scale aviation. No conscientious pilot would take off in an aircraft that has not been examined. The risks to well-being posed by flying model helicopters are not as high as they are in full-scale aviation, but they are real. A machine that is out of control because of a mechanical flaw can be a danger to the pilot and spectators, especially during the takeoff phase when the machine is relatively close.
This article outlines a simple, systematic approach to inspecting model helicopters before flying. By detailing real-life examples of problems found while examining aircraft, you will learn how many issues that can lead to crashes can be avoided. Unfortunately, many of these lessons come from accidents resulting from inadequate before-flight inspections.
Preflighting the Helicopter
My examination begins at the rotor head and progresses down the left side of the frames, back along the boom to the tail, and finishes with the right side of the model.
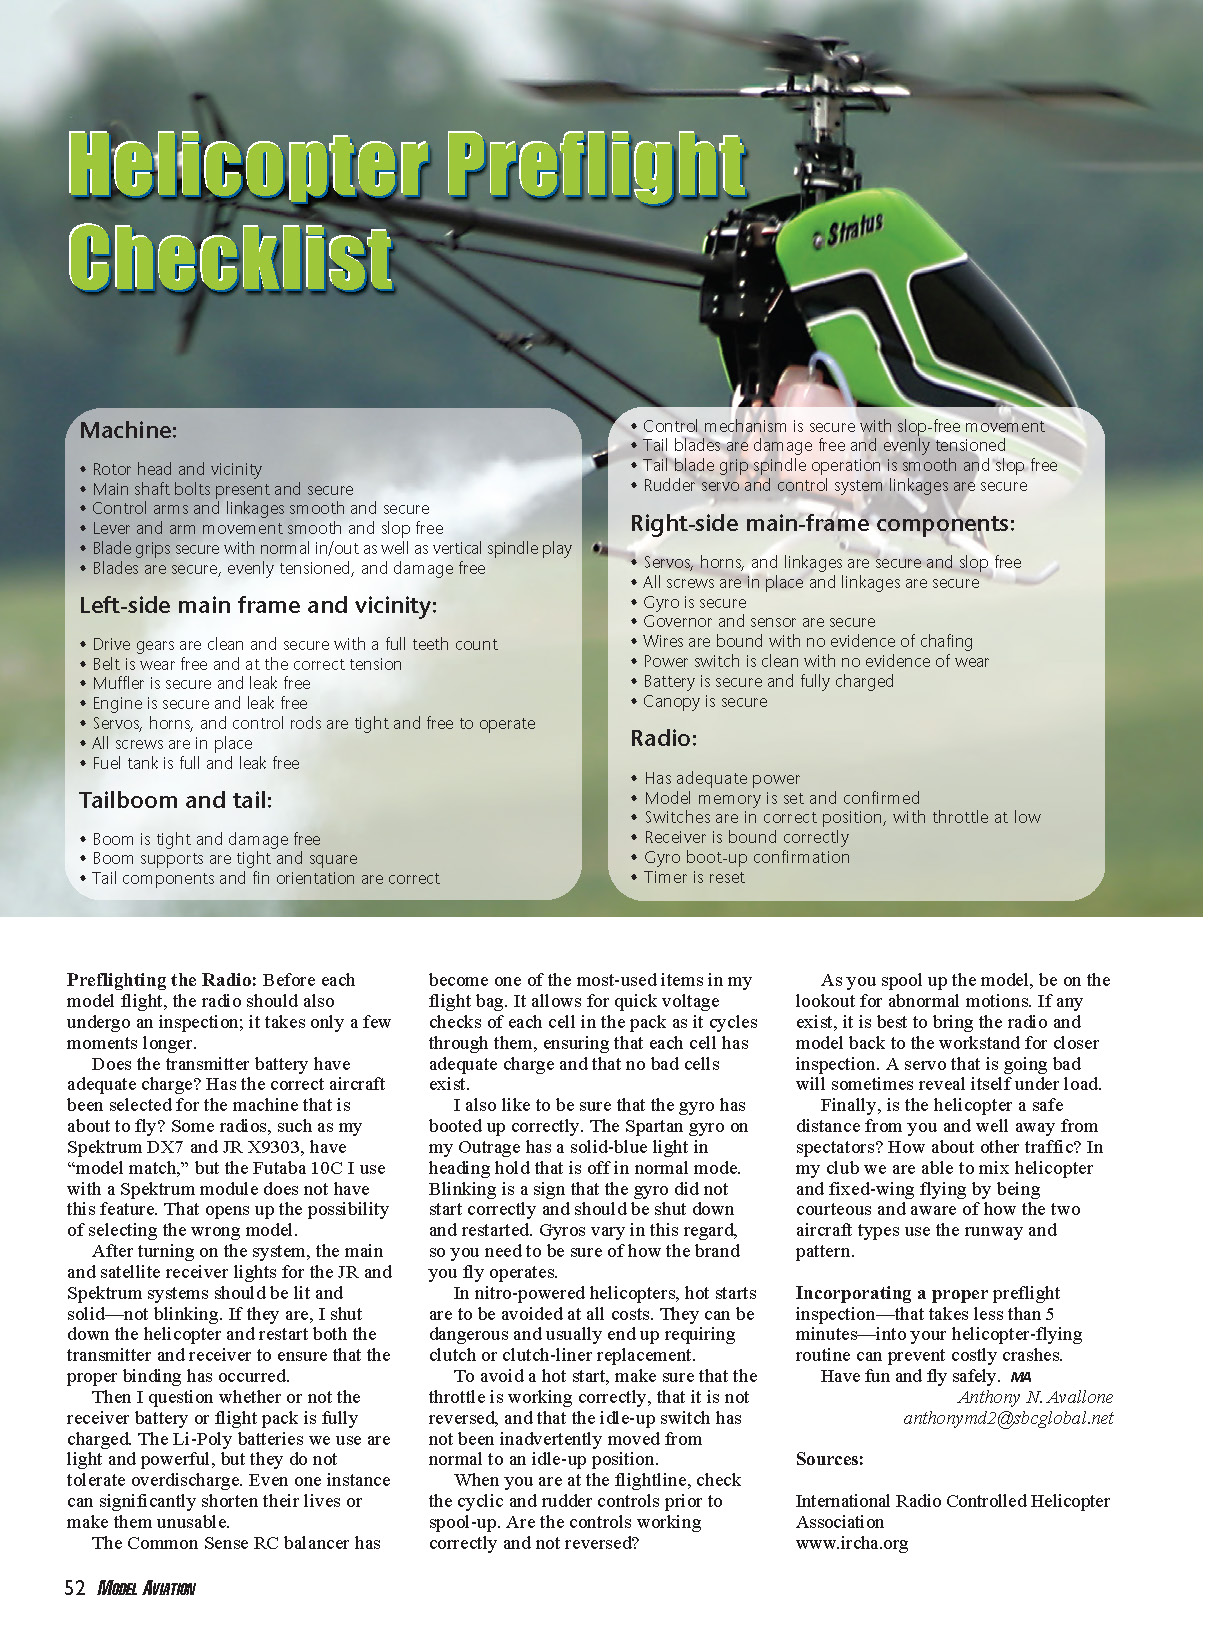
Although the order of inspection does not matter too much, it is important to complete the assessment in a systematic fashion. That is made easier through a checklist. I keep a written checklist in my flight box that covers the areas I inspect, and I follow it every time.
Inspection path (typical)
- Rotor head
- Left-side frame components
- Boom and tail
- Right-side frame components
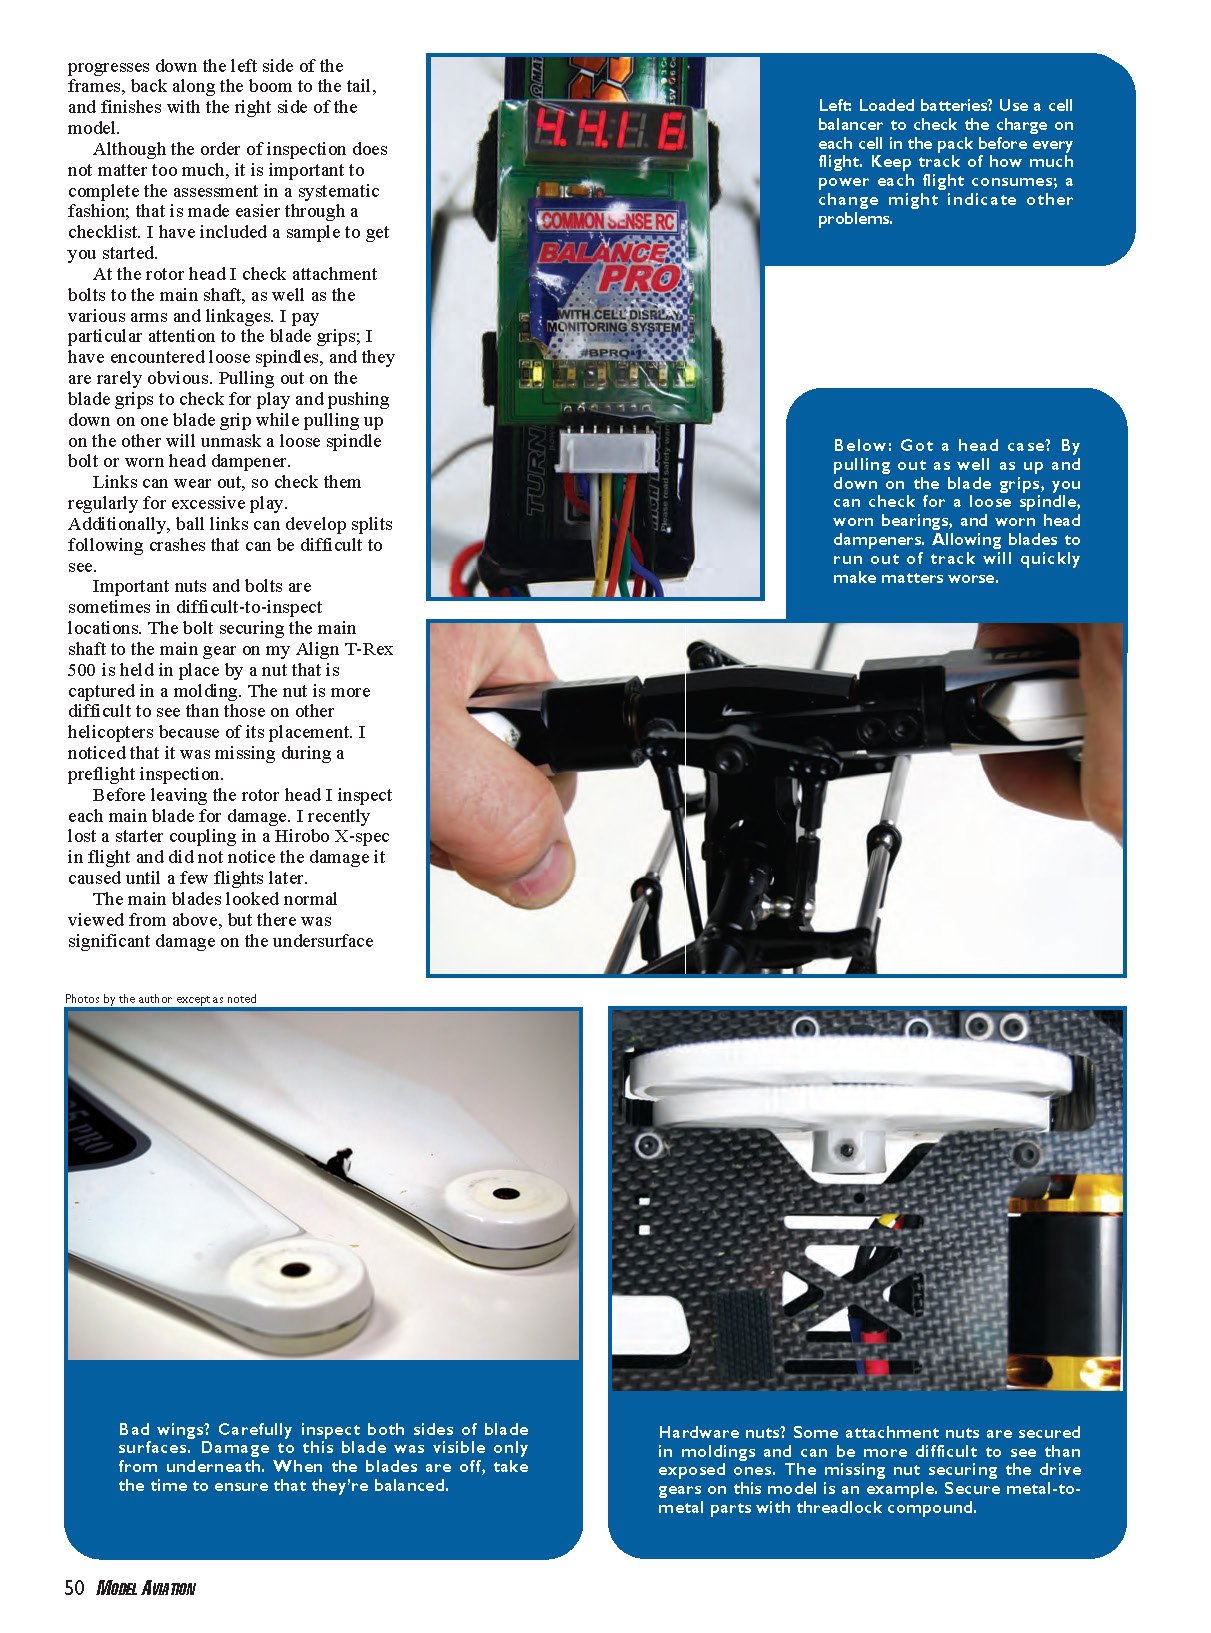
Rotor head and blade grips
- Check attachment bolts to the main shaft and the various arms and linkages.
- Pay particular attention to the blade grips; loose spindles are easy to miss.
- Pull out on the blade grips to check for play.
- Push down on one blade grip while pulling up on the other to reveal a loose spindle bolt or a worn head dampener.
- Check links for wear and excessive play; ball links can develop hairline splits after crashes that are hard to see.
- Inspect each main blade for damage.
- Run your hand along the leading edges (LEs) of the blades and look underneath. Some damage is invisible from above and can lead to catastrophic blade loss.
Main gear, pipe and drivetrain
- Check main gear for missing teeth.
- Check belt tightness or torque-tube gear mesh.
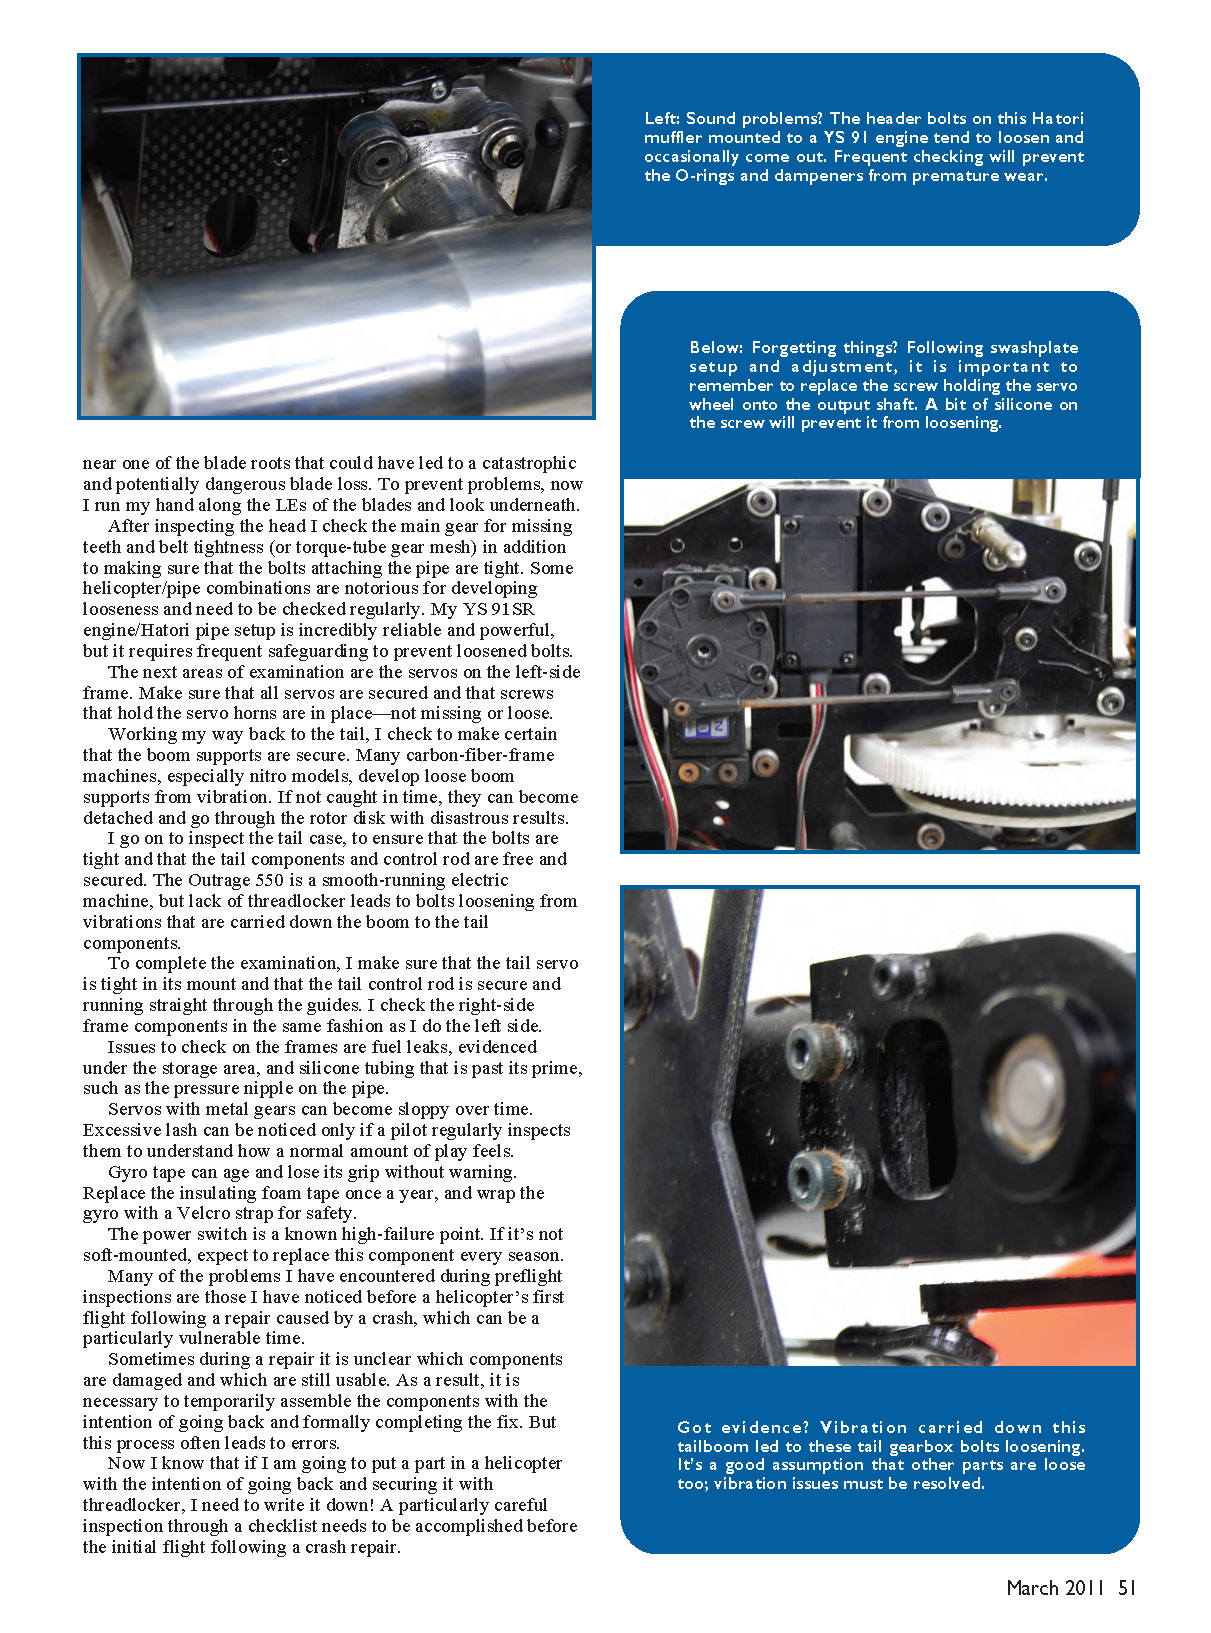
- Ensure bolts attaching the pipe are tight; some helicopter/pipe combinations are notorious for loosening.
- Be aware of hard-to-see fasteners (for example, a nut captured in a molding can be easily overlooked).
Servos, frames and supports
- Inspect servos on the left-side frame:
- Ensure all servos are secured and servo-horn screws are present and tight.
- Check boom supports:
- Carbon-fiber frames, especially nitro models, can develop loose boom supports from vibration; if detached they can pass through the rotor disk.
- Inspect the tail case and tail components:
- Ensure bolts are tight and the tail control rod is free and secured.
- Check the tail servo is tight in its mount and the control rod runs straight through its guides.
- Check right-side frame components the same way as the left.
Fuel system and tubing
- Look for fuel leaks, especially under the engine/storage area.
- Inspect silicone tubing and pressure nipples on the pipe for aging and deterioration.
Servos, gyros and switches
- Servos with metal gears can become sloppy over time; regular inspection lets you judge normal play versus excessive lash.
- Gyro tape and insulating foam can age and lose grip without warning:
- Replace insulating foam tape once a year.
- Wrap the gyro with a Velcro strap for added safety.
- The power switch is a common failure point; if it’s not soft-mounted expect occasional replacement.
Repairs and post-crash checks
- After a repair following a crash, components may be temporarily assembled with the intent to finish later. This can lead to errors.
- If you install a part temporarily intending to secure it later (for example, with threadlocker), write it down.
- Perform a particularly careful inspection and checklist validation before the initial flight following a crash repair.
- Many defects can be found by stripping the helicopter for inspection, but a good preflight should catch problems without a full teardown — the trick is knowing what and where to look.
The following sample checklist is based on my experience; you should tailor it to your own helicopter and flying habits.
Preflighting the Radio
Before each model flight, the radio should also undergo an inspection; it takes only a few moments longer.
Radio, receiver and batteries
- Does the transmitter battery have adequate charge?
- Has the correct aircraft model been selected?
- Some radios have "model match" (e.g., Spektrum DX7, JR X9303); others may not (e.g., Futaba 10C with a Spektrum module), increasing the risk of selecting the wrong model.
- After turning on the system, verify receiver lights (main and satellite) are lit and solid — not blinking.
- If lights are blinking, shut down and restart both transmitter and receiver to ensure proper binding.
- Check the receiver battery or flight pack is fully charged.
- Li-Poly batteries are light and powerful but are sensitive to overdischarge; even one overdischarge can shorten or ruin a pack.
- Use a balancer (for example, the Common Sense RC balancer) to quickly check each cell’s voltage.
Gyro and control checks
- Confirm the gyro has booted correctly — know how your gyro indicates proper startup (solid vs. blinking LEDs vary by brand).
- For nitro-powered helicopters, avoid hot starts (they can damage the clutch or clutch liners):
- Verify throttle direction is correct and not reversed.
- Ensure the idle-up switch is in the correct position (normal vs. idle-up).
- At the flightline, check cyclic and rudder controls prior to spool-up for correct direction and travel.
- As you spool up:
- Watch for abnormal motions. If anything looks wrong, bring the radio and model back to the workstand for closer inspection.
- A servo that’s failing may reveal itself under load.
- Ensure the helicopter is a safe distance from you and spectators and clear of other traffic.
- Be courteous and aware of how helicopters and fixed-wing aircraft share runway and pattern use at mixed fields.
Incorporating a proper preflight inspection — which takes less than five minutes — into your flying routine can prevent costly crashes.
Have fun and fly safely.
Anthony N. Avallone [email protected]
Sources:
- International Radio Controlled Helicopter Association
Transcribed from original scans by AI. Minor OCR errors may remain.

