
Redwing RC 30CC Slick 540
Chris Mulcahy [email protected]
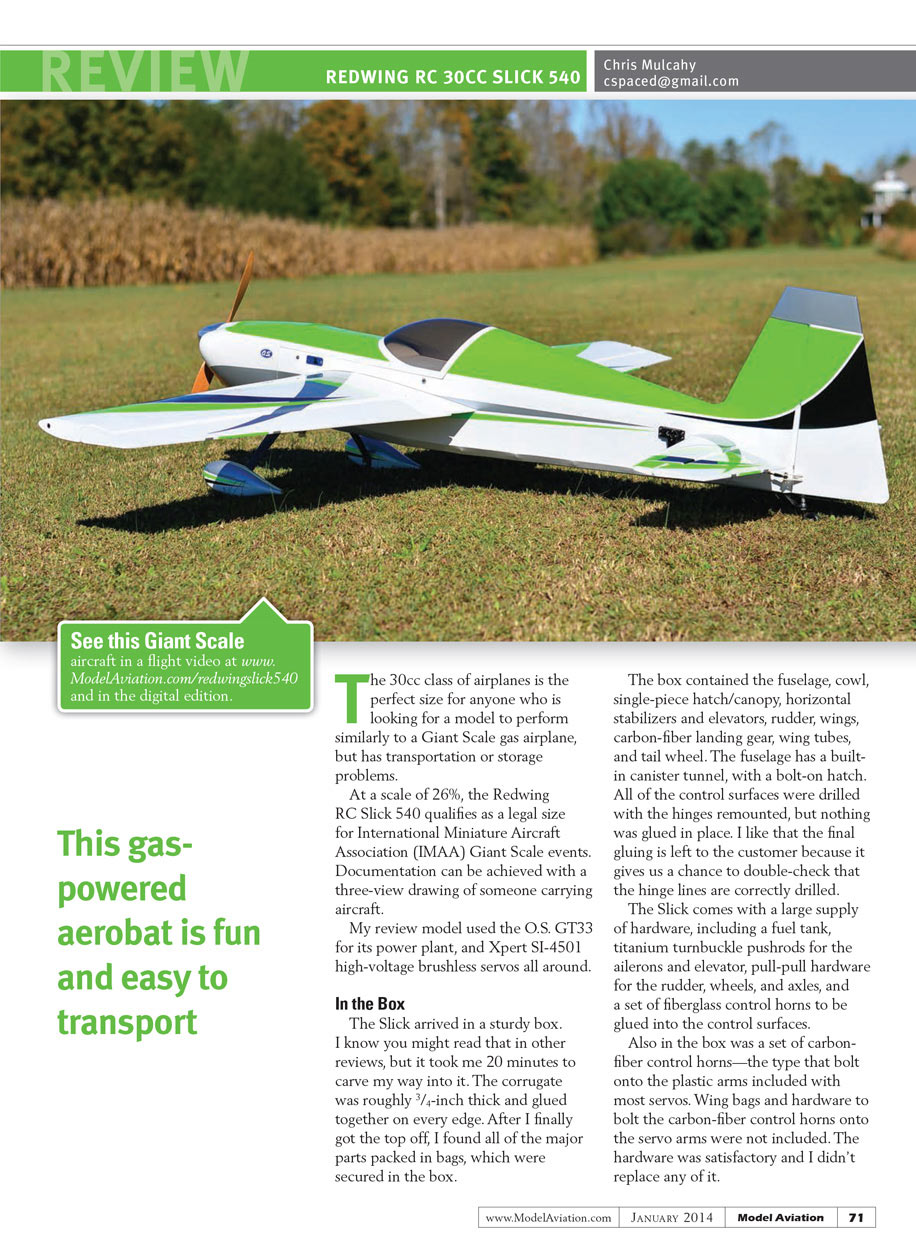
The 30cc class of airplanes is the perfect size for anyone who is looking for a model to perform similarly to a giant-scale gas airplane but who has transportation or storage problems.
At a scale of 26%, the Redwing RC Slick 540 qualifies as a legal size for International Miniature Aircraft Association (IMAA) Giant Scale events. Documentation can be achieved with a three-view drawing.
My review model used the O.S. GT33 for its powerplant and Xpert SI-4501 high-voltage brushless servos all around.
In the Box
The Slick arrived in a sturdy box. It took me 20 minutes to get the top off—the corrugate was roughly 3/4-inch thick and glued together on every edge. Inside, all of the major parts were packed in bags and secured in the box.
The box contained:
- Fuselage with built-in canister tunnel and a bolt-on hatch for access
- Cowl
- Single-piece hatch/canopy
- Horizontal stabilizers and elevators
- Rudder
- Wings
- Carbon-fiber landing gear
- Wing tubes
- Tail wheel
All control surfaces were pre-drilled with hinges remounted, but nothing was glued in place. I like that the final gluing is left to the customer because it gives us a chance to double-check that the hinge lines are correctly aligned.
The Slick comes with a large supply of hardware, including:
- Fuel tank
- Titanium turnbuckle pushrods for the ailerons and elevator
- Pull-pull hardware for the rudder
- Wheels and axles
- Fiberglass control horns to be glued into the control surfaces
- A set of carbon-fiber control horns (the type that bolt onto the plastic arms included with most servos)
Wing bags and the specific hardware to bolt the carbon-fiber control horns onto the servo arms were not included. The supplied hardware was satisfactory and I didn't replace any of it.
Assembly and Installation
I installed the servos and linkages as follows:
- Aileron servos mount into servo doors that are screwed into the wing.
- Elevator servos mount into the sides of the fuselage, in front of the horizontal stabilizers.
- Ailerons and elevators use titanium turnbuckles for pushrods.
- Rudder servo was installed inside the fuselage, and pull-pull cables were run out to the rudder.
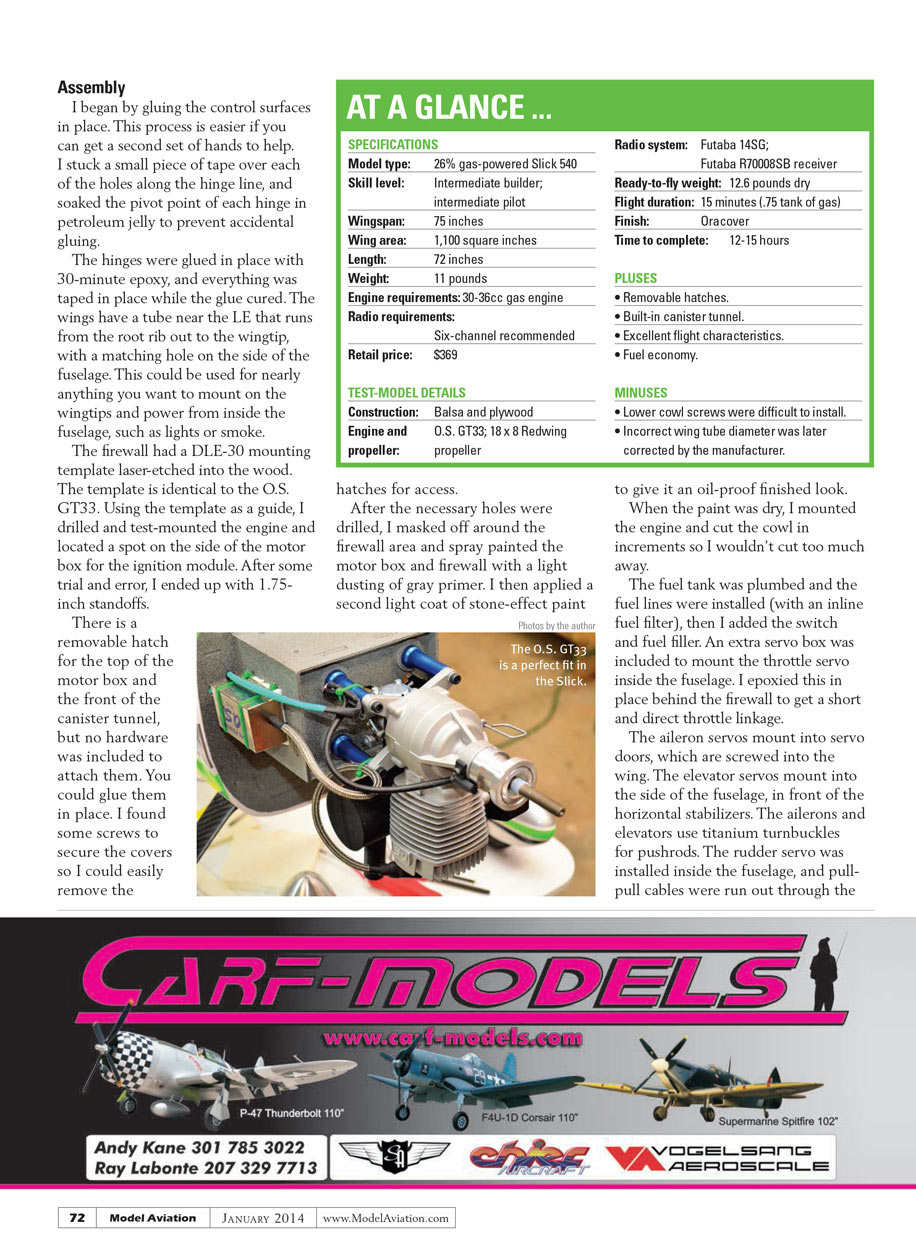
After drilling the necessary holes, I masked off around the firewall area and spray-painted the motor box and firewall with a light dusting of gray primer, followed by a second light coat of stone-effect paint to give it an oil-proof finish. When the paint was dry, I mounted the engine and cut the cowl in small increments so I wouldn't remove too much material.
The fuel tank was plumbed and the fuel lines were installed with an inline fuel filter. I then added the switch and fuel filler. An extra servo box was provided to mount the throttle servo inside the fuselage; I epoxied this in place behind the firewall to get a short, direct throttle linkage.
Engine Break-in and Ground Handling
The O.S. GT33 started easily after a few flips and required little tuning to get it nicely idling and transitioning. It is a smooth-running engine with little vibration and is reasonably quiet, even with the stock muffler.
I taxied to the runway, applied full throttle, and gently pulled the Slick into the air. The airplane felt smooth and required only a couple of clicks of up-elevator to trim for straight-and-level flight. The CG position on the wing tube felt good; only slight down-elevator pressure was required to maintain a good inverted 45° upline.
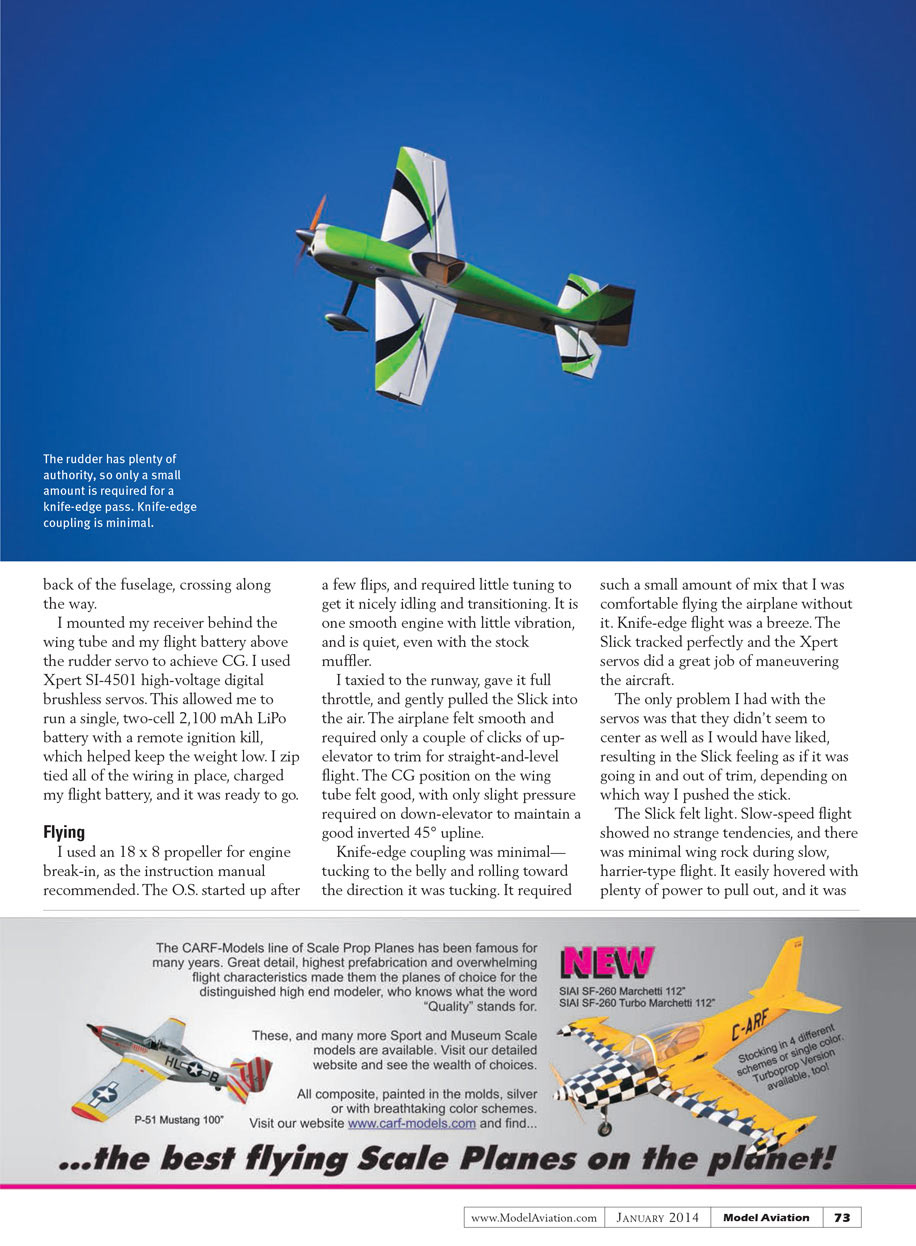
Knife-edge coupling was minimal—the airplane would tuck to the belly and roll toward the direction it was tucking. It required only a small amount of mix, so I was comfortable flying the airplane without constant correction. Knife-edge flight itself was a breeze. The Slick tracked perfectly and the Xpert servos did a great job maneuvering the aircraft.
The only issue I noticed with the servos was that they didn't seem to center as well as I would have liked, which made the Slick feel slightly out of trim depending on stick input.
Flight Characteristics
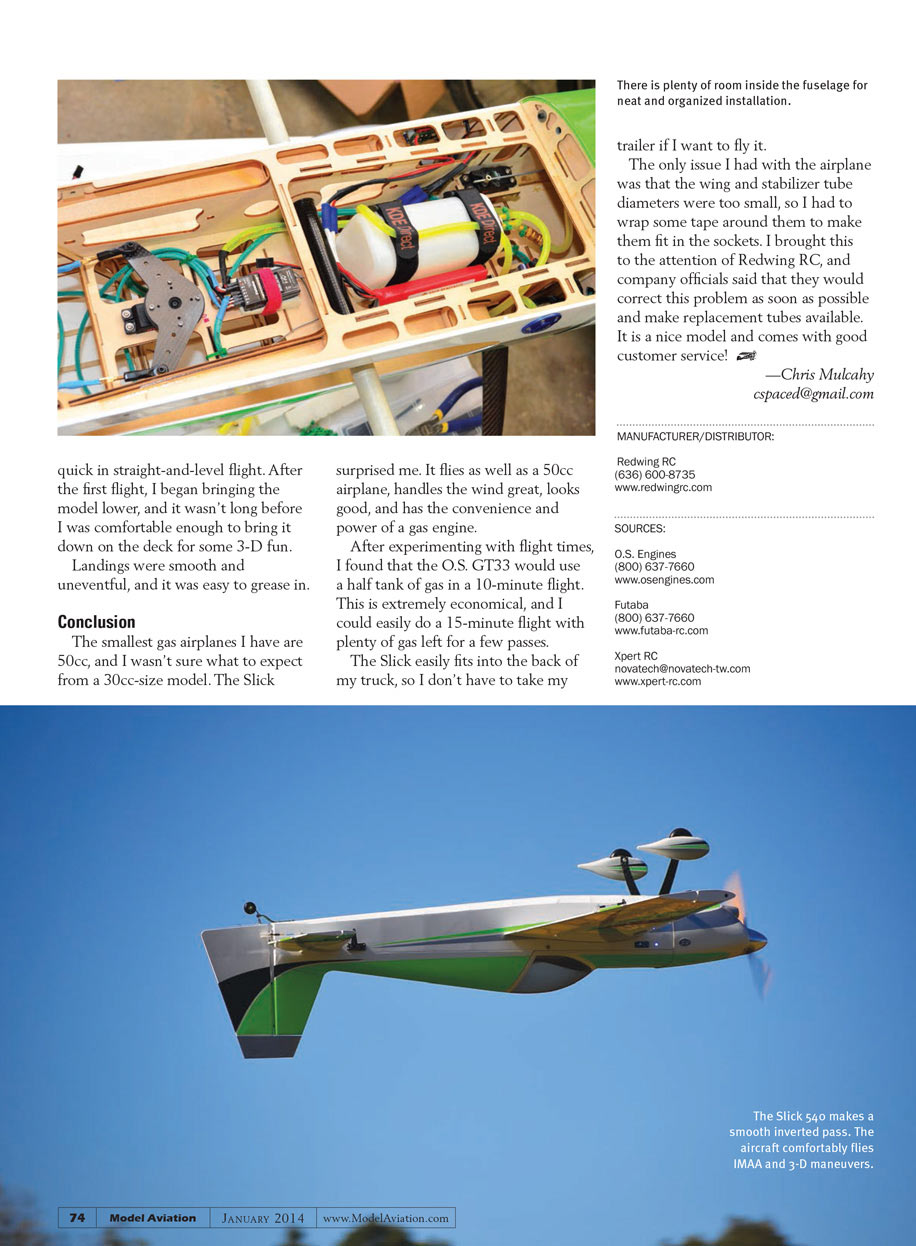
The Slick felt light and responsive. Slow-speed flight showed no strange tendencies, and there was minimal wing rock during slow, harrier-type flight. It easily hovered with plenty of power to pull out and was quick in straight-and-level flight. After the first flight I grew comfortable bringing the model lower and soon was flying down on the deck for some 3-D maneuvers.
Landings were smooth and uneventful, and the Slick was easy to grease in.
Conclusion
The smallest gas airplanes I have are 50cc, and I wasn't sure what to expect from a 30cc-size model. The Slick surprised me. It flies as well as a 50cc airplane, handles wind well, looks good, and has the convenience and economy of a gas engine.
After experimenting with flight times, I found that the O.S. GT33 used about half a tank of fuel in a 10-minute flight. This is extremely economical; I could easily do a 15-minute flight with plenty of gas left for a few passes.
The Slick easily fits into the back of my truck, so I don't have to take my trailer if I want to fly it.
The only real issue I had was that the wing and stabilizer tube diameters were slightly too small for the sockets, so I had to wrap some tape around them to make them fit. I reported this to Redwing RC; company officials said they would correct the problem and make replacement tubes available. Overall, it is a nice model and the company provides good customer service.
—Chris Mulcahy [email protected]
MANUFACTURER/DISTRIBUTOR
Redwing RC (636) 600-8735 www.redwingrc.com
SOURCES
O.S. Engines (800) 637-7660 www.osengines.com
Futaba (800) 637-7660 www.futaba-rc.com
Xpert RC [email protected] www.xpert-rc.com
Transcribed from original scans by AI. Minor OCR errors may remain.

