

Repairing the Crossfire Extreme
by Bob Hunt [email protected]
Overview
When I left off last time, I was in the middle of the repairing/refinishing process of my Crossfire Extreme. In that column I indicated that refinishing an existing model is really not much less work than simply building a new one. I'd like to verify that notion here and now. All kidding aside, the project has progressed nicely and at this point I am in the process of applying the color trim to the model.
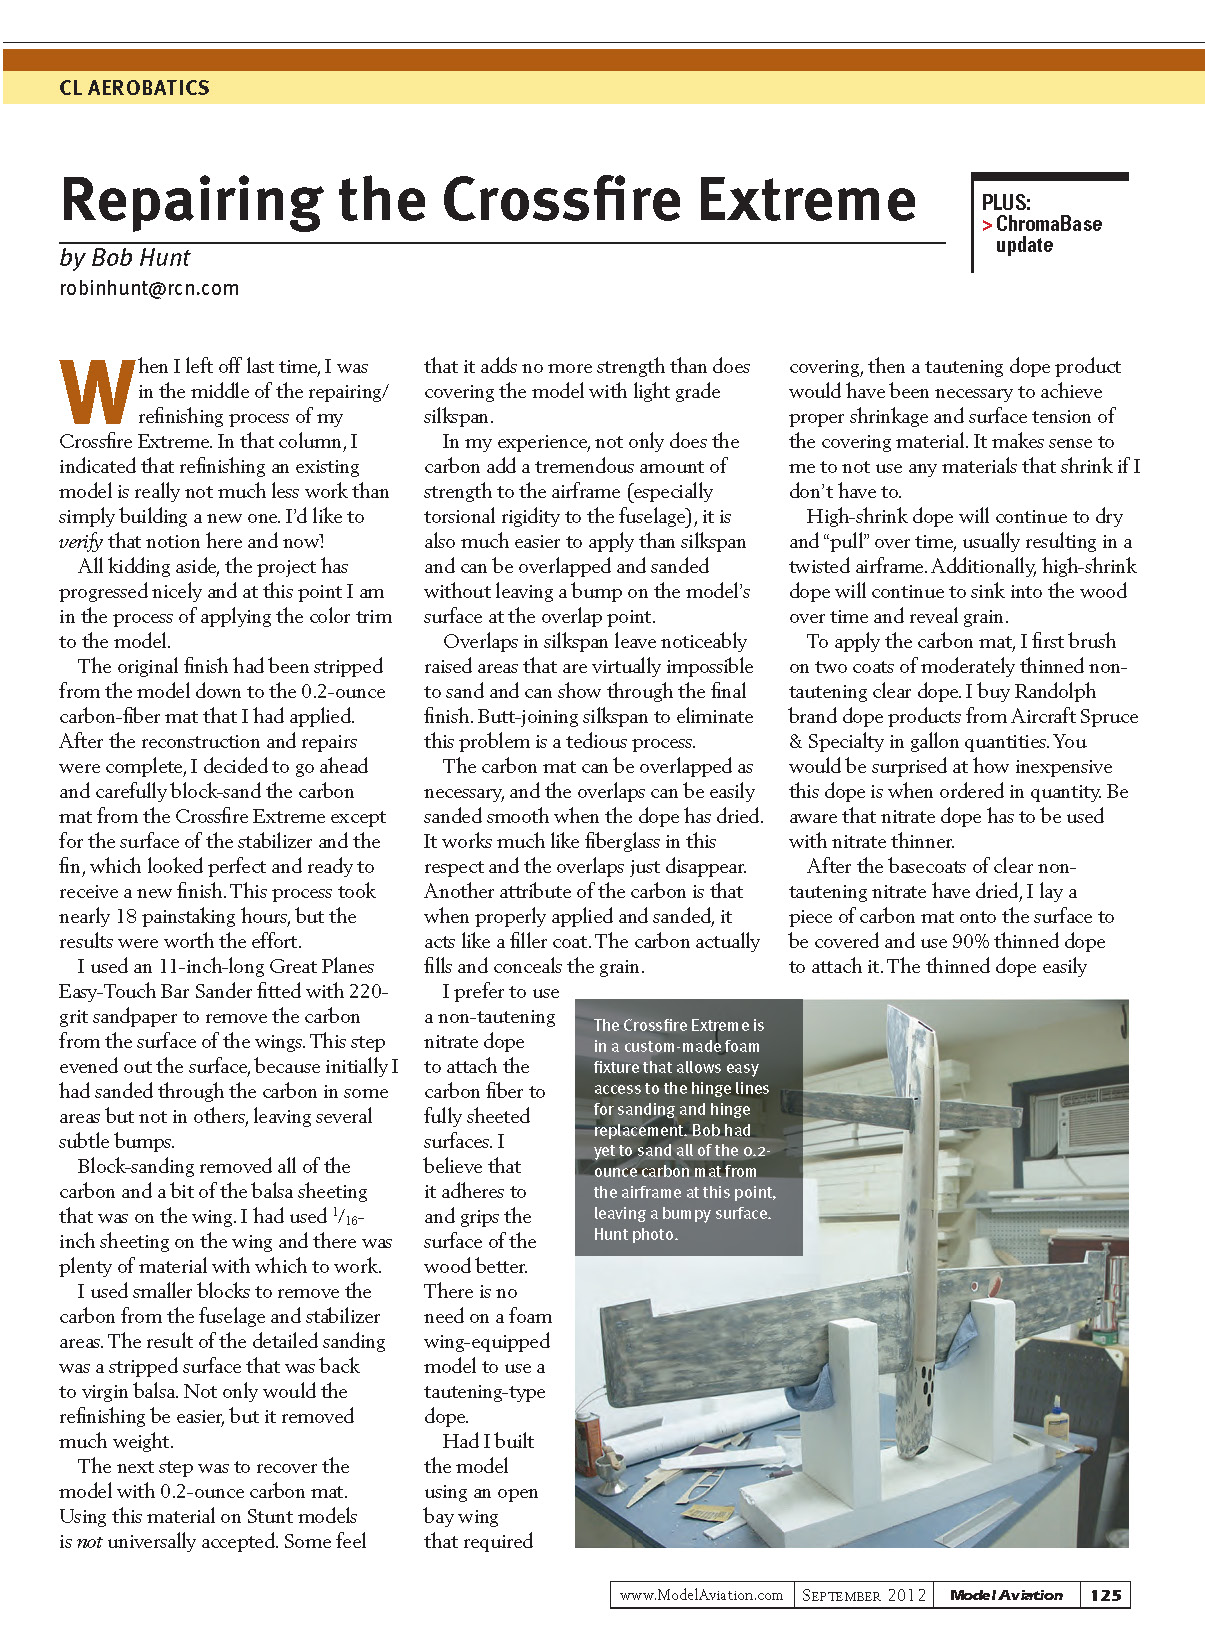
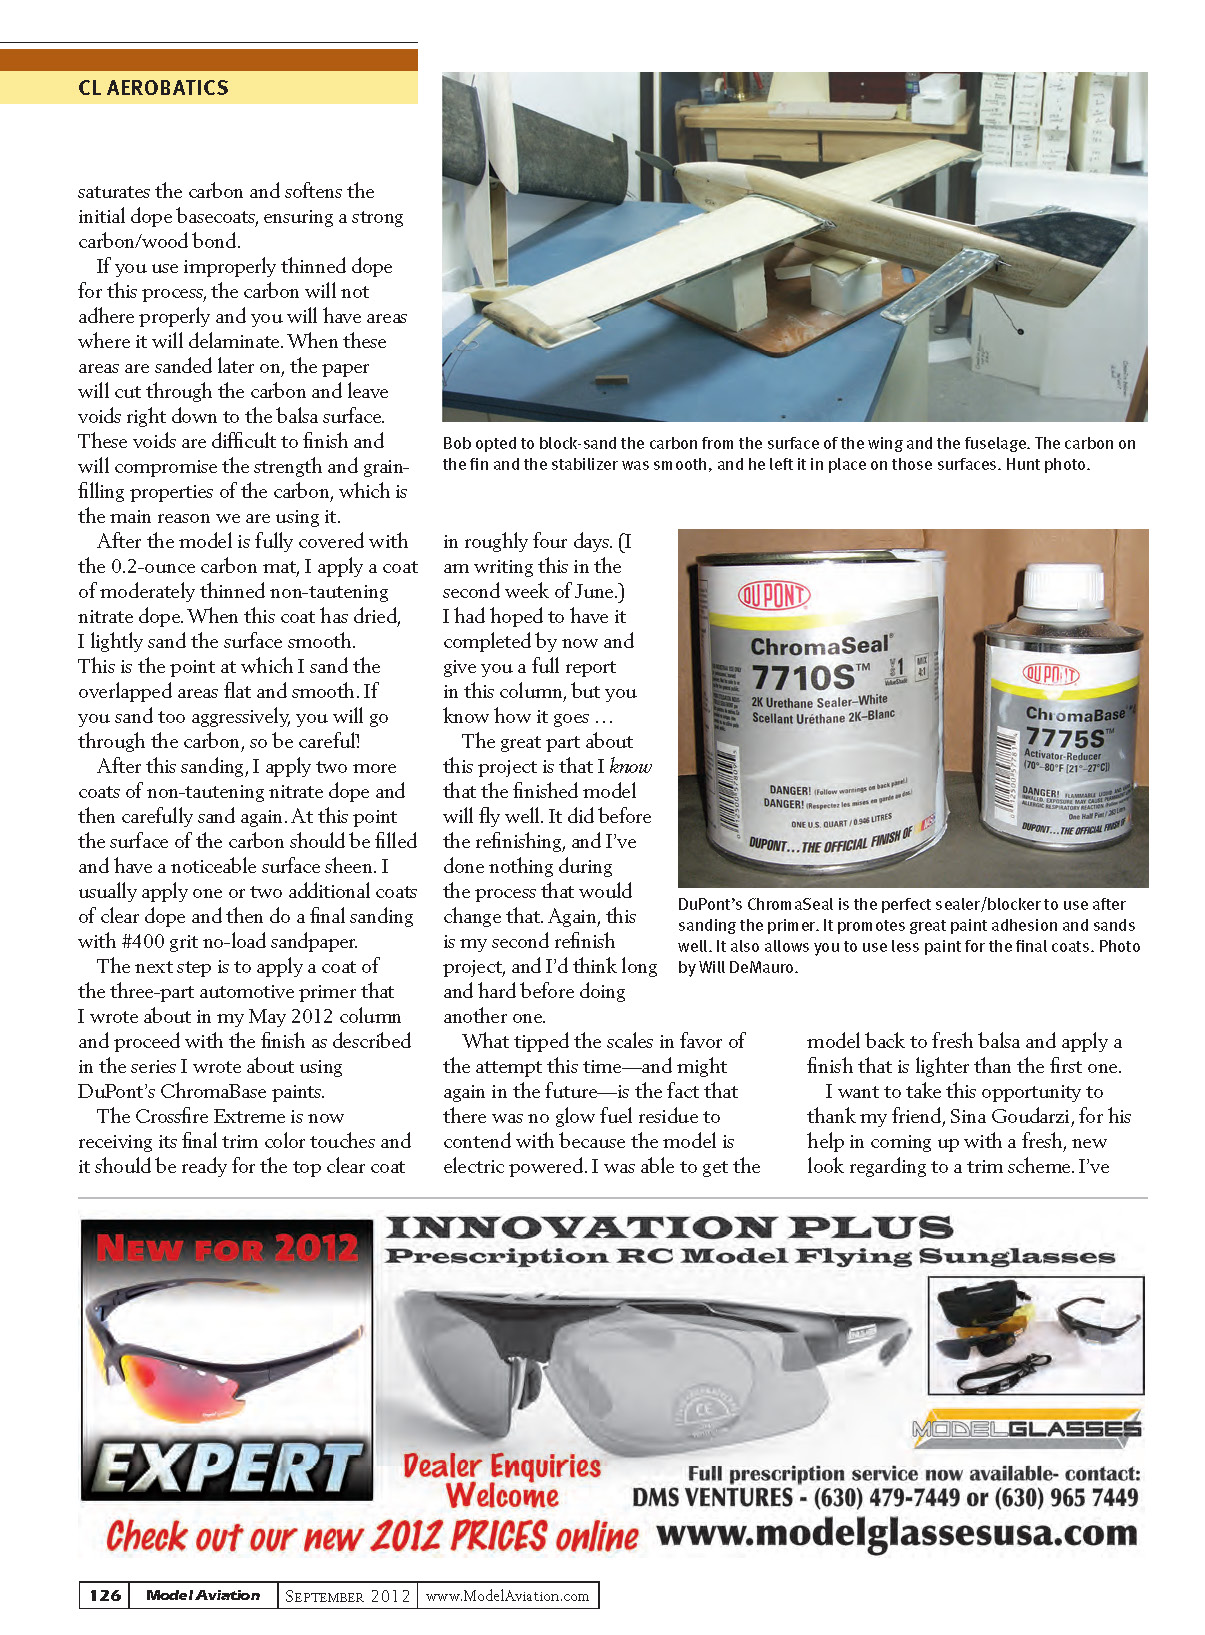
The original finish had been stripped from the model down to the 0.2-ounce carbon-fiber mat that I had applied. After the reconstruction and repairs were complete, I decided to go ahead and carefully block-sand the carbon mat from the Crossfire Extreme except for the surface of the stabilizer and the fin, which looked perfect and ready to receive a new finish. This process took nearly 18 painstaking hours, but the results were worth the effort.
Stripping and sanding
I used an 11-inch-long Great Planes Easy-Touch Bar Sander fitted with 220-grit sandpaper to remove the carbon from the surface of the wings. This step evened out the surface because initially I had sanded through the carbon in some areas but not in others, leaving several subtle bumps.
Block-sanding removed all of the carbon and a bit of the balsa sheeting that was on the wing. I had used 1/16-inch sheeting on the wing and there was plenty of material with which to work. I used smaller blocks to remove the carbon from the fuselage and stabilizer areas. The result of the detailed sanding was a stripped surface that was back to virgin balsa. Not only would the refinishing be easier, but it removed much weight.
Applying the carbon mat
The next step was to recover the model with 0.2-ounce carbon mat. Using this material on stunt models is not universally accepted; some feel that it adds no more strength than does covering the model with light-grade silkspan.
In my experience, not only does the carbon add a tremendous amount of strength to the airframe (especially torsional rigidity to the fuselage), it is also much easier to apply than silkspan and can be overlapped and sanded without leaving a bump on the model's surface at the overlap point.
- Overlaps in silkspan leave noticeably raised areas that are virtually impossible to sand and can show through the final finish. Butt-joining silkspan to eliminate this problem is a tedious process.
- The carbon mat can be overlapped as necessary, and the overlaps can be easily sanded smooth when the dope has dried. It works much like fiberglass in this respect and the overlaps just disappear.
- When properly applied and sanded, the carbon acts like a filler coat: it actually fills and conceals the grain.
I prefer to use a non-tautening nitrate dope to attach the carbon fiber to fully sheeted surfaces. I believe that it adheres to and grips the surface of the wood better. There is no need on a foam-wing-equipped model to use a tautening-type dope.
Had I built the model using an open-bay wing that required covering, then a tautening dope product would have been necessary to achieve proper shrinkage and surface tension of the covering material. It makes sense to me not to use any materials that shrink if I don't have to.
High-shrink dope will continue to dry and "pull" over time, usually resulting in a twisted airframe. Additionally, high-shrink dope will continue to sink into the wood over time and reveal grain.
Dope and application process
To apply the carbon mat, I first brush on two coats of moderately thinned non-tautening clear dope. I buy Randolph brand dope products from Aircraft Spruce & Specialty in gallon quantities. You would be surprised at how inexpensive this dope is when ordered in quantity. Be aware that nitrate dope has to be used with nitrate thinner.
After the basecoats of clear non-tautening nitrate have dried, I lay a piece of carbon mat onto the surface to be covered and use dope thinned to about 90% to attach it. The thinned dope easily saturates the carbon and softens the initial dope basecoats, ensuring a strong carbon/wood bond.
If you use improperly thinned dope for this process, the carbon will not adhere properly and you will have areas where it will delaminate. When these areas are sanded later on, the paper will cut through the carbon and leave voids right down to the balsa surface. These voids are difficult to finish and will compromise the strength and grain-filling properties of the carbon, which is the main reason we are using it.
After the model is fully covered with the 0.2-ounce carbon mat, I apply a coat of moderately thinned non-tautening nitrate dope. When this coat has dried, I lightly sand the surface smooth.
This is the point at which I sand the overlapped areas flat and smooth. If you sand too aggressively, you will go through the carbon, so be careful!
After this sanding, I apply two more coats of non-tautening nitrate dope and then carefully sand again. At this point the surface of the carbon should be filled and have a noticeable surface sheen. I usually apply one or two additional coats of clear dope and then do a final sanding with #400-grit no-load sandpaper.
Finishing
The next step is to apply a coat of the three-part automotive primer that I wrote about in my May 2012 column and proceed with the finish as described in the series I wrote about using DuPont's ChromaBase paints.
The Crossfire Extreme is now receiving its final trim color touches and it should be ready for the top clear coat in roughly four days. (I am writing this in the second week of June.) I had hoped to have it completed by now and give you a full report in this column, but you know how it goes.
The great part about this project is that I know that the finished model will fly well. It did before the refinishing, and I've done nothing during the process that would change that. Again, this is my second refinish project, and I'd think long and hard before doing another one.
What tipped the scales in favor of the attempt this time—and might again in the future—is the fact that there was no glow-fuel residue to contend with because the model is electric powered. I was able to get the model back to fresh balsa and apply a finish that is lighter than the first one.
Acknowledgments
I want to take this opportunity to thank my friend Sina Goudarzi for his help in coming up with a fresh, new look regarding a trim scheme.
Transcribed from original scans by AI. Minor OCR errors may remain.

