

Review: Tough Jets T-14V-2012/04
Super maneuverability comes in a pizza box
Dave Garwood [email protected]
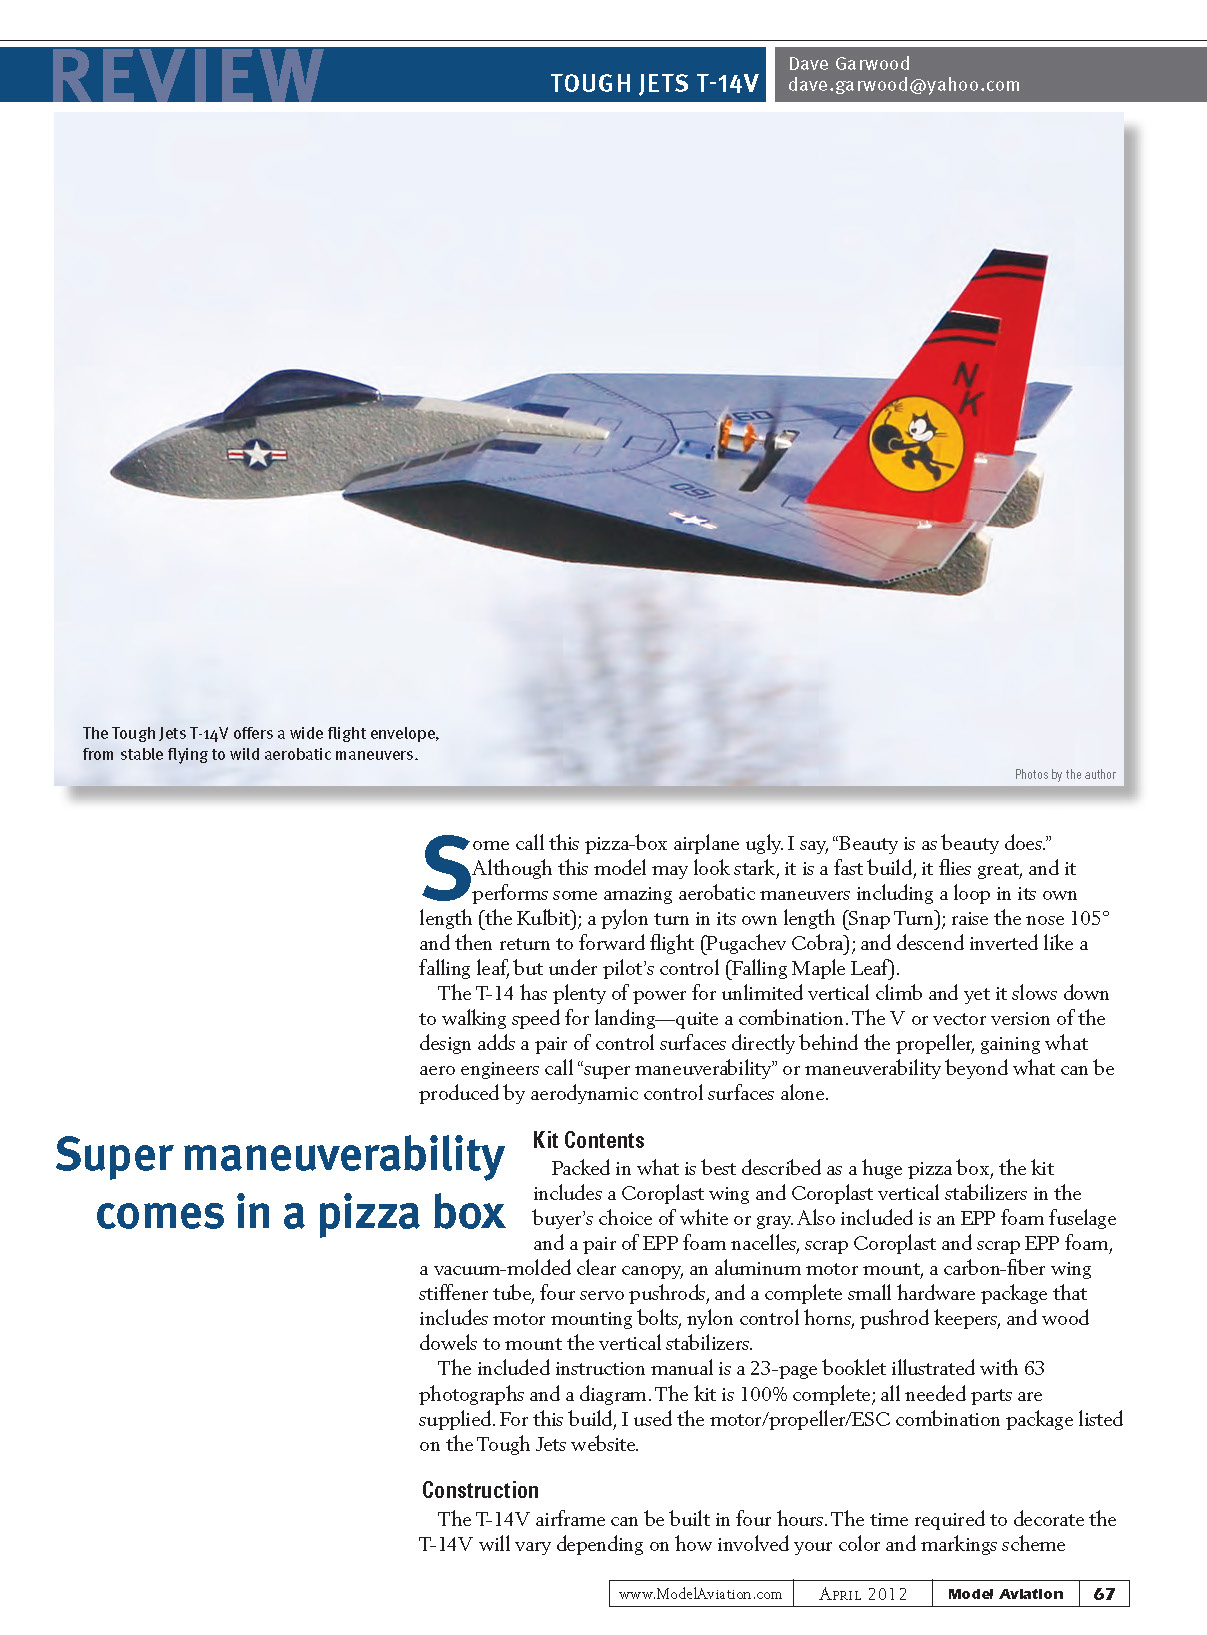
Some call this pizza-box airplane ugly. I say, “Beauty is as beauty does.” Although this model may look stark, it is a fast build, it flies great, and it performs some amazing aerobatic maneuvers including a loop in its own length (the Kulbit); a pylon turn in its own length (Snap Turn); raise the nose 105° and then return to forward flight (Pugachev Cobra); and descend inverted like a falling leaf, but under the pilot’s control (Falling Maple Leaf).
The T-14 has plenty of power for unlimited vertical climb and yet it slows down to walking speed for landing—quite a combination. The V, or vectored, version of the design adds a pair of control surfaces directly behind the propeller, gaining what aero engineers call “super maneuverability” (maneuverability beyond what can be produced by aerodynamic control surfaces alone).
Kit Contents
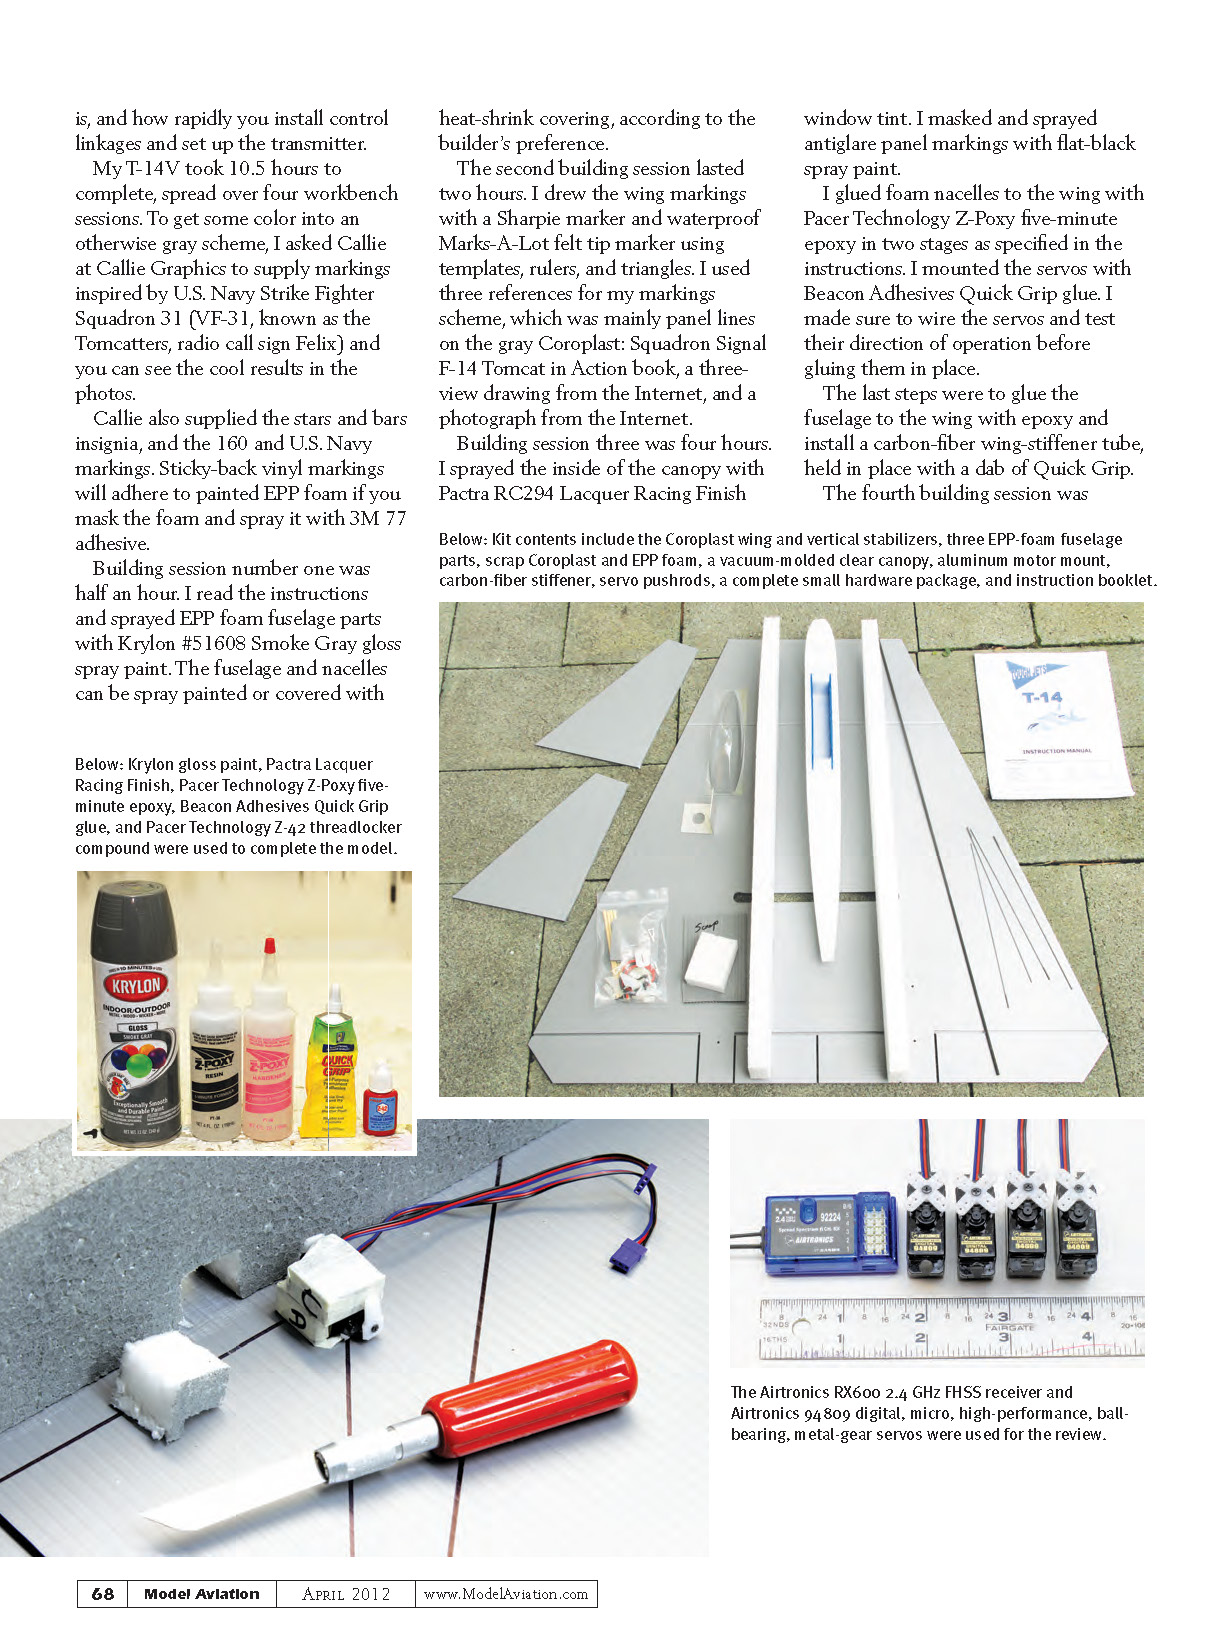
Packed in what is best described as a huge pizza box, the kit includes:
- Coroplast wing and Coroplast vertical stabilizers (buyer’s choice of white or gray)
- EPP foam fuselage and a pair of EPP foam nacelles
- Scrap Coroplast and scrap EPP foam
- Vacuum-molded clear canopy
- Aluminum motor mount
- Carbon-fiber wing stiffener tube
- Four servo pushrods
- Complete small hardware package (motor mounting bolts, nylon control horns, pushrod keepers, wood dowels to mount the vertical stabilizers)
The included instruction manual is a 23-page booklet illustrated with 63 photographs and a diagram. The kit is 100% complete; all needed parts are supplied. For this build I used the motor/propeller/ESC combination package listed on the Tough Jets website.
Construction
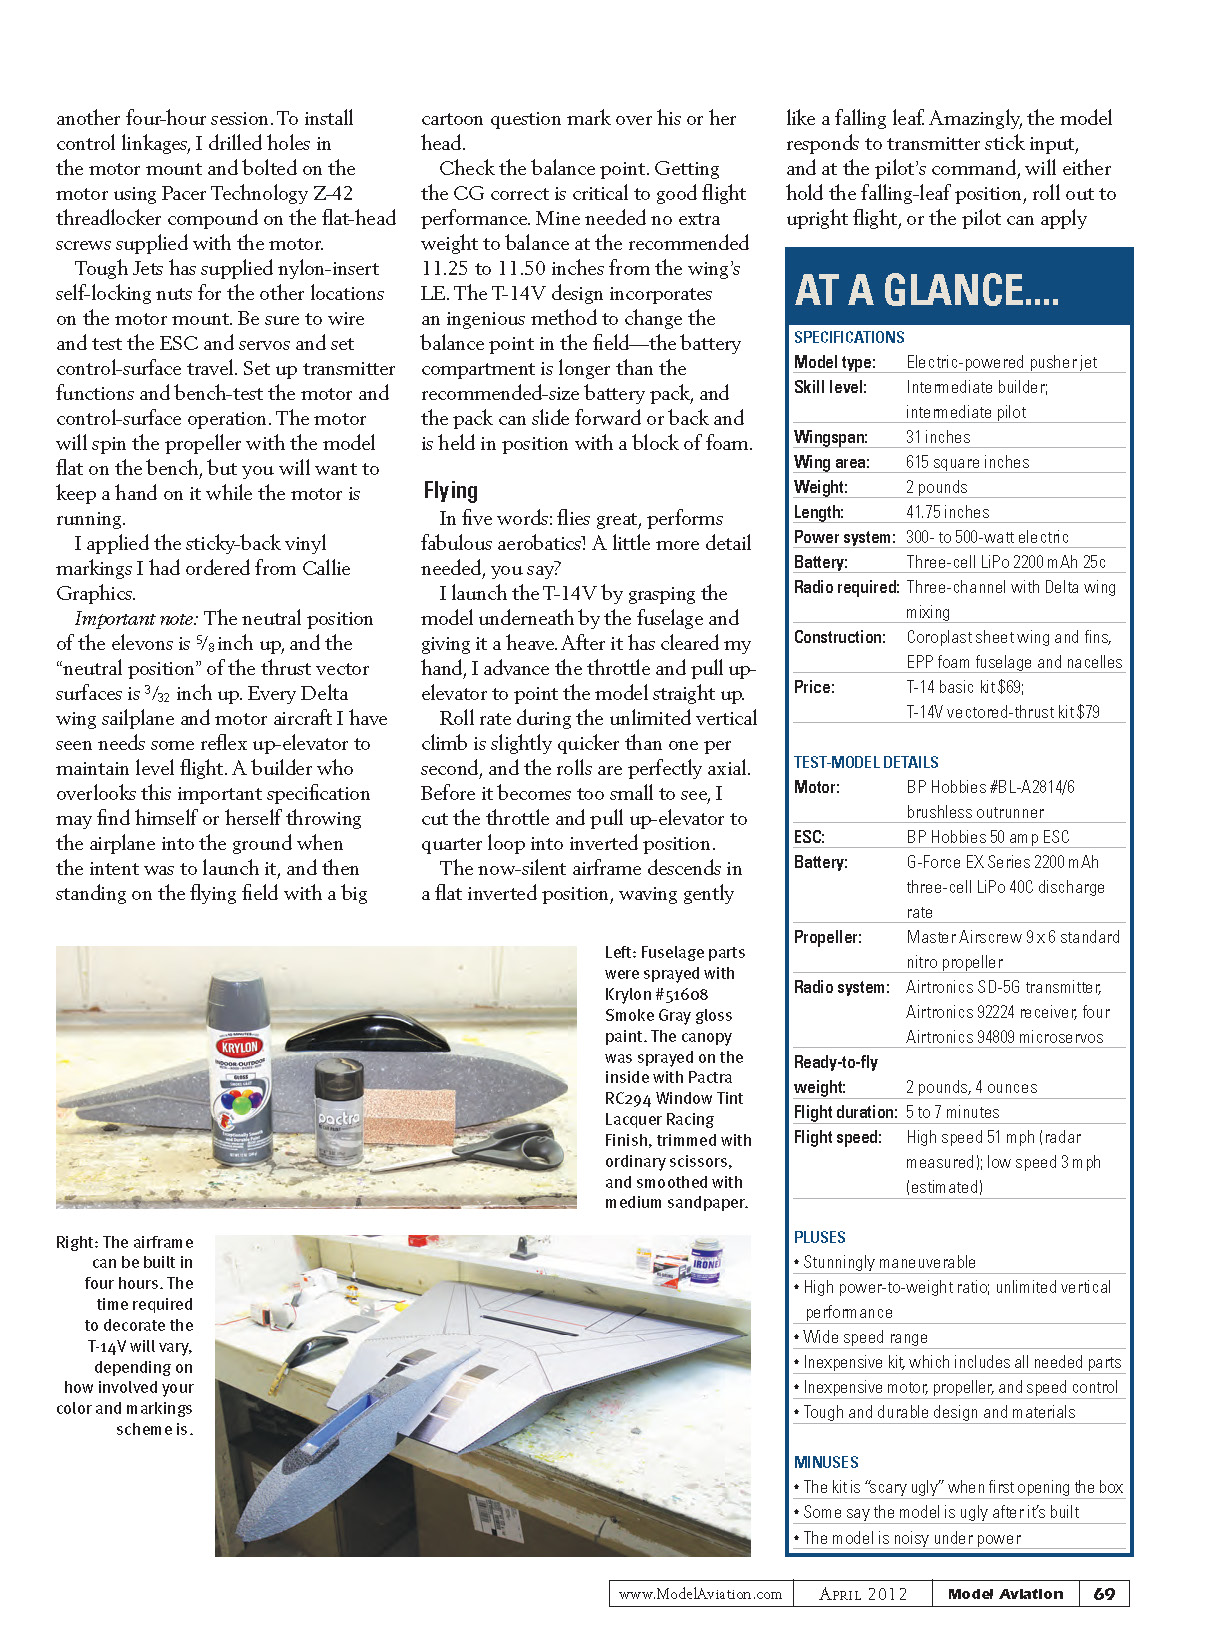
The T-14V airframe can be built in about four hours. The time required to decorate the T-14V will vary depending on how involved your color and markings scheme is, and how quickly you install control linkages and set up the transmitter. My T-14V took 10.5 hours to complete, spread over four workbench sessions.
I asked Callie at Callie Graphics to supply markings inspired by U.S. Navy Strike Fighter Squadron 31 (VF-31, the Tomcatters, radio call sign Felix). Callie also supplied the stars-and-bars insignia and the 160 and U.S. Navy markings. Sticky-back vinyl markings will adhere to painted EPP foam if you mask the foam and spray it with 3M 77 adhesive.
- Building session one (0.5 hour)
- Read the instructions.
- Sprayed EPP foam fuselage parts with Krylon #51608 Smoke Gray gloss spray paint. The fuselage and nacelles can be spray painted or covered with heat-shrink covering, according to the builder’s preference.
- Building session two (2 hours)
- Drew the wing markings with a Sharpie and waterproof Marks-A-Lot felt-tip marker using templates, rulers, and triangles.
- Used three references for the markings scheme: Squadron Signal F-14 Tomcat in Action, a three-view drawing from the Internet, and a photograph from the Internet.
- Building session three (4 hours)
- Sprayed the inside of the canopy with Pactra RC294 Lacquer Racing Finish window tint.
- Masked and sprayed antiglare panel markings with flat-black spray paint.
- Glued foam nacelles to the wing with Pacer Technology Z-Poxy five-minute epoxy in two stages, as specified in the instructions.
- Mounted servos with Beacon Adhesives Quick Grip glue, wiring and testing servo directions before gluing in place.
- Glued the fuselage to the wing with epoxy and installed the carbon-fiber wing-stiffener tube, held in place with a dab of Quick Grip.
- Building session four (about 4 hours)
- Applied heat-shrink covering (if desired).
- Installed control linkages, drilled holes in the motor mount, and bolted on the motor using Pacer Technology Z-42 threadlocker compound on the flat-head screws supplied with the motor. Tough Jets supplied nylon-insert self-locking nuts for the other locations on the motor mount.
- Wired and tested the ESC and servos and set control-surface travel. Set up transmitter functions and bench-tested the motor and control-surface operation. The motor will spin the propeller with the model flat on the bench—keep a hand on it while the motor is running.
- Applied the sticky-back vinyl markings from Callie Graphics.
Important note: The neutral position of the elevons is 5/8 inch up, and the neutral position of the thrust-vector surfaces is 3/32 inch up. Every delta-wing sailplane and motor aircraft I have seen needs some reflex up-elevator to maintain level flight. A builder who overlooks this specification may find the airplane crashing on launch.
Check the balance point (CG). Getting the CG correct is critical to good flight performance. Mine needed no extra weight to balance at the recommended 11.25 to 11.50 inches from the wing's leading edge. The T-14V design incorporates an ingenious method to change the balance point in the field—the battery compartment is longer than the recommended-size battery pack, so the pack can slide forward or back and is held in position with a block of foam.
Flying
In five words: flies great, performs fabulous aerobatics!
I launch the T-14V by grasping the model underneath by the fuselage and giving it a heave. After it has cleared my hand, I advance the throttle and pull up-elevator to point the model straight up.
Roll rate during the unlimited vertical climb is slightly quicker than one per second, and the rolls are perfectly axial. Before it becomes too small to see, I cut the throttle and pull up-elevator to a quarter loop into inverted position.
The now-silent airframe descends in a flat inverted position, waving gently like a falling leaf. Amazingly, the model responds to transmitter stick input, and at the pilot's command will either hold the falling-leaf position, roll out to upright flight, or the pilot can apply power and half-loop to upright flight.
Back in level flight under motor power, rolls are quick and axial. The T-14V performs inside and outside loops, Immelmann turns, Split-S maneuvers, and pretty, sky-filling Cuban 8s and Reverse Cuban 8s.
The additional thrust-vectoring control surfaces allow maneuvers such as the Kulbit and Snap Turn. These maneuvers are easy to perform by employing strong elevator input with the model flying at moderate speed under power.
If this super maneuverability is not enough for you and your amazed onlookers, with a little headwind and accurate, well-timed control inputs, the T-14 will perform Pugachev's Cobra. Fly straight and level into the wind at moderate throttle, pull up sharply, and cut the throttle to 10%. The airframe nose points up and then back. Gently advance the throttle and apply forward-elevator stick pressure to return to forward flight.
The T-14V can slow to an extremely low airspeed and still maintain full control. This allows walking-speed landings in calm conditions, and with a little headwind it can literally descend straight down to a soft landing on its foam nacelles.
The only downside I noticed is that it's loud under power. Some observers commented on this and, in discussing it with the designer, I learned that much of the noise is created when the propeller spins in the narrow slot cut in the wing. Cutting the slot wider reduces the noise.
Another plus for the design and supplied materials is that the T-14V is tough and withstands bounced and abusive landings. Have you ever tried to tear Coroplast? EPP foam is the most common construction material for fuselages and wings of full-contact combat slope gliders. Using these materials makes the model tough enough to have its engine nacelles act as skids for regular landings, and makes the airframe strong enough to withstand many "out of shape" landings—with one exception.
On one landing, when I was not paying as much attention as I should have, I broke the nose off the foam fuselage. It glued back together with epoxy and was ready to go again the next day. I considered reinforcing the fuselage with an internal carbon-fiber tube, but after discussion with the designer we agreed that allowing a sacrificial nose break on a bad-landing impact tends to save the rest of the airframe and is easy enough to repair almost invisibly.
AT A GLANCE....
SPECIFICATIONS
- Model type: Electric-powered pusher jet
- Skill level: Intermediate builder; intermediate pilot
- Wingspan: 31 inches
- Wing area: 615 square inches
- Weight: 2 pounds
- Length: 41.75 inches
- Power system: 300- to 500-watt electric
- Battery: Three-cell LiPo 2200 mAh 25C
- Radio required: Three-channel with delta-wing mixing
- Construction: Coroplast sheet wing and fins, EPP foam fuselage and nacelles
- Price: T-14 basic kit $69; T-14V vectored-thrust kit $79
TEST-MODEL DETAILS
- Motor: BP Hobbies BL-A2814/6 brushless outrunner
- ESC: BP Hobbies 50 amp ESC
- Battery: G-Force EX Series 2200 mAh three-cell LiPo 40C discharge rate
- Propeller: Master Airscrew 9 x 6 standard nitro propeller
- Radio system: Airtronics SD-5G transmitter, Airtronics 92224 receiver, four Airtronics 94809 microservos
- Ready-to-fly weight: 2 pounds, 4 ounces
- Flight duration: 5 to 7 minutes
- Flight speed: High speed 51 mph (radar measured); low speed 3 mph (estimated)
PLUSES
- Stunningly maneuverable
- High power-to-weight ratio; unlimited vertical performance
- Wide speed range
- Inexpensive kit, which includes all needed parts
- Inexpensive motor, propeller, and speed control
- Tough and durable design and materials
MINUSES
- The kit is "scary ugly" when first opening the box
- Some say the model is ugly after it's built
- The model is noisy under power
- Some have called the T-14 a recreational model only
- Very sensitive to incorrect CG
In Conclusion
I find the Tough Jets T-14V to be a fun and exciting electric flight project. Build one and the inexpensive and quick-building kit becomes a super aerobatic and memorably fun-to-fly model airplane.
— Dave Garwood [email protected]
Manufacturer / Distributor
Tough Jets www.toughjets.com
Sources
- Airtronics — http://airtronics.net
- Callie Graphics — www.callie-graphics.com
Transcribed from original scans by AI. Minor OCR errors may remain.

