
Sheet-Foam Building Techniques
by Dick Sarpolus
IF YOU'VE BEEN involved with park flyer or smaller-sized electric-powered RC aircraft in the past few years, you're probably aware of the proliferation of sheet-foam profile construction techniques. Modelers have rapidly accepted this relatively new form of model-airplane building because of its many advantages: low cost, ease of construction, fairly light weight, durability, and, most of all, after you've quickly built the low-cost airframe, it can fly well!
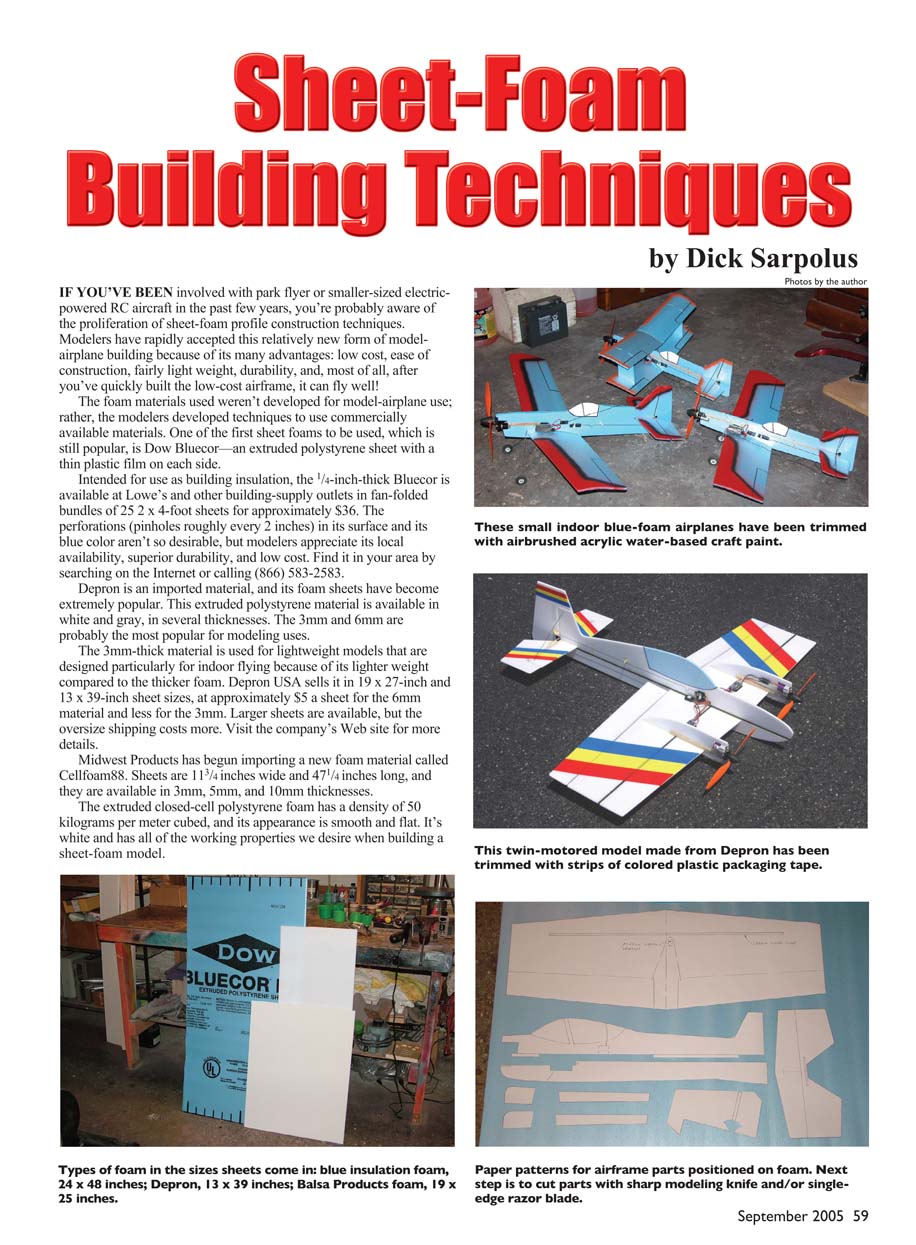
The foam materials used weren't developed for model-airplane use; rather, the modelers developed techniques to use commercially available materials. One of the first sheet foams to be used, which is still popular, is Dow Bluecor—an extruded polystyrene sheet with a thin plastic film on each side.
Intended for use as building insulation, the 1/4-inch-thick Bluecor is available at Lowe's and other building-supply outlets in fan-folded bundles of 25 2 x 4-foot sheets for approximately $36. The perforations (pinholes roughly every 2 inches) in its surface and its blue color aren't as desirable, but modelers appreciate its local availability, superior durability, and low cost. Find it in your area by searching on the Internet or calling (866) 583-2583.
Depron is an imported material, and its foam sheets have become extremely popular. This extruded polystyrene material is available in white and gray, in several thicknesses. The 3mm and 6mm are probably the most popular for modeling uses.
The 3mm-thick material is used for lightweight models that are designed particularly for indoor flying because of its lighter weight compared to the thicker foam. Depron USA sells it in 19 x 27-inch and 13 x 39-inch sheet sizes, at approximately $5 a sheet for the 6mm material and less for the 3mm. Larger sheets are available, but the oversize shipping costs more. Visit the company's Web site for more details.
Midwest Products has begun importing a new foam material called Cellfoam88. Sheets are 11 3/4 inches wide and 47 1/4 inches long, and they are available in 3mm, 5mm, and 10mm thicknesses.
The extruded closed-cell polystyrene foam has a density of 50 kilograms per meter cubed, and its appearance is smooth and flat. It's white and has all of the working properties we desire when building a sheet-foam model.
Sheet-Foam Building Techniques
Dick Sarpolus
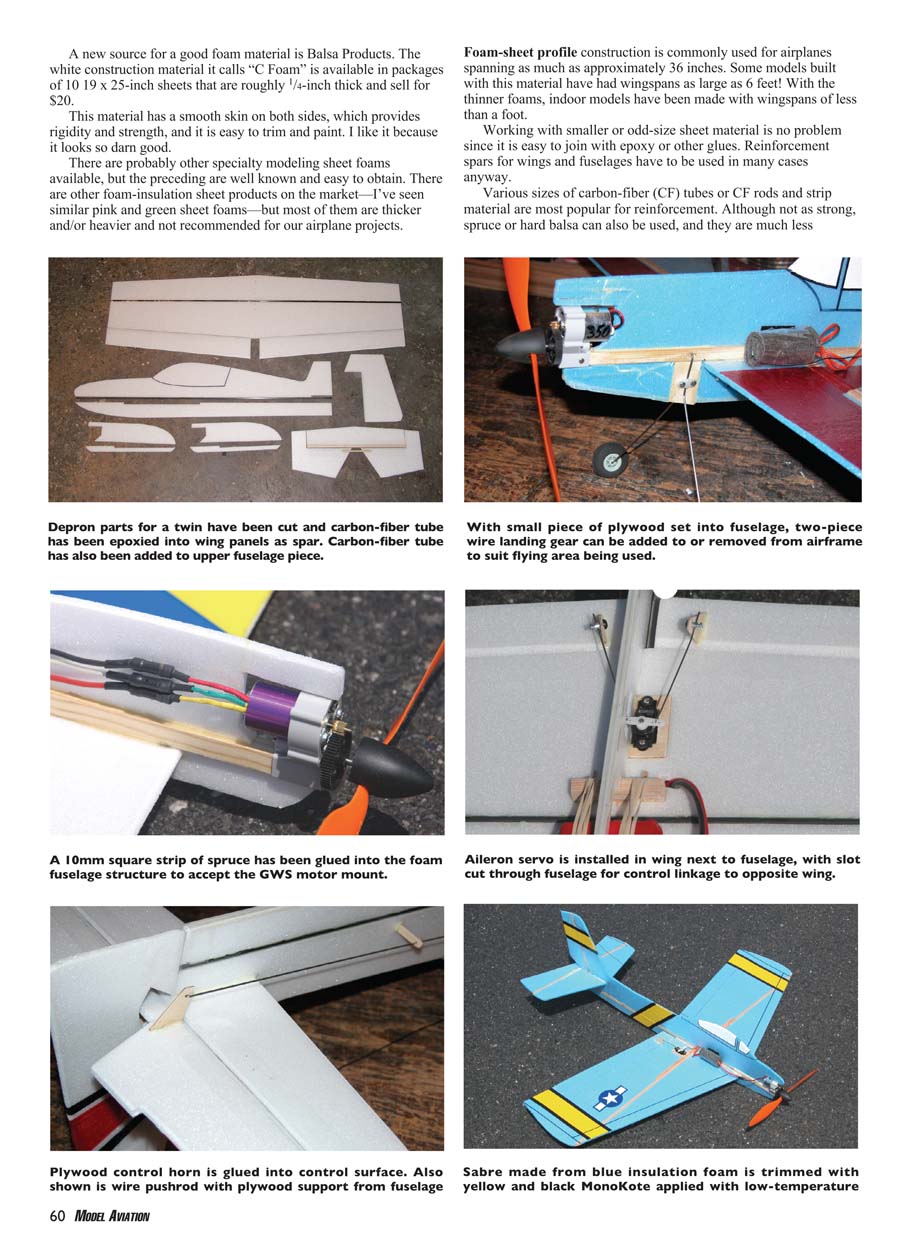
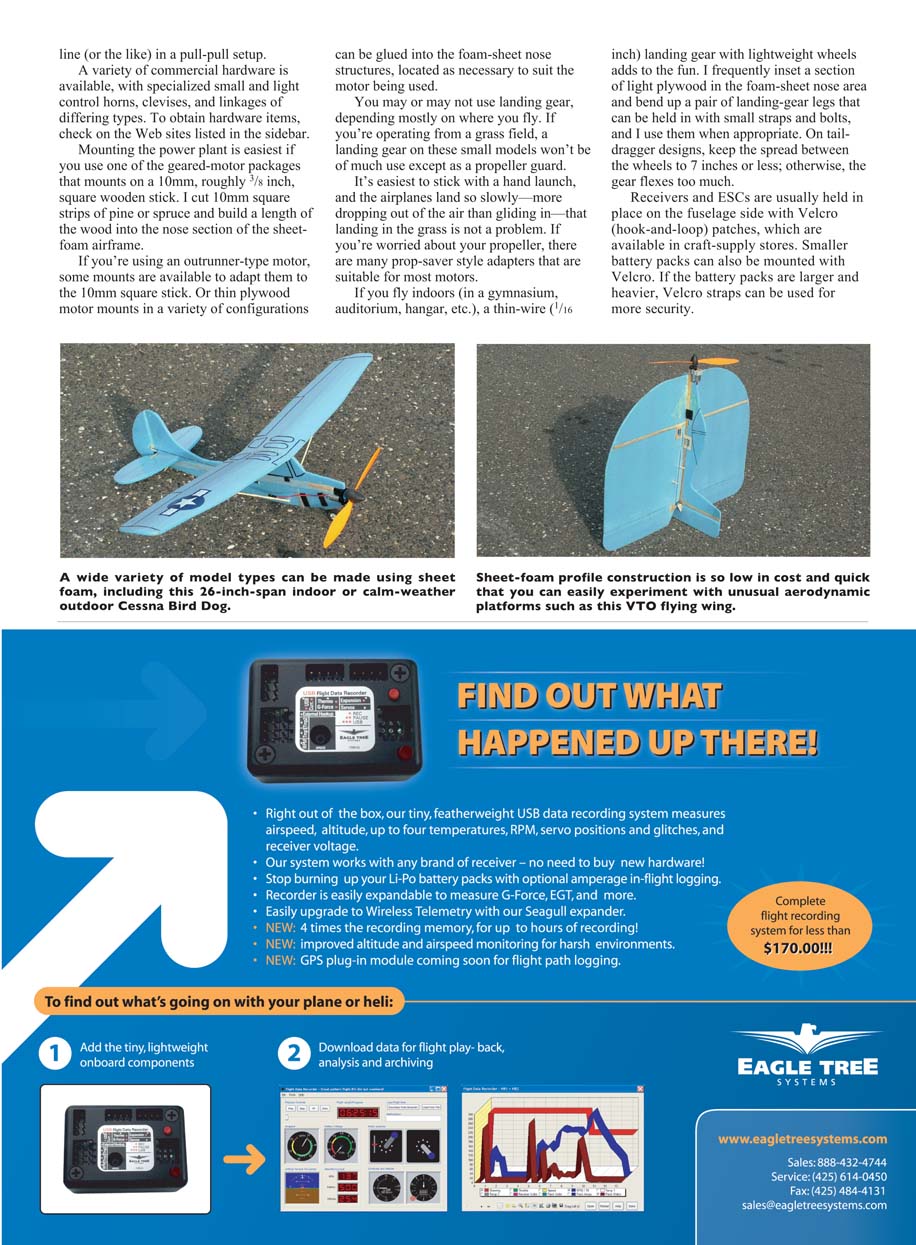
Foam-sheet profile construction is commonly used for airplanes spanning as much as approximately 36 inches. Some models built with this material have had wingspans as large as 6 feet! With the thinner foams, indoor models have been made with wingspans of less than a foot.
Working with smaller or odd-size sheet material is no problem since it is easy to join with epoxy or other glues. Reinforcement spars for wings and fuselages have to be used in many cases anyway.
Various sizes of carbon-fiber (CF) tubes or CF rods and strip material are most popular for reinforcement. Although not as strong, spruce or hard balsa can also be used, and they are much less expensive. CF tubing can be hard to find, but the sidebar lists a few Web sites on which it is available.
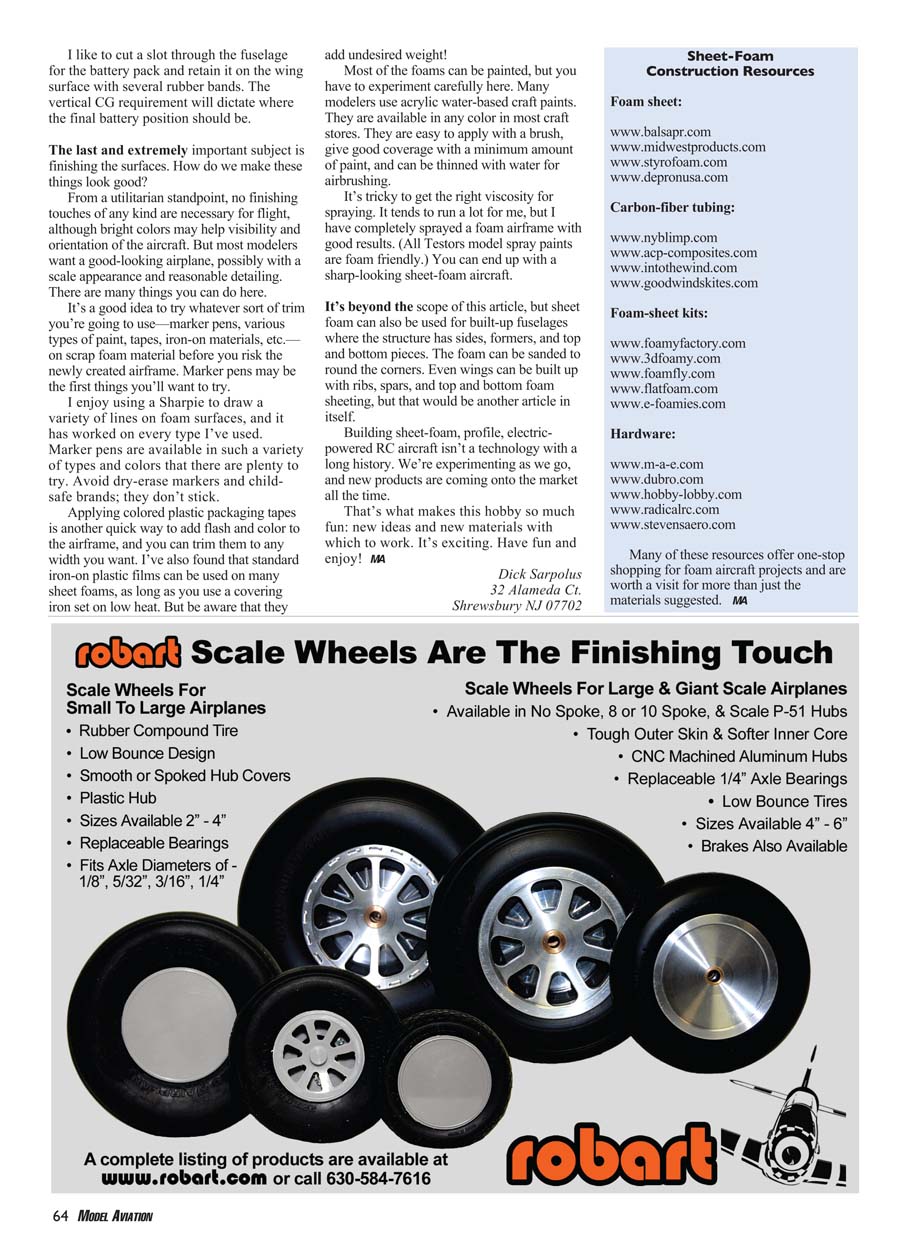
Foam profile construction can be used for aircraft with widely varying performance levels, from slow, relaxing cruisers to the hottest 3-D performers. Construction plans for these types of sheet-foam airframes are available from many of the modeling magazines, and I'm sure there will be more to come.
Because this type of design and construction is so simple compared to traditional wood building, and with the inherent forgiving flight characteristics, it's tempting to want to design an original model or perhaps a model with a scale outline that is seldom seen. There are some basic parameters that have worked for me.
If I want a slow outdoor model that is capable of a loop or two, I plan on using an undercambered wing with a span of 30-36 inches and a flying weight of no more than 10-14 ounces. If I want something aerobatic, such as a 3-D model, a flat airfoil (symmetrical) works best. The lighter the better, so I wouldn't want it to be any heavier than 12 ounces.
An indoor aerobatic airplane will be flying in close quarters, so a wingspan of 25 inches or less and a weight of 5-8 ounces works great. Biplanes are ideal profile foam models. They typically have wingspans in the 26- to 32-inch range and can be as heavy as 18 ounces.
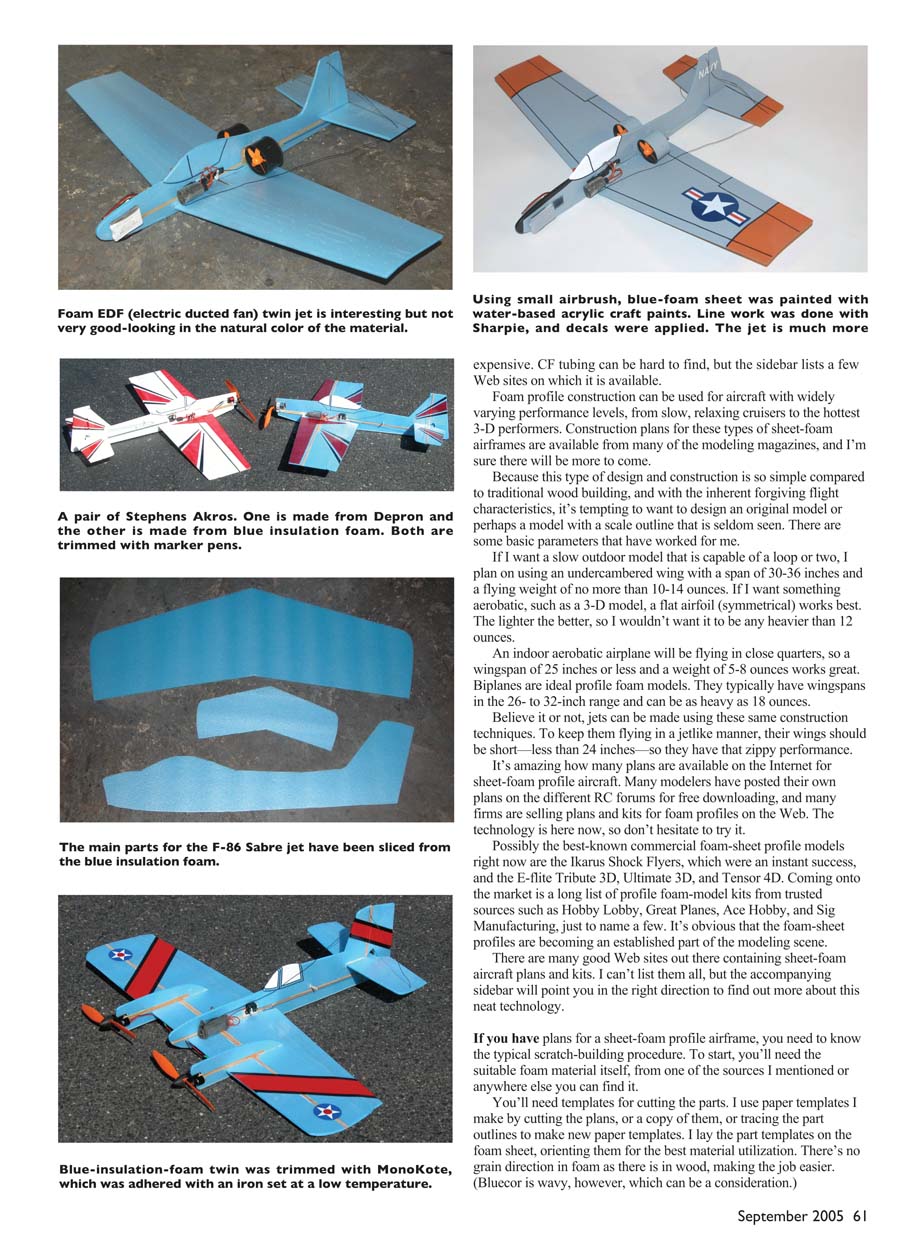
Believe it or not, jets can be made using these same construction techniques. To keep them flying in a jet-like manner, their wings should be short—less than 24 inches—so they have that zippy performance.
It's amazing how many plans are available on the Internet for sheet-foam profile aircraft. Many modelers have posted their own plans on the different RC forums for free downloading, and many firms are selling plans and kits for foam profiles on the Web. The technology is here now, so don't hesitate to try it.
Possibly the best-known commercial foam-sheet profile models right now are the Ikarus Shock Flyers, which were an instant success, and the E-flite Tribute 3D, Ultimate 3D, and Tensor 4D. Coming onto the market is a long list of profile foam-model kits from trusted sources such as Hobby Lobby, Great Planes, Ace Hobby, and Sig Manufacturing, just to name a few. It's obvious that the foam-sheet profiles are becoming an established part of the modeling scene.
There are many good Web sites out there containing sheet-foam aircraft plans and kits. I can't list them all, but the accompanying sidebar will point you in the right direction to find out more about this neat technology.
If you have plans for a sheet-foam profile airframe, you need to know the typical scratch-building procedure. To start, you'll need the suitable foam material itself, from one of the sources I mentioned or anywhere else you can find it.
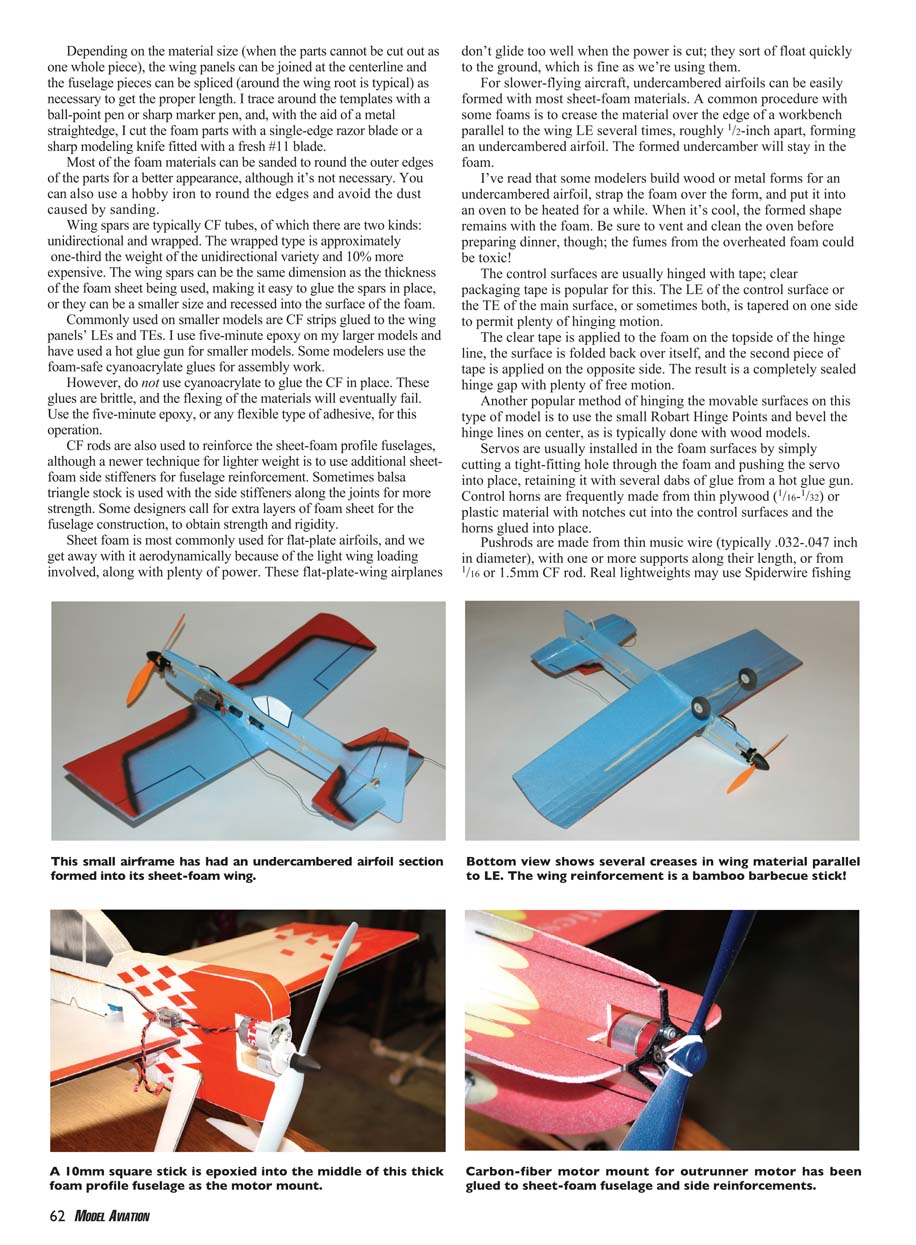
You'll need templates for cutting the parts. I use paper templates I make by cutting the plans, or a copy of them, or tracing the part outlines to make new paper templates. I lay the paper templates on the foam sheet, orienting them for the best material utilization. There's no grain direction in foam as there is in wood, making the job easier. (Bluecor is wavy, however, which can be a consideration.) Depending on the material size (when the parts cannot be cut out as one whole piece), the wing panels can be joined at the centerline and the fuselage pieces can be spliced (around the wing root is typical) as necessary to get the proper length. I trace around the templates with a ball-point pen or sharp marker pen, and, with the aid of a metal straightedge, I cut the foam parts with a single-edge razor blade or a sharp modeling knife fitted with a fresh #11 blade.
Most of the foam materials can be sanded to round the outer edges of the parts for a better appearance, although it's not necessary. You can also use a hobby iron to round the edges and avoid the dust caused by sanding.
Wing spars are typically CF tubes, of which there are two kinds: unidirectional and wrapped. The wrapped type is approximately one-third the weight of the unidirectional variety and 10% more expensive. The wing spars can be the same dimension as the thickness of the foam sheet being used, making it easy to glue the spars in place, or they can be a smaller size and recessed into the surface of the foam.
Commonly used on smaller models are CF strips glued to the wing panels' LEs and TEs. I use five-minute epoxy on my larger models and have used a hot glue gun for smaller models. Some modelers use the foam-safe cyanoacrylate glues for assembly work.
However, do not use cyanoacrylate to glue the CF in place. These glues are brittle, and the flexing of the materials will eventually fail. Use the five-minute epoxy, or any flexible type of adhesive, for this operation.
CF rods are also used to reinforce the sheet-foam profile fuselages, although a newer technique for lighter weight is to use additional sheet-foam side stiffeners for fuselage reinforcement. Sometimes balsa triangle stock is used with the side stiffeners along the joints for more strength. Some designers call for extra layers of foam sheet for the fuselage construction, to obtain strength and rigidity.
Sheet foam is most commonly used for flat-plate airfoils, and we get away with it aerodynamically because of the light wing loading involved, along with plenty of power. These flat-plate-wing airplanes don't glide too well when the power is cut; they sort of float quickly to the ground, which is fine as we're using them.
For slower-flying aircraft, undercambered airfoils can be easily formed with most sheet-foam materials. A common procedure with some foams is to crease the material over the edge of a workbench parallel to the wing LE several times, roughly 1/2-inch apart, forming an undercambered airfoil. The formed undercamber will stay in the foam.
I've read that some modelers build wood or metal forms for an undercambered airfoil, strap the foam over the form, and put it into an oven to be heated for a while. When it's cool, the formed shape remains with the foam. Be sure to vent and clean the oven before preparing dinner, though; the fumes from the overheated foam could be toxic!
The control surfaces are usually hinged with tape; clear packaging tape is popular for this. The LE of the control surface or the TE of the main surface, or sometimes both, is tapered on one side to permit plenty of hinging motion.
The clear tape is applied to the foam on the topside of the hinge line, the surface is folded back over itself, and the second piece of tape is applied on the opposite side. The result is a completely sealed hinge gap with plenty of free motion.
Another popular method of hinging the movable surfaces on this type of model is to use the small Robart Hinge Points and bevel the hinge lines on center, as is typically done with wood models.
Servos are usually installed in the foam surfaces by simply cutting a tight-fitting hole through the foam and pushing the servo into place, retaining it with several dabs of glue from a hot glue gun. Control horns are frequently made from thin plywood (1/16–1/32) or plastic material with notches cut into the control surfaces and the horns glued into place.
In pushrods are made from thin music wire (typically .032–.047 inch in diameter), with one or more supports along their length, or from 1/16 or 1.5mm CF rod. Real lightweights may use Spiderwire fishing line. A variety of commercial hardware is available, with specialized small and light control horns, clevises, and linkages of differing types. To obtain hardware items, check on the Web sites listed in the sidebar.
Mounting the power plant is easiest if you use one of the geared-motor packages that mounts on a 10mm, roughly 3/8 inch, square wooden stick. I cut 10mm square strips of pine or spruce and build a length of the wood into the nose section of the sheet-foam airframe.
If you’re using an outrunner-type motor, some mounts are available to adapt them to the 10mm square stick. Or thin plywood motor mounts in a variety of configurations can be glued into the foam-sheet nose structures, located as necessary to suit the motor being used.
You may or may not use landing gear, depending mostly on where you fly. If you’re operating from a grass field, a landing gear on these small models won’t be of much use except as a propeller guard.
It’s easiest to stick with a hand launch, and the airplanes land so slowly—more dropping out of the air than gliding in—that landing in the grass is not a problem. If you’re worried about your propeller, there are many prop-saver style adapters that are suitable for most motors.
If you fly indoors (in a gymnasium, auditorium, hangar, etc.), a thin-wire (1/16 inch) landing gear with lightweight wheels adds to the fun. I frequently inset a section of light plywood in the foam-sheet nose area and bend up a pair of landing-gear legs that can be held in with small straps and bolts, and I use them when appropriate. On taildragger designs, keep the spread between the wheels to 7 inches or less; otherwise, the gear flexes too much.
Receivers and ESCs are usually held in place on the fuselage side with Velcro (hook-and-loop) patches, which are available in craft-supply stores. Smaller battery packs can also be mounted with Velcro. If the battery packs are larger and heavier, Velcro straps can be used for more security.
The last and extremely important subject is finishing the surfaces. How do we make these things look good?
From a utilitarian standpoint, no finishing touches of any kind are necessary for flight, although bright colors may help visibility and orientation of the aircraft. But most modelers want a good-looking airplane, possibly with a scale appearance and reasonable detailing. There are many things you can do here.
It’s a good idea to try whatever sort of trim you’re going to use—marker pens, various types of paint, tapes, iron-on materials, etc.—on scrap foam material before you risk the newly created airframe. Marker pens may be the first things you’ll want to try.
I enjoy using a Sharpie to draw a variety of lines on foam surfaces, and it has worked on every type I’ve used. Marker pens are available in such a variety of types and colors that there are plenty to try. Avoid dry-erase markers and child-safe brands; they don’t stick.
Applying colored plastic packaging tapes is another quick way to add flash and color to the airframe, and you can trim them to any width you want. I’ve also found that standard iron-on plastic films can be used on many sheet foams, as long as you use a covering iron set on low heat. But be aware that they add undesired weight!
Most of the foams can be painted, but you have to experiment carefully here. Many modelers use acrylic water-based craft paints. They are available in any color in most craft stores. They are easy to apply with a brush, give good coverage with a minimum amount of paint, and can be thinned with water for airbrushing.
It’s tricky to get the right viscosity for spraying. It tends to run a lot for me, but I have completely sprayed a foam airframe with good results. (All Testors model spray paints are foam friendly.) You can end up with a sharp-looking sheet-foam aircraft.
It’s beyond the scope of this article, but sheet foam can also be used for built-up fuselages where the structure has sides, formers, and top and bottom pieces. The foam can be sanded to round the corners. Even wings can be built up with ribs, spars, and top and bottom foam sheeting, but that would be another article in itself.
Building sheet-foam, profile, electric-powered RC aircraft isn’t a technology with a long history. We’re experimenting as we go, and new products are coming onto the market all the time.
That’s what makes this hobby so much fun: new ideas and new materials with which to work. It’s exciting. Have fun and enjoy!
Dick Sarpolus 32 Alameda Ct. Shrewsbury NJ 07702
Sheet-Foam Construction Resources
Foam sheet:
Carbon-fiber tubing:
Foam-sheet kits:
Hardware:
Many of these resources offer one-stop shopping for foam aircraft projects and are worth a visit for more than just the materials suggested.
Transcribed from original scans by AI. Minor OCR errors may remain.

