

SIG MANUFACTURING T-CLIPS 70 EG ARF
Stan Alexander [email protected]
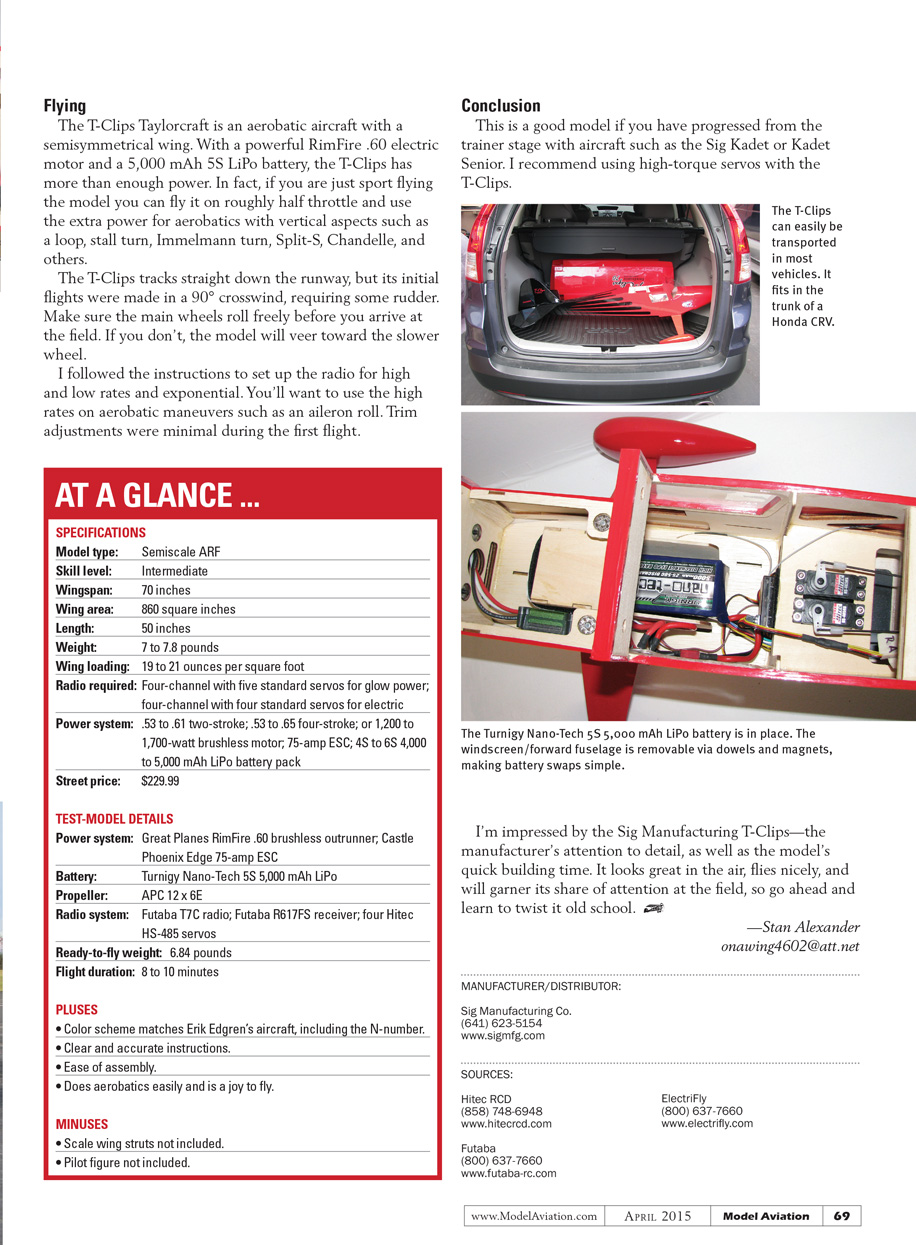
If you've selected this aircraft to assemble and fly, you probably know it's a modified clipped-wing Taylorcraft that started life as a BC-65 model. The full-scale aircraft is owned by Erik Edgren, who flies the T-Clips in aerobatic air shows. Erik advertises the airplane as possibly the only clipped-wing Taylorcraft currently flying air shows with the original-size engine. He uses all of the control surfaces and the 85 hp Continental engine for, as he says, "twistin' it old school."
Upon opening the inner box, you will see that the wings and tail surfaces are all neatly taped in place. Under the cardboard divider is the rest of the model — including the fuselage, cowl, landing gear, and hardware package. This is not a receiver-ready or ready-to-fly model; some assembly is required, but a construction manual with tips for new fliers is included.
Similar to many newer ARF aircraft, the windscreen/forward fuselage section is held on with magnets and wooden dowels. This allows you to exchange batteries without removing the wing for each flight. Note: the sides of the model's box show how to open this section of the fuselage; that detail is not explained in the instruction booklet.
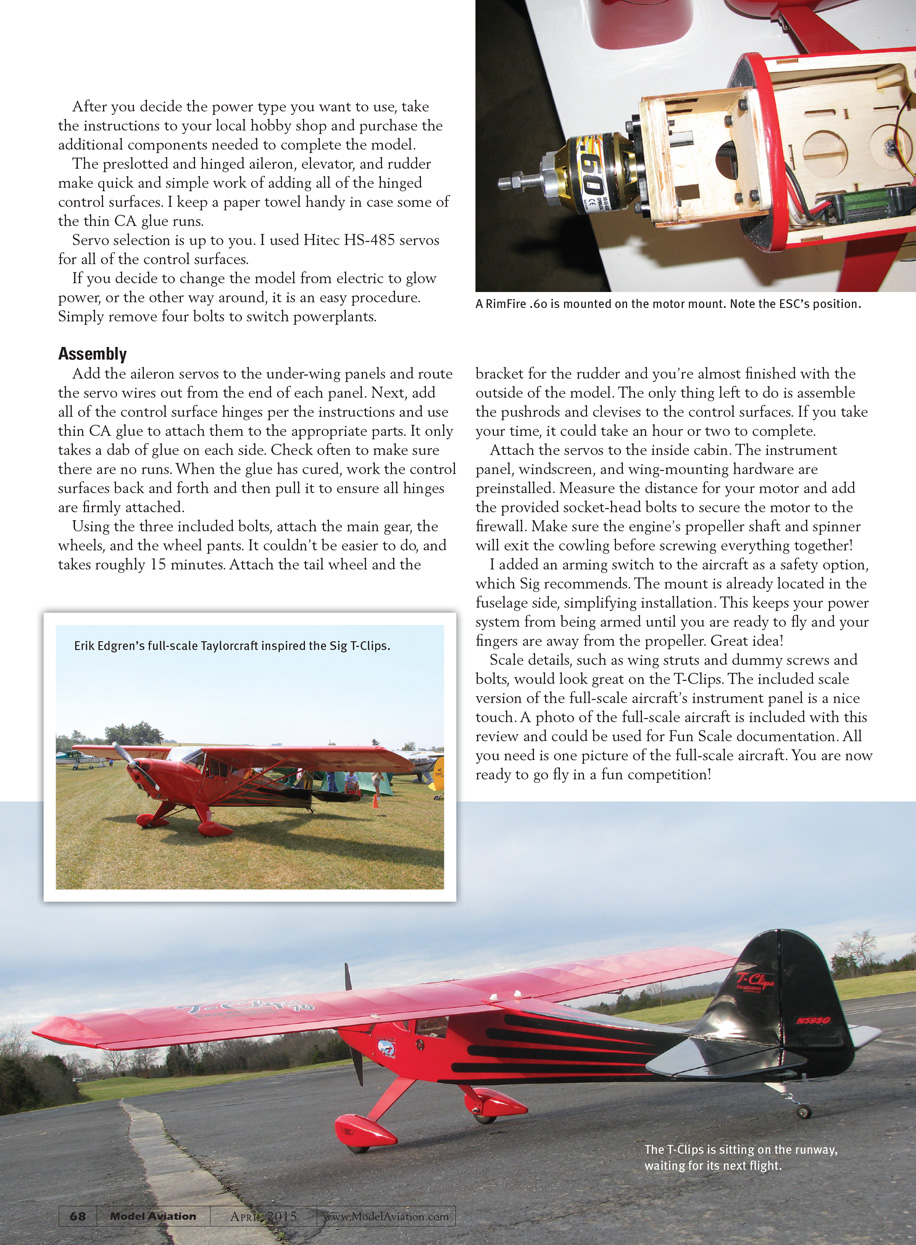
The first decision to make when assembling the T-Clips 70 is the type of power system you want to use. Sig has designed the model to use either electric or glow power (EG). I decided to use electric power. If you choose glow-fuel power, a .60-size engine should be powerful enough; a glow-fuel tank is provided. After selecting your power type, take the instructions to your local hobby shop and purchase the additional components needed to complete the model.
The preslotted and hinged aileron, elevator, and rudder make quick work of adding all of the hinged control surfaces. Keep a paper towel handy in case some thin CA glue runs. Servo selection is up to you; I used Hitec HS-485 servos for all control surfaces. If you decide to change the model from electric to glow power (or vice versa), it is an easy procedure — simply remove four bolts to switch powerplants.
Assembly
Add the aileron servos to the under-wing panels and route the servo wires out from the end of each panel. Next, add all control-surface hinges per the instructions and use thin CA glue to attach them. It only takes a dab of glue on each side; check often to make sure there are no runs. When the glue has cured, work each control surface back and forth and then pull it to ensure all hinges are firmly attached.
Using the three included bolts, attach the main gear, the wheels, and the wheel pants. It couldn't be easier and takes roughly 15 minutes. Attach the tailwheel and the rudder bracket and you're almost finished with the exterior. The only thing left is to assemble the pushrods and clevises to the control surfaces. If you take your time, final assembly could take an hour or two.
Install the servos inside the cabin. The instrument panel, windscreen, and wing-mounting hardware are preinstalled. Measure for your motor and use the provided socket-head bolts to secure the motor to the firewall. Make sure the engine's propeller shaft and spinner will clear the cowling before tightening everything.
I added an arming switch to the aircraft as a safety option, which Sig recommends. The mount is already located in the fuselage side, simplifying installation. This keeps your power system from being armed until you are ready to fly and your fingers are away from the propeller.
Scale details such as wing struts and dummy screws/bolts would enhance the T-Clips. The included scale version of the full-scale aircraft's instrument panel is a nice touch. A photo of the full-scale aircraft is included with this review and could be used for Fun Scale documentation — all you need is one picture of the full-scale airplane. Then you are ready to fly in a fun-scale competition.
Flying
The T-Clips Taylorcraft is an aerobatic aircraft with a semisymmetrical wing. With a powerful Great Planes RimFire .60 electric motor and a 5,000 mAh 5S LiPo battery, the T-Clips has more than enough power. For sport flying you can cruise on roughly half throttle and use the extra power for vertical aerobatics such as loops, stall turns, Immelmanns, Split-S, Chandelles, and more.
The T-Clips tracks straight down the runway, but initial flights may require rudder input in a crosswind — my first flights were made in a 90° crosswind. Make sure the main wheels roll freely before you arrive at the field; if one wheel binds the model will veer toward the slower wheel.
Set up the radio with high and low rates and exponential as instructed. Use high rates for aerobatic maneuvers such as aileron rolls. Trim adjustments were minimal during the first flight.
AT A GLANCE ...
SPECIFICATIONS
- Model type: Semiscale ARF
- Skill level: Intermediate
- Wingspan: 70 inches
- Wing area: 860 square inches
- Length: 50 inches
- Weight: 7 to 7.8 pounds
- Wing loading: 19 to 21 ounces per square foot
- Radio required: Four-channel with five standard servos for glow power; four-channel with four standard servos for electric
- Power system:
- .53 to .61 two-stroke; or
- .53 to .65 four-stroke; or
- 1,200 to 1,700-watt brushless motor; 75-amp ESC; 4S to 6S, 4,000 to 5,000 mAh LiPo battery pack
- Street price: $229.99
TEST-MODEL DETAILS
- Power system: Great Planes RimFire .60 brushless outrunner; Castle Phoenix Edge 75-amp ESC
- Battery: Turnigy Nano-Tech 5S 5,000 mAh LiPo
- Propeller: APC 12 x 6E
- Radio system: Futaba T7C radio; Futaba R617FS receiver; four Hitec HS-485 servos
- Ready-to-fly weight: 6.84 pounds
- Flight duration: 8 to 10 minutes
PLUSES
- Color scheme matches Erik Edgren's aircraft, including the N-number.
- Clear and accurate instructions.
- Ease of assembly.
- Does aerobatics easily and is a joy to fly.
MINUSES
- Scale wing struts not included.
- Pilot figure not included.
Conclusion
This is a good model if you have progressed from trainer aircraft such as the Sig Kadet or Kadet Senior. I recommend using high-torque servos with the T-Clips. I'm impressed by the Sig Manufacturing T-Clips — the manufacturer's attention to detail and the model's quick build time. It looks great in the air, flies nicely, and will garner attention at the field, so go ahead and learn to twist it old school.
—Stan Alexander [email protected]
MANUFACTURER/DISTRIBUTOR
Sig Manufacturing Co. (641) 623-5154 www.sigmfg.com
SOURCES
Hitec RCD (858) 748-6948 www.hitecrcd.com
Futaba (800) 637-7660 www.futaba-rc.com
ElectriFly (800) 637-7660 www.electrifly.com
Transcribed from original scans by AI. Minor OCR errors may remain.

