

SIG SBACH XA41 300 ARF
Terry Dunn [email protected]
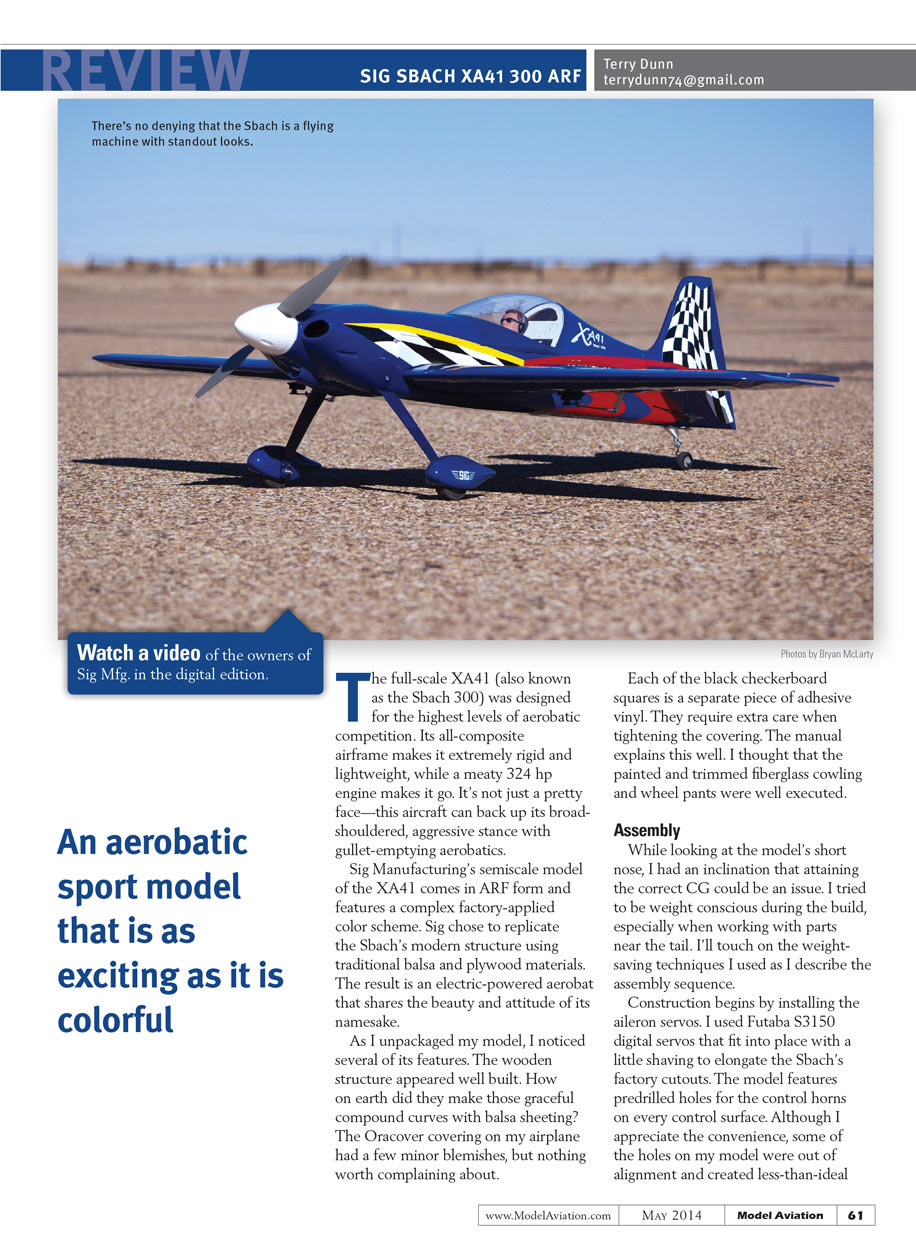
The full-scale XA41 (also known as the Sbach 300) was designed for the highest levels of aerobatic competition. Its all-composite airframe makes it extremely rigid and lightweight, while a meaty 324 hp engine makes it go. It’s not just a pretty face—this aircraft can back up its broad-shouldered, aggressive stance with gullet-emptying aerobatics.
Sig Manufacturing’s semiscale model of the XA41 comes in ARF form and features a complex factory-applied color scheme. Sig chose to replicate the Sbach’s modern structure using traditional balsa and plywood materials. The result is an electric-powered aerobat that shares the beauty and attitude of its namesake.
As I unpacked my model, I noticed several of its features. The wooden structure appeared well built. How on earth did they make those graceful compound curves with balsa sheeting? The Oracover covering on my airplane had a few minor blemishes, but nothing worth complaining about.
Each of the black checkerboard squares is a separate piece of adhesive vinyl. They require extra care when tightening the covering; the manual explains this well. I thought that the painted and trimmed fiberglass cowling and wheel pants were well executed.
Assembly
While looking at the model’s short nose, I had an inclination that attaining the correct CG could be an issue. I tried to be weight conscious during the build, especially when working with parts near the tail. I’ll touch on the weight-saving techniques I used as I describe the assembly sequence.
Construction begins by installing the aileron servos. I used Futaba S3150 digital servos that fit into place with a little shaving to enlarge the Sbach’s factory cutouts. The model features predrilled holes for the control horns on every control surface. Although I appreciate the convenience, some of the holes on my model were out of alignment and created less-than-ideal linkage geometry. The positions were close enough that I decided to use them as they were, rather than drilling new holes.
When it was time to glue the tail feathers in place, the manual suggests using epoxy. To save some weight, I used carpenter’s glue and let it dry overnight. The weight difference is probably measured in grams. Keep in mind, however, that every 10 grams saved at the tail equates to an ounce saved at the nose. The benefits quickly add up.
The only hardware in the kit that I didn’t care for was the tailwheel assembly. It works well enough, but I think it is overly large and rigid for this model. I made a few slight modifications to trim the weight: I replaced the solid rubber wheel with a foam unit from my stash. The foam also adds a little shock absorption. One wheel collar is used to adjust the axle height, while another holds the wheel in place. I replaced the latter with some plastic tubing glued into position and snipped off the excess length of the tiller arm.
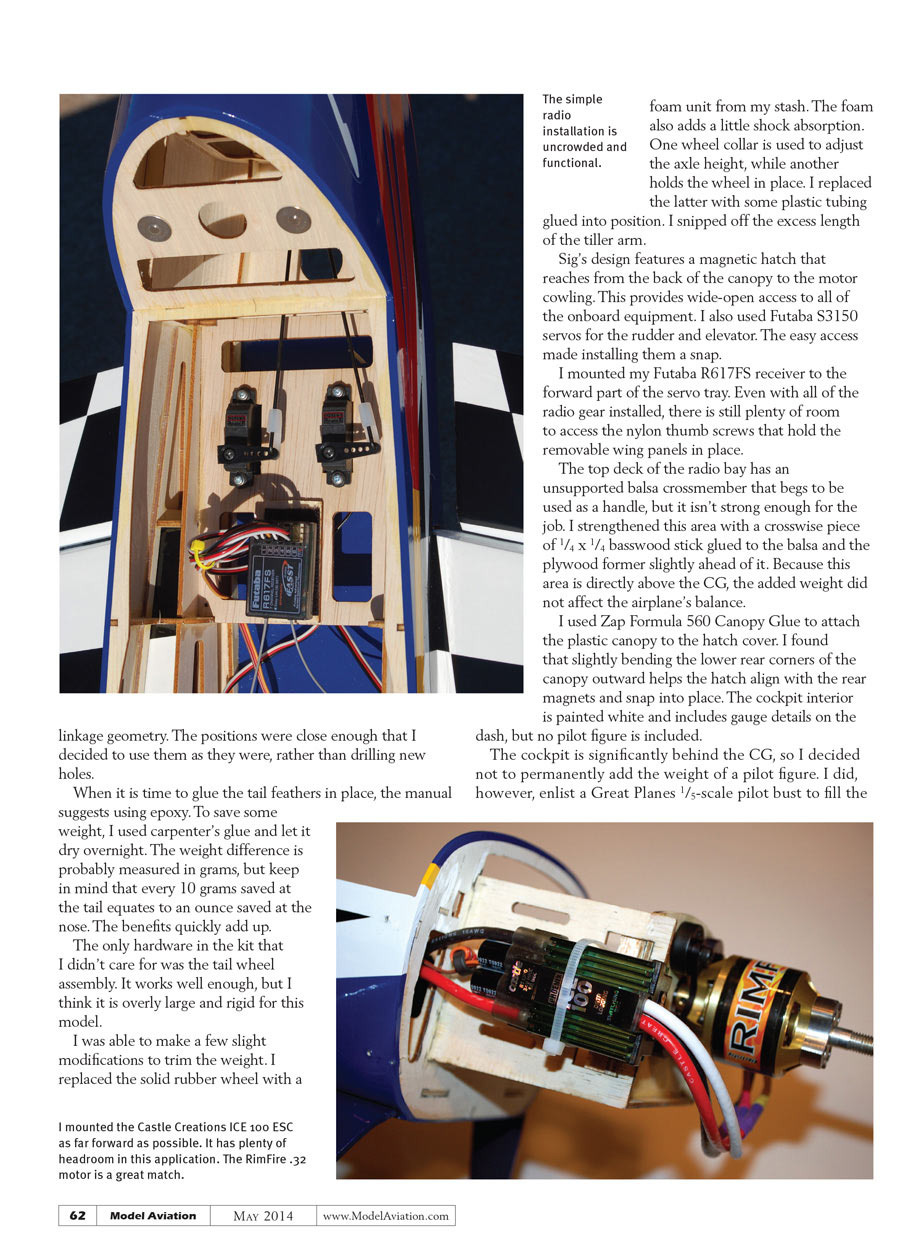
Sig’s design features a magnetic hatch that reaches from the back of the canopy to the motor cowling. This provides wide-open access to all of the onboard equipment. I also used Futaba S3150 servos for the rudder and elevator. The easy reach made installing them a snap. I mounted my Futaba R617FS receiver to the forward part of the servo tray. Even with all of the radio gear installed, there is still plenty of room to access the nylon thumb screws that hold the removable wing panels in place.
The top deck of the radio bay has an unsupported balsa crossmember that begs to be used as a handle. It isn’t strong enough for the job. I strengthened this area with a crosswise piece of 1/4 x 1/4 basswood stick glued to the balsa and the plywood former slightly ahead of it. Because this area is directly above the CG, the added weight did not affect the airplane’s balance.
I used Zap Formula 560 Canopy Glue to attach the plastic canopy to the hatch cover. I found that slightly bending the lower rear corners of the canopy outward helps the hatch align with the rear magnets and snap into place. The cockpit interior is painted white and includes gauge details on the dash, but no pilot figure is included.
The cockpit is significantly behind the CG, so I decided not to permanently add the weight of a pilot figure. I did, however, use a Great Planes 1/5-scale pilot bust to fill the cockpit for photos.
The firewall can be located in a range of positions to accommodate different motor lengths. I used an ElectriFly RimFire .32 motor, which was a perfect fit with the firewall fully forward and 1/4-inch spacers behind the motor mount. To mate the motor to the firewall, I slightly elongated the slots intended for the included blind nuts.
The provided nylon spinner works well, although I had to slightly enlarge the propeller openings to fit the APC 13 x 8E propeller. Be aware that overtightening its screws will warp the spinner backplate and cause it to wobble.
I mounted a Castle Creations ICE-100 ESC as far forward as I could on the motor mount. The ICE-100 is overkill in terms of power requirements, but it was handy and its extra mass was useful in the nose. The power system's final component was a FlightPower 4S 3,350 mAh LiPo battery. This setup provides nearly 800 watts of power at the altitude where I fly (3,200 feet).
I set up the control throws on my Futaba 7C transmitter per the manual's suggestion. The completed airplane weighed 71.6 ounces ready to fly, before adding 2 ounces of weight in the nose. This provided manageable wing loading and power-loading values.
Flying
With the battery fully forward, my Sbach balanced at 3.4 inches behind the leading edge (LE). This is within the model's unusually wide suggested CG range, so that's how it was first flown. The aircraft was flyable, but the ailerons and elevator were quite sensitive.
After a few flights, I added 2 ounces of lead to the forward inner lip of the cowling. This moved the CG forward by 0.3 inches and made the Sbach a friendlier airplane. The weight-derived values in the "Specifications" section reflect this added mass.
On subsequent outings, the XA41 has been steady.
With the tall tailwheel, the airplane is nearly horizontal when sitting on the landing gear. Subsequently, P-factor is small and little rudder correction is required for a straight takeoff roll. With the RimFire .32 setup, the airplane quickly accelerates and has great climb performance. Do you like to go vertical right after takeoff? If so, go ahead.
Most of my aerobats are fairly draggy and favor moderate speeds. The XA41, however, doesn't seem to mind stretching its legs at full gallop. A low-altitude, high-speed pass is a good way to break up a series of aerobatic moves.
The suggested control throws are good starting points. Full-deflection rolls, even on low rates, are quick. I ended up setting the aileron high-rate throws to the suggested low-rate value. I then set low rates to achieve a comfortable roll rate for slow rolls and rolling circles.
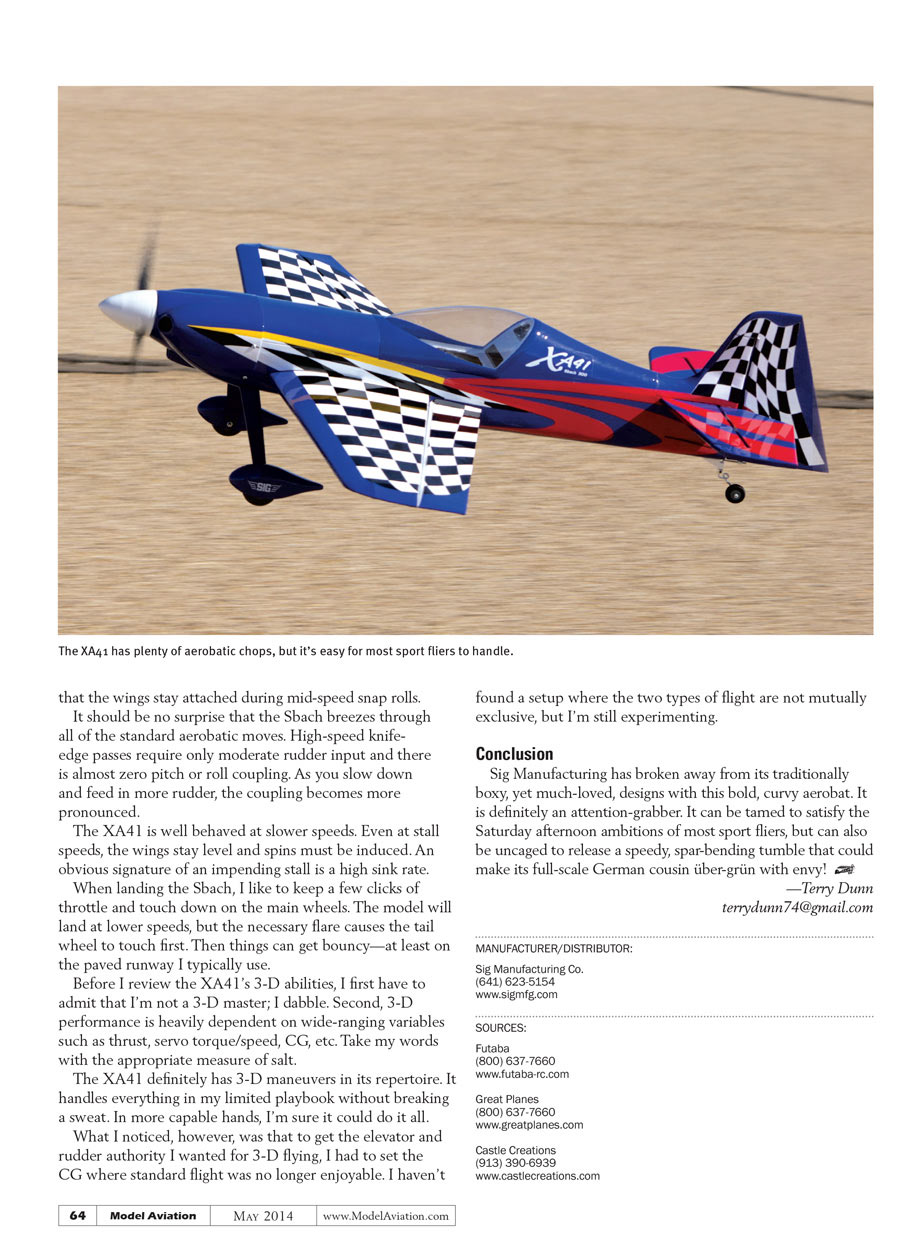
Elevator response is good for most of the speed range. I slightly increased the high-rate values to get increased pitch authority at low speeds. This has the ancillary effect of permitting spine-crunching snap maneuvers. It's a wonder that the wings stay attached during mid-speed snap rolls.
It should be no surprise that the Sbach breezes through all of the standard aerobatic moves. High-speed knife-edge passes require only moderate rudder input and there is almost zero pitch or roll coupling. As you slow down and feed in more rudder, the coupling becomes more pronounced.
The XA41 is well behaved at slower speeds. Even at stall speeds, the wings stay level and spins must be induced. An obvious signature of an impending stall is a high sink rate.
When landing the Sbach, I like to keep a few clicks of throttle and touch down on the main wheels. The model will land at lower speeds, but the necessary flare causes the tailwheel to touch first. Then things can get bouncy—at least on the paved runway I typically use.
Before I review the XA41’s 3-D abilities, I first have to admit that I’m not a 3-D master; I dabble. Second, 3-D performance is heavily dependent on wide-ranging variables such as thrust, servo torque/speed, CG, etc. Take my words with the appropriate measure of salt.
The XA41 definitely has 3-D maneuvers in its repertoire. It handles everything in my limited playbook without breaking a sweat. In more capable hands, I’m sure it could do it all.
What I noticed, however, was that to get the elevator and rudder authority I wanted for 3-D flying, I had to set the CG where standard flight was no longer enjoyable. I haven’t found a setup where the two types of flight are not mutually exclusive, but I’m still experimenting.
Conclusion
Sig Manufacturing has broken away from its traditionally boxy, yet much-loved, designs with this bold, curvy aerobat. It is definitely an attention-grabber. It can be tamed to satisfy the Saturday-afternoon ambitions of most sport fliers, but can also be uncaged to release a speedy, spar-bending tumble that could make its full-scale German cousin über-grün with envy!
—Terry Dunn [email protected]
Manufacturer/Distributor
- Sig Manufacturing Co.
(641) 623-5154 www.sigmfg.com
Sources
- Futaba
(800) 637-7660 www.futaba-rc.com
- Great Planes
(800) 637-7660 www.greatplanes.com
- Castle Creations
(913) 390-6939 www.castlecreations.com
Transcribed from original scans by AI. Minor OCR errors may remain.

