
Sir Lancelot
An RC knight for jousting about the sky
Ed Henry
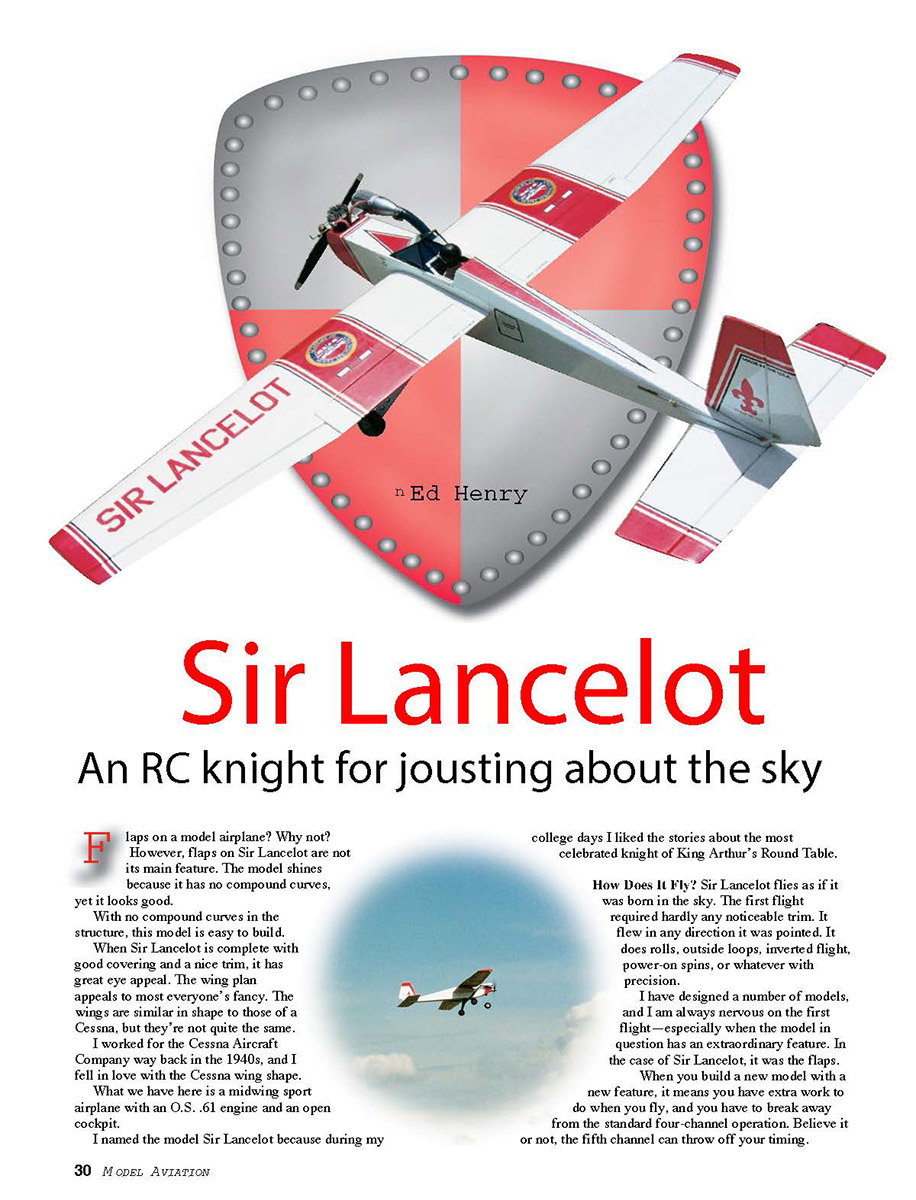
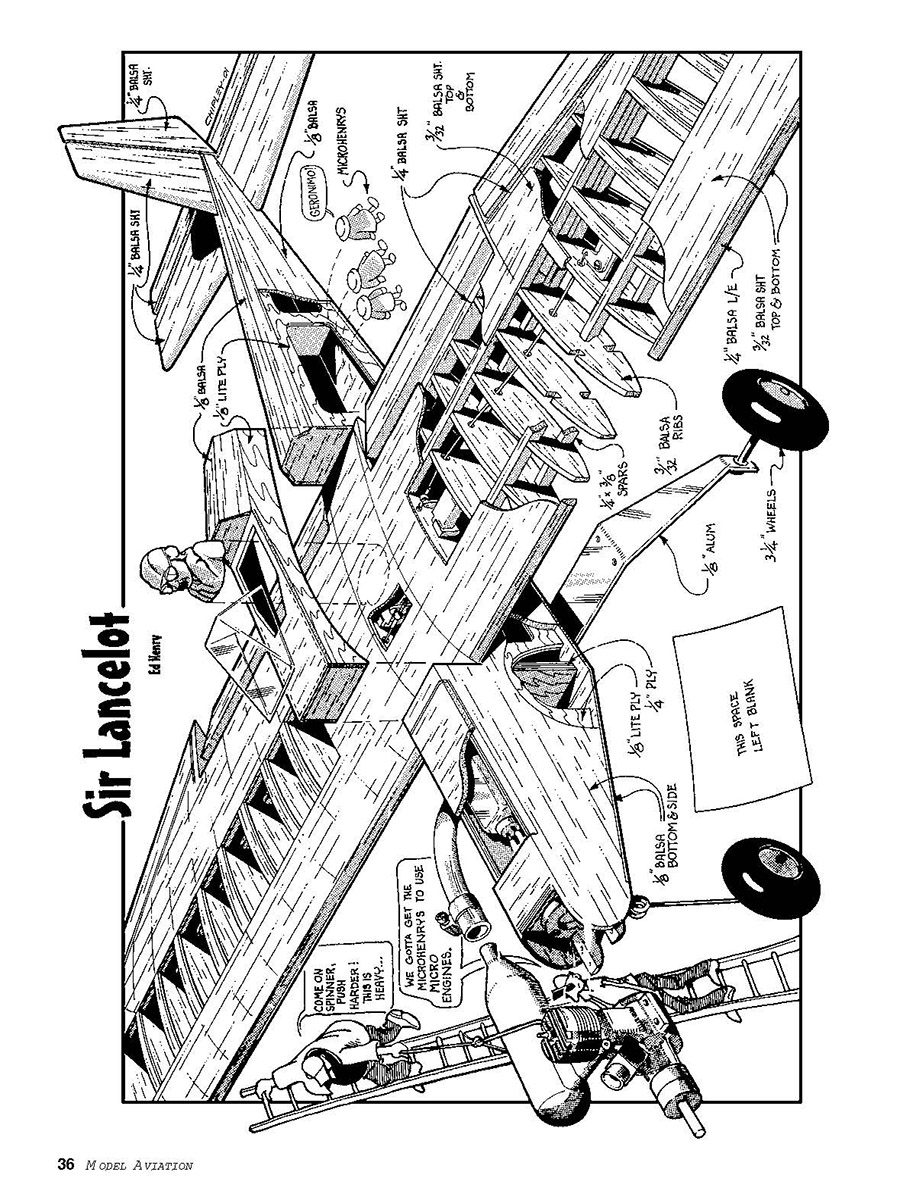
Flaps on a model airplane? Why not? However, flaps on Sir Lancelot are not its main feature. The model shines because it has no compound curves, yet it looks good.
With no compound curves in the structure, this model is easy to build. When Sir Lancelot is complete with good covering and a nice trim, it has great eye appeal. The wing plan appeals to most everyone's fancy. The wings are similar in shape to those of a Cessna, but they're not quite the same. I worked for the Cessna Aircraft Company way back in the 1940s, and I fell in love with the Cessna wing shape.
What we have here is a midwing sport airplane with an O.S. .61 engine and an open cockpit.
I named the model Sir Lancelot because during my college days I liked the stories about the most celebrated knight of King Arthur's Round Table.
How does it fly?
Sir Lancelot flies as if it was born in the sky. The first flight required hardly any noticeable trim. It flew in any direction it was pointed. It does rolls, outside loops, inverted flight, power-on spins, or whatever with precision.
I have designed a number of models, and I am always nervous on the first flight—especially when the model in question has an extraordinary feature. In the case of Sir Lancelot, it was the flaps.
When you build a new model with a new feature, it means you have extra work to do when you fly, and you have to break away from the standard four-channel operation. Believe it or not, the fifth channel can throw off your timing.
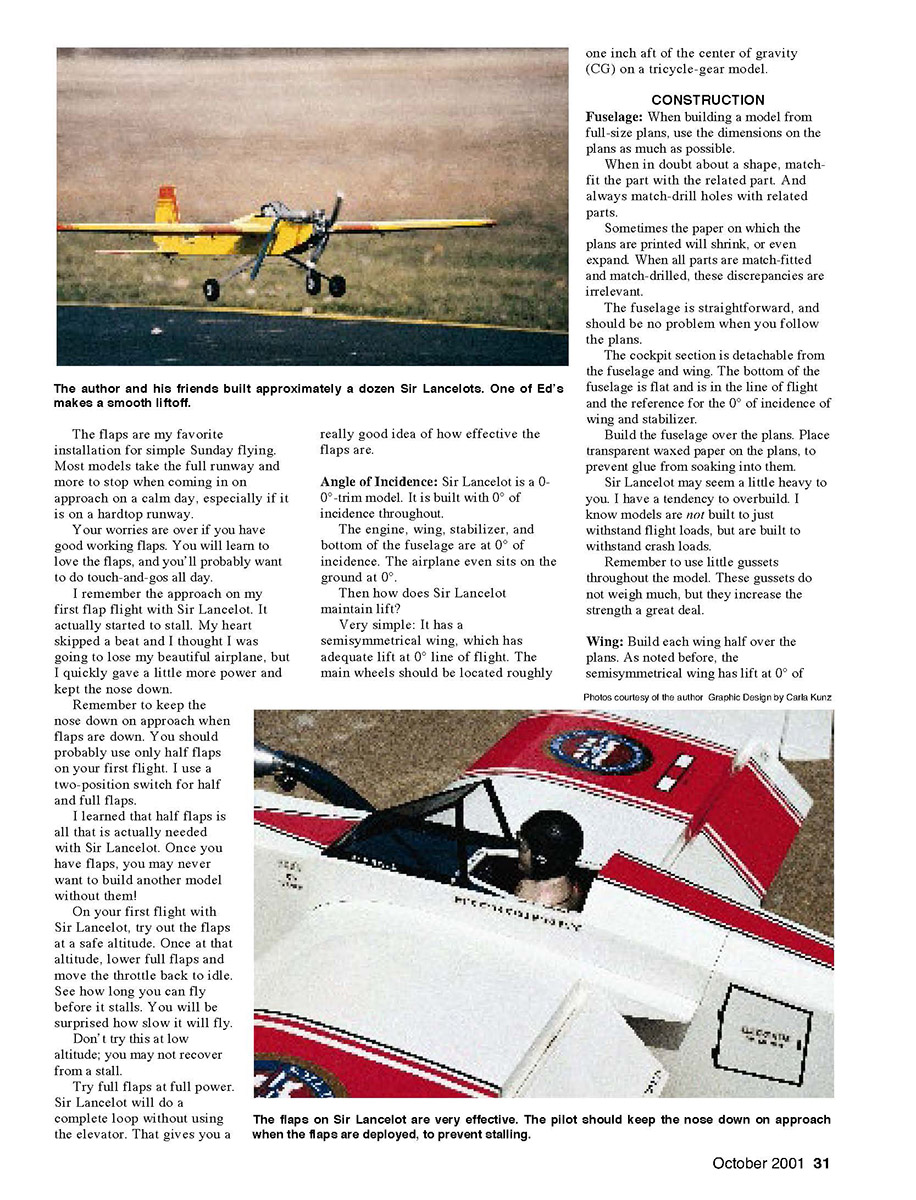
The flaps are my favorite installation for simple Sunday flying. Most models take the full runway and more to stop when coming in on approach on a calm day, especially if it is on a hardtop runway.
Your worries are over if you have good working flaps. You will learn to love the flaps, and you'll probably want to do touch-and-gos all day.
I remember the approach on my first flap flight with Sir Lancelot. It actually started to stall. My heart skipped a beat and I thought I was going to lose my beautiful airplane, but I quickly gave a little more power and kept the nose down.
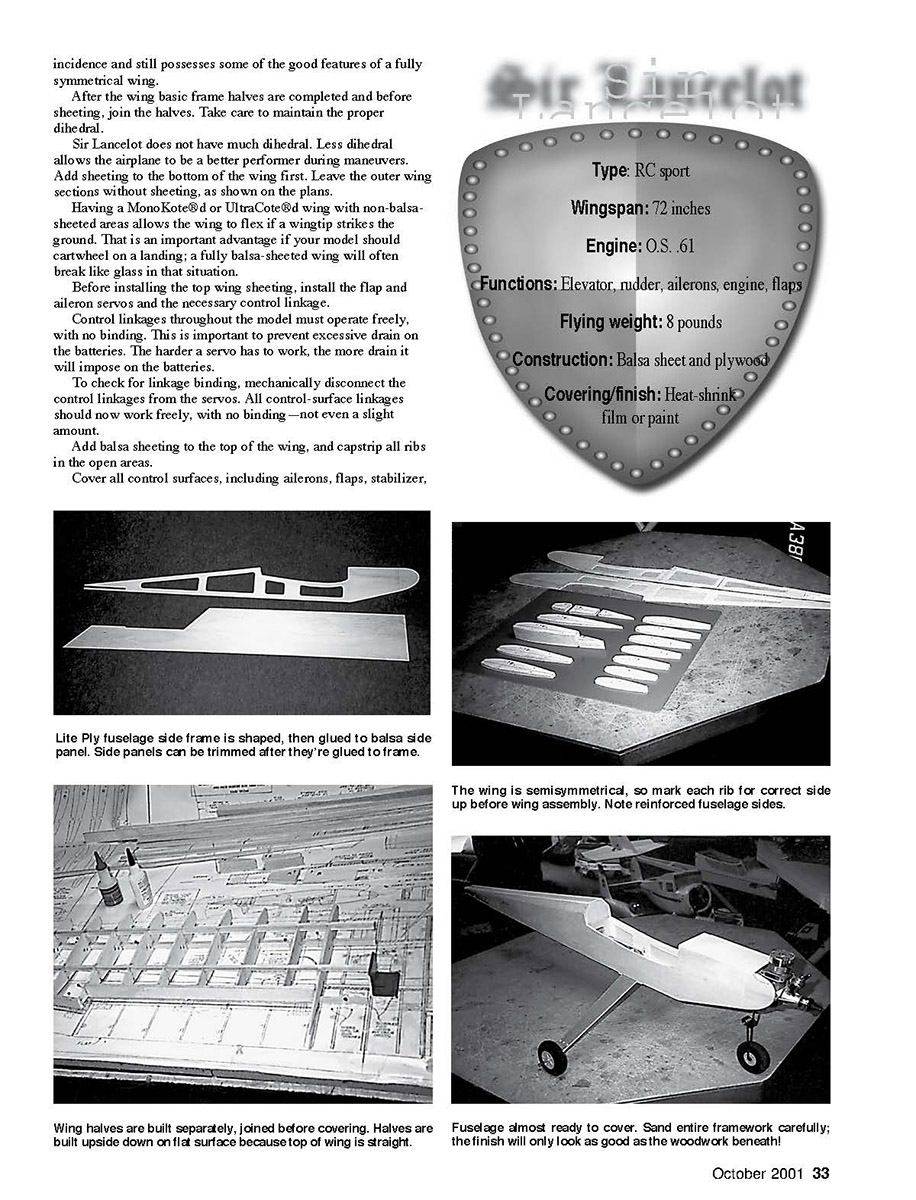
Remember to keep the nose down on approach when flaps are down. You should probably use only half flaps on your first flight. I use a two-position switch for half and full flaps.
I learned that half flaps is all that is actually needed with Sir Lancelot. Once you have flaps, you may never want to build another model without them!
On your first flight with Sir Lancelot, try out the flaps at a safe altitude. Once at that altitude, lower full flaps and move the throttle back to idle. See how long you can fly before it stalls. You will be surprised how slow it will fly.
Don't try this at low altitude; you may not recover from a stall.
Try full flaps at full power. Sir Lancelot will do a complete loop without using the elevator. That gives you a really good idea of how effective the flaps are.
Angle of Incidence
Sir Lancelot is a 0°-0°-trim model. It is built with 0° of incidence throughout.
The engine, wing, stabilizer, and bottom of the fuselage are at 0° of incidence. The airplane even sits on the ground at 0°.
Then how does Sir Lancelot maintain lift?
Very simple: it has a semisymmetrical wing, which has adequate lift at 0° line of flight. The main wheels should be located roughly one inch aft of the center of gravity (CG) on a tricycle-gear model.
Construction
Fuselage
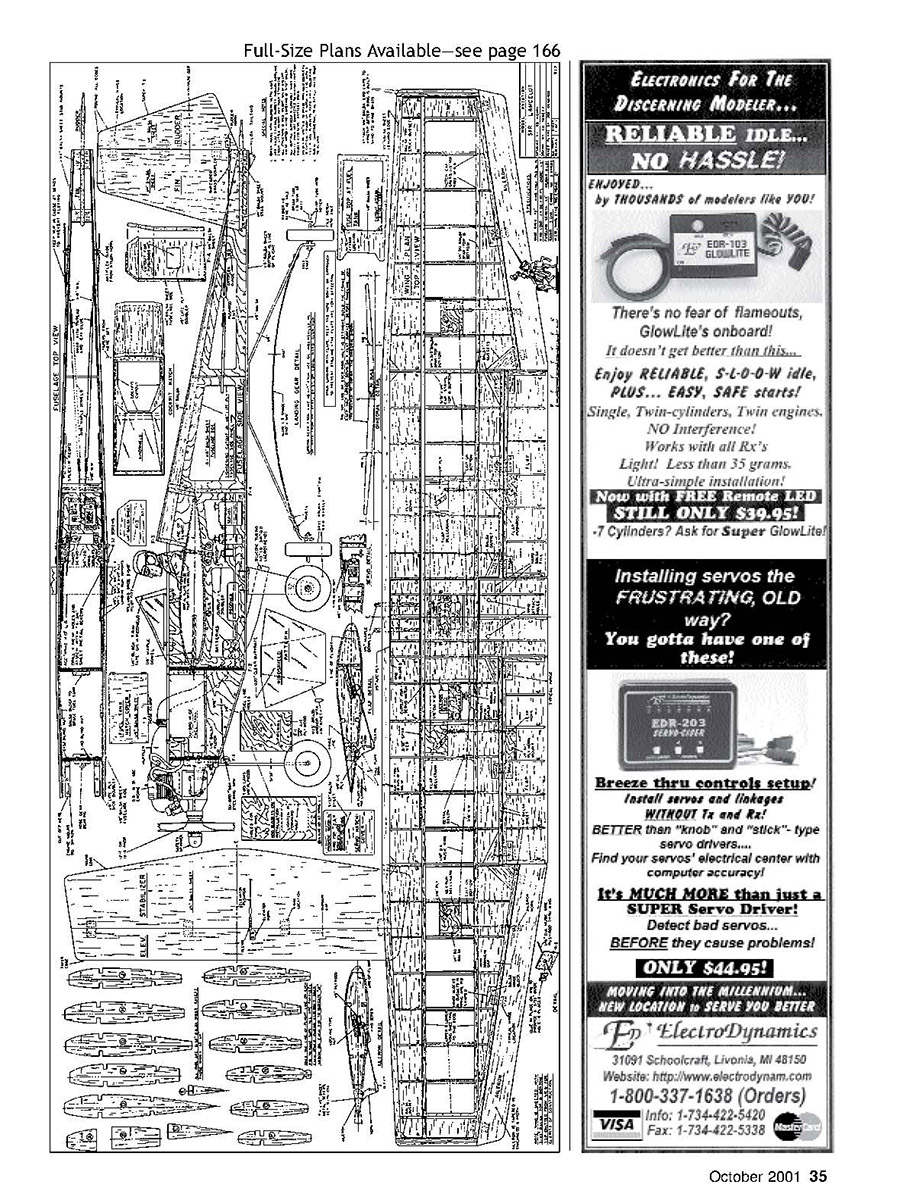
When building a model from full-size plans, use the dimensions on the plans as much as possible.
When in doubt about a shape, match-fit the part with the related part. And always match-drill holes with related parts.
Sometimes the paper on which the plans are printed will shrink, or even expand. When all parts are match-fitted and match-drilled, these discrepancies are irrelevant.
The fuselage is straightforward, and should be no problem when you follow the plans.
The cockpit section is detachable from the fuselage and wing. The bottom of the fuselage is flat and is in the line of flight and the reference for the 0° of incidence of wing and stabilizer.
Build the fuselage over the plans. Place transparent waxed paper on the plans to prevent glue from soaking into them.
Sir Lancelot may seem a little heavy to you. I have a tendency to overbuild. I know models are not built to just withstand flight loads, but are built to withstand crash loads.
Remember to use little gussets throughout the model. These gussets do not weigh much, but they increase the strength a great deal.
Wing
Build each wing half over the plans. As noted before, the semisymmetrical wing has lift at 0° of incidence.
After the wing basic frame halves are completed and before sheeting, join the halves. Take care to maintain the proper dihedral.
Sir Lancelot does not have much dihedral. Less dihedral allows the airplane to be a better performer during maneuvers. Add sheeting to the bottom of the wing first. Leave the outer wing sections without sheeting, as shown on the plans.
Having a MonoKote®d or UltraCote®d wing with non-balsa-sheeted areas allows the wing to flex if a wingtip strikes the ground. That is an important advantage if your model should cartwheel on a landing; a fully balsa-sheeted wing will often break like glass in that situation.
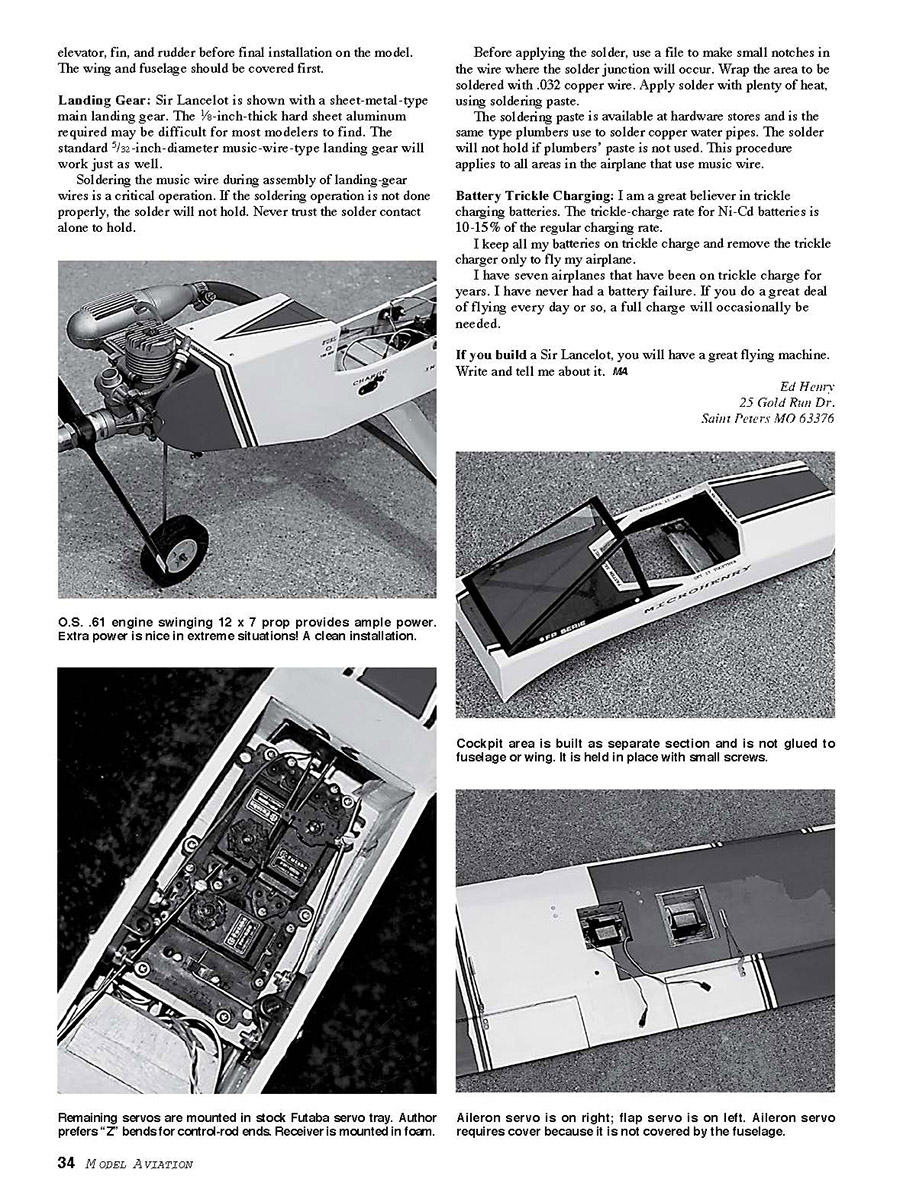
Before installing the top wing sheeting, install the flap and aileron servos and the necessary control linkage.
Control linkages throughout the model must operate freely, with no binding. This is important to prevent excessive drain on the batteries. The harder a servo has to work, the more drain it will impose on the batteries.
To check for linkage binding, mechanically disconnect the control linkages from the servos. All control-surface linkages should now work freely, with no binding—not even a slight amount.
Add balsa sheeting to the top of the wing, and capstrip all ribs in the open areas.
Before applying the solder, use a file to make small notches in the wire where the solder junction will occur. Wrap the area to be soldered with .032 copper wire. Apply solder with plenty of heat, using soldering paste.
The soldering paste is available at hardware stores and is the same type plumbers use to solder copper water pipes. The solder will not hold if plumbers' paste is not used. This procedure applies to all areas in the airplane that use music wire.
Battery trickle charging
I am a great believer in trickle charging batteries. The trickle-charge rate for Ni-Cd batteries is 10–15% of the regular charging rate.
I keep all my batteries on trickle charge and remove the trickle charger only to fly my airplane.
I have seven airplanes that have been on trickle charge for years. I have never had a battery failure. If you do a great deal of flying every day or so, a full charge will occasionally be needed.
If you build a Sir Lancelot, you will have a great flying machine. Write and tell me about it.
MA
Ed Henry 25 Gold Run Dr. Saint Peters, MO 63376
Transcribed from original scans by AI. Minor OCR errors may remain.

