
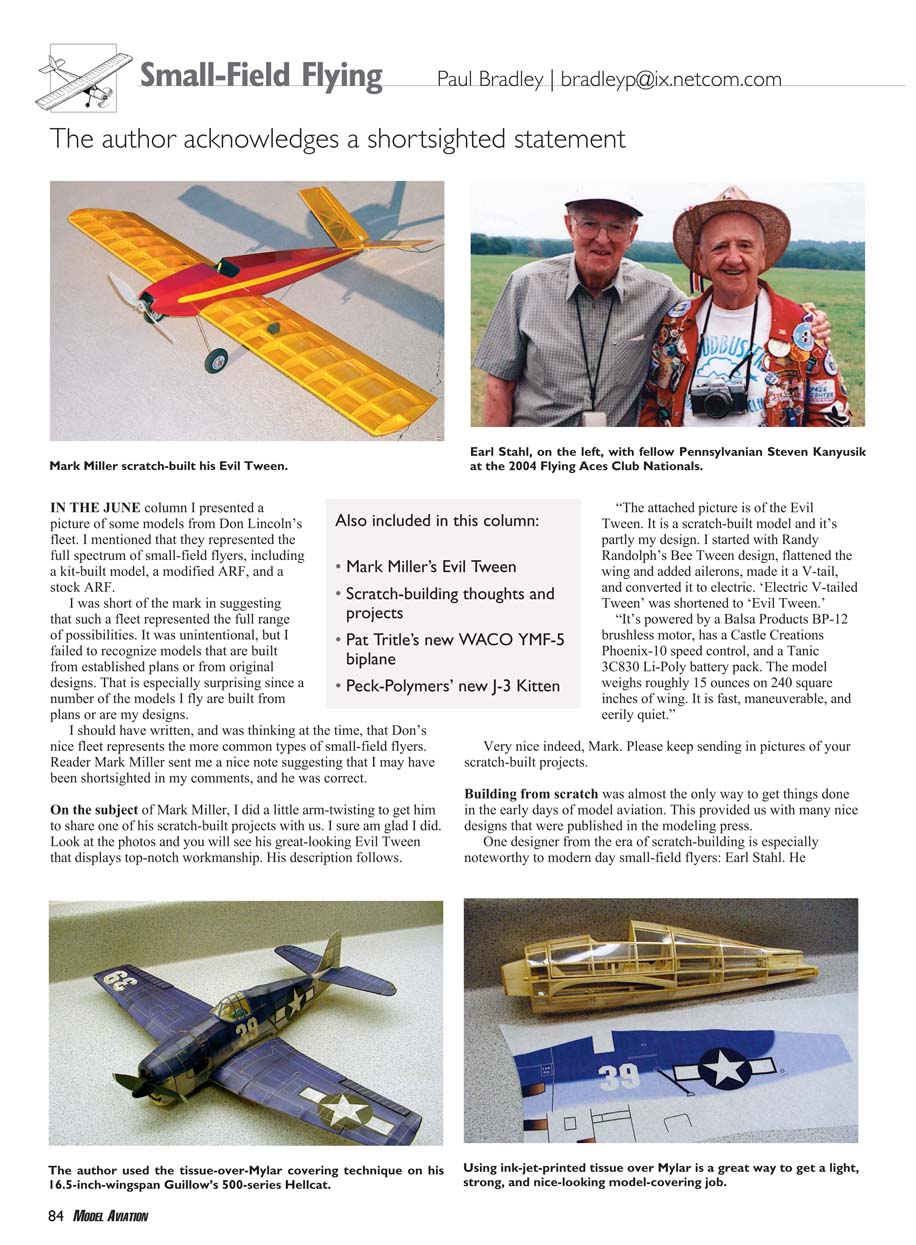
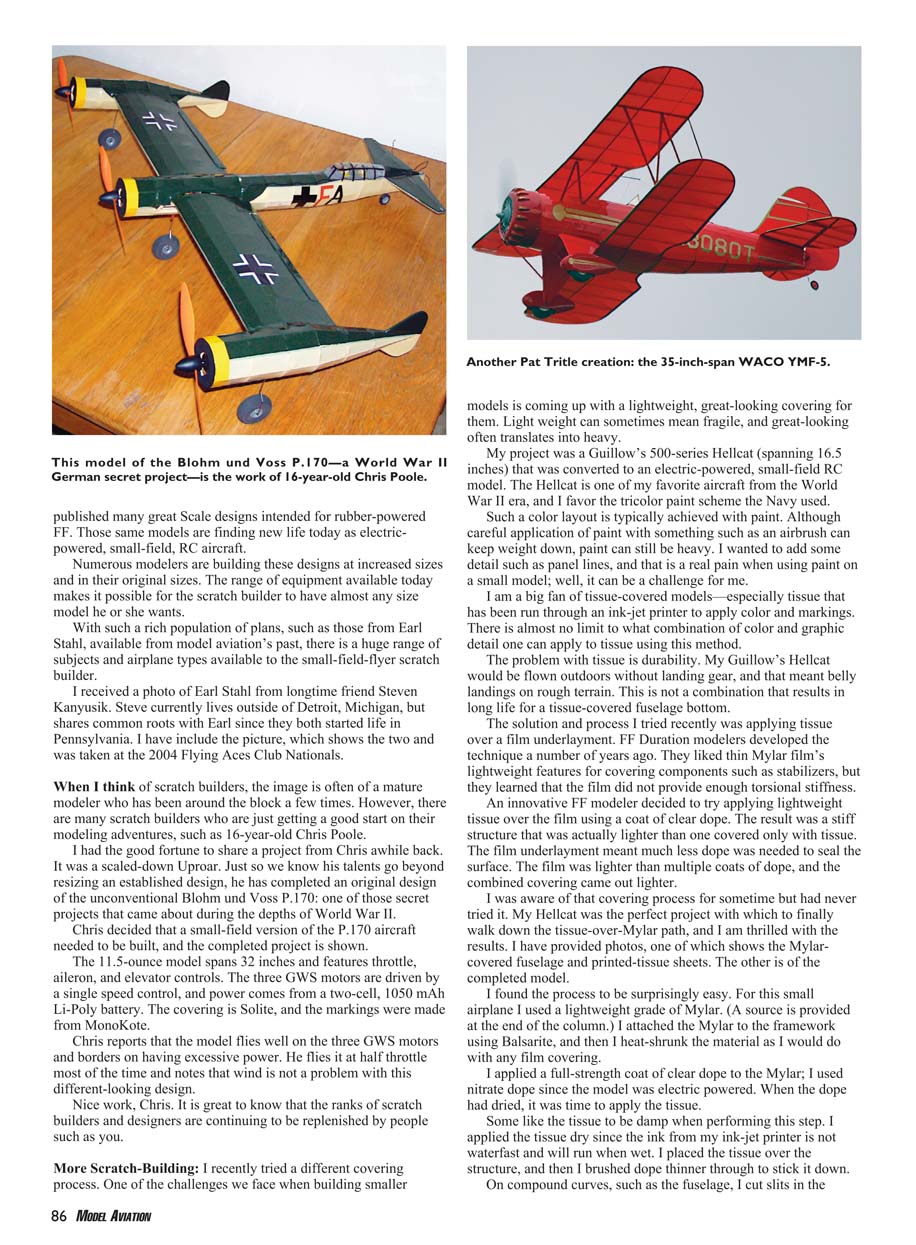
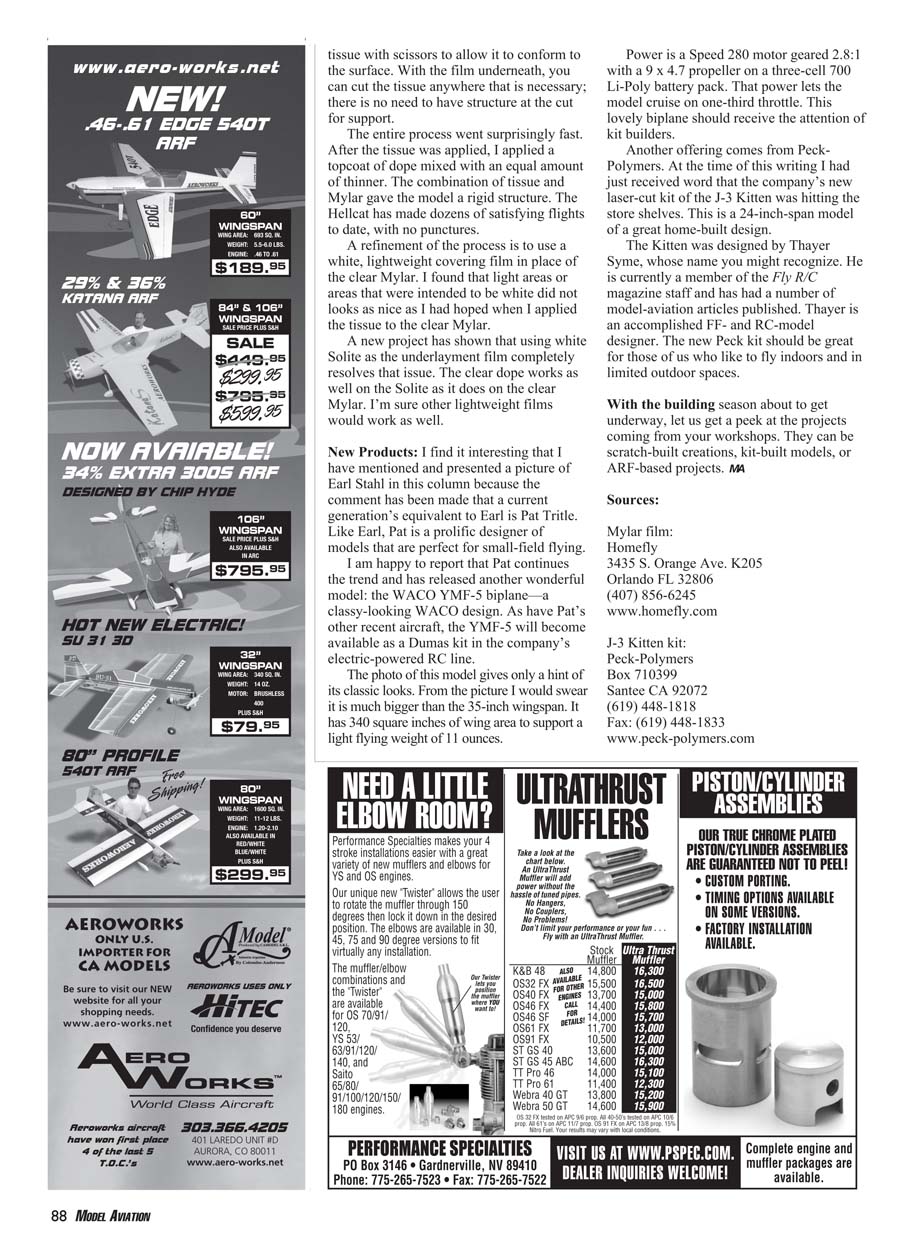
Small-Field Flying
Paul Bradley | [email protected]
The author acknowledges a shortsighted statement
In the June column I presented a picture of some models from Don Lincoln's fleet. I mentioned that they represented the full spectrum of small-field flyers, including a kit-built model, a modified ARF, and a stock ARF.
I was short of the mark in suggesting that such a fleet represented the full range of possibilities. It was unintentional, but I failed to recognize models that are built from established plans or from original designs. That is especially surprising since a number of the models I fly are built from plans or are my designs.
I should have written, and was thinking at the time, that Don's nice fleet represents the more common types of small-field flyers. Reader Mark Miller sent me a nice note suggesting that I may have been shortsighted in my comments, and he was correct.
On the subject of Mark Miller, I did a little arm-twisting to get him to share one of his scratch-built projects with us. I sure am glad I did. Look at the photos and you will see his great-looking Evil Tween that displays top-notch workmanship. His description follows.
"The attached picture is of the Evil Tween. It is a scratch-built model and it's partly my design. I started with Randy Randolph's Bee Tween design, flattened the wing and added ailerons, made it a V-tail, and converted it to electric. 'Electric V-tailed Tween' was shortened to 'Evil Tween.'
"It's powered by a Balsa Products BP-12 brushless motor, has a Castle Creations Phoenix-10 speed control, and a TaniC 3C830 Li-Poly battery pack. The model weighs roughly 15 ounces on 240 square inches of wing. It is fast, maneuverable, and eerily quiet."
Very nice indeed, Mark. Please keep sending in pictures of your scratch-built projects.
Building from scratch was almost the only way to get things done in the early days of model aviation. This provided us with many nice designs that were published in the modeling press.
One designer from the era of scratch-building is especially noteworthy to modern day small-field flyers: Earl Stahl. He
Small-Field Flying
Paul Bradley
published many great Scale designs intended for rubber-powered FF. Those same models are finding new life today as electric-powered, small-field, RC aircraft.
Numerous modelers are building these designs at increased sizes and in their original sizes. The range of equipment available today makes it possible for the scratch builder to have almost any size model he or she wants.
With such a rich population of plans, such as those from Earl Stahl, available from model aviation's past, there is a huge range of subjects and airplane types available to the small-field-flyer scratch builder.
I received a photo of Earl Stahl from longtime friend Steven Kanyusik. Steve currently lives outside of Detroit, Michigan, but shares common roots with Earl since they both started life in Pennsylvania. I have included the picture, which shows the two and was taken at the 2004 Flying Aces Club Nationals.
When I think of scratch builders, the image is often of a mature modeler who has been around the block a few times. However, there are many scratch builders who are just getting a good start on their modeling adventures, such as 16-year-old Chris Poole.
I had the good fortune to share a project from Chris awhile back. It was a scaled-down Uproar. Just so we know his talents go beyond resizing an established design, he has completed an original design of the unconventional Blohm und Voss P.170; one of those secret projects that came about during the depths of World War II.
Chris decided that a small-field version of the P.170 aircraft needed to be built, and the completed project is shown.
The 11.5-ounce model spans 32 inches and features throttle, aileron, and elevator controls. The three GWS motors are driven by a single speed control, and power comes from a two-cell, 1050 mAh Li-Poly battery. The covering is Solite, and the markings were made from MonoKote.
Chris reports that the model flies well on the three GWS motors and borders on having excessive power. He flies it at half throttle most of the time and notes that wind is not a problem with this different-looking design.
Nice work, Chris. It is great to know that the ranks of scratch builders and designers are continuing to be replenished by people such as you.
More Scratch-Building:
I recently tried a different covering process. One of the challenges we face when building smaller models is coming up with a lightweight, great-looking covering for them. Light weight can sometimes mean fragile, and great-looking often translates into heavy.
My project was a Guillows 500-series Hellcat (spanning 16.5 inches) that was converted to an electric-powered, small-field RC model. The Hellcat is one of my favorite aircraft from the World War II era, and I favor the tricolor paint scheme the Navy used.
Such a color layout is typically achieved with paint. Although careful application of paint with something such as an airbrush can keep weight down, paint can still be heavy. I wanted to add some detail such as panel lines, and that is a real pain when using paint on a small model; well, it can be a challenge for me.
I am a big fan of tissue-covered models—especially tissue that has been run through an ink-jet printer to apply color and markings. There is almost no limit to what combination of color and graphic detail one can apply to tissue using this method.
The problem with tissue is durability. My Guillows's Hellcat would be flown outdoors without landing gear, and that meant belly landings on rough terrain. This is not a combination that results in long life for a tissue-covered fuselage bottom.
The solution and process I tried recently was applying tissue over a film underlayment. FF Duration modelers developed the technique a number of years ago. They liked the lightness and lightweight features for covering components such as stabilizers, but they learned that the film did not provide enough torsional stiffness.
An innovative FF modeler decided to try applying lightweight tissue over the film using a coat of clear dope. The result was a stiff structure that was actually lighter than one covered only with tissue. The film underlayment meant much less dope was needed to seal the surface. The film was lighter than multiple coats of dope, and the combined covering came out lighter.
I was aware of that covering process for sometime but had never tried it. My Hellcat was the perfect project with which to finally walk down the tissue-over-Mylar path, and I am thrilled with the results. I have provided photos, one of which shows the Mylar-covered fuselage and printed-tissue sheets. The other is of the completed model.
I found the process to be surprisingly easy. For this small airplane I used a lightweight grade of Mylar. (A source is provided at the end of the column.) I attached the Mylar to the framework using Balsarite, and then I heat-shrunk the material as I would do with any film covering.
I applied a full-strength coat of clear dope to the Mylar; I used nitrate dope since the model was electric powered. When the dope had dried, it was time to apply the tissue.
Some like the tissue to be damp when performing this step. I applied the tissue dry since the ink from my ink-jet printer is not waterfast and will run when wet. I placed the tissue over the structure, and then I brushed dope thinner through to stick it down.
On compound curves, such as the fuselage, I cut slits in the tissue with scissors to allow it to conform to the surface. With the film underneath, you can cut the tissue anywhere that is necessary; there is no need to have structure at the cut for support.
The entire process went surprisingly fast. After the tissue was applied, I applied a topcoat of dope mixed with an equal amount of thinner. The combination of tissue and Mylar gave the model a rigid structure. The Hellcat has made dozens of satisfying flights to date, with no punctures.
A refinement of the process is to use a white, lightweight covering film in place of the clear Mylar. I found that light areas or areas that were intended to be white did not look as nice as I had hoped when I applied the tissue to the clear Mylar.
A new project has shown that using white Solite as the underlayment film completely resolves that issue. The clear dope works as well on the Solite as it does on the clear Mylar. I'm sure other lightweight films would work as well.
New Products:
I find it interesting that I have mentioned and presented a picture of Earl Stahl in this column because the comment has been made that a current generation's equivalent to Earl is Pat Tritle. Like Earl, Pat is a prolific designer of models that are perfect for small-field flying.
I am happy to report that Pat continues the trend and has released another wonderful model: the WACO YMF-5 biplane—a classy-looking WACO design. As have Pat's other recent aircraft, the YMF-5 will become available as a Dumas kit in the company's electric-powered RC line.
The photo of this model gives only a hint of its classic looks. From the picture I would swear it is much bigger than the 35-inch wingspan. It has 340 square inches of wing area to support a light flying weight of 11 ounces.
Power is a Speed 280 motor geared 2.8:1 with a 9 x 4.7 propeller on a three-cell 700 Li-Poly battery pack. That power lets the model cruise on one-third throttle. This lovely biplane should receive the attention of kit builders.
Another offering comes from Peck-Polymers. At the time of this writing I had just received word that the company's new laser-cut kit of the J-3 Kitten was hitting the store shelves. This is a 24-inch-span model of a great home-built design.
The Kitten was designed by Thayer Syme, whose name you might recognize. He is currently a member of the Fly R/C magazine staff and has had a number of model-aviation articles published. Thayer is an accomplished FF- and RC-model designer. The new Peck kit should be great for those of us who like to fly indoors and in limited outdoor spaces.
With the building season about to get underway, let us get a peek at the projects coming from your workshops. They can be scratch-built creations, kit-built models, or ARF-based projects. MA
Sources:
Mylar film: Homefly 3435 S. Orange Ave. K205 Orlando FL 32806 (407) 856-6245 www.homefly.com
J-3 Kitten kit: Peck-Polymers Box 710399 Santee CA 92072 (619) 448-1818 Fax: (619) 448-1833 www.peck-polymers.com
Transcribed from original scans by AI. Minor OCR errors may remain.

