
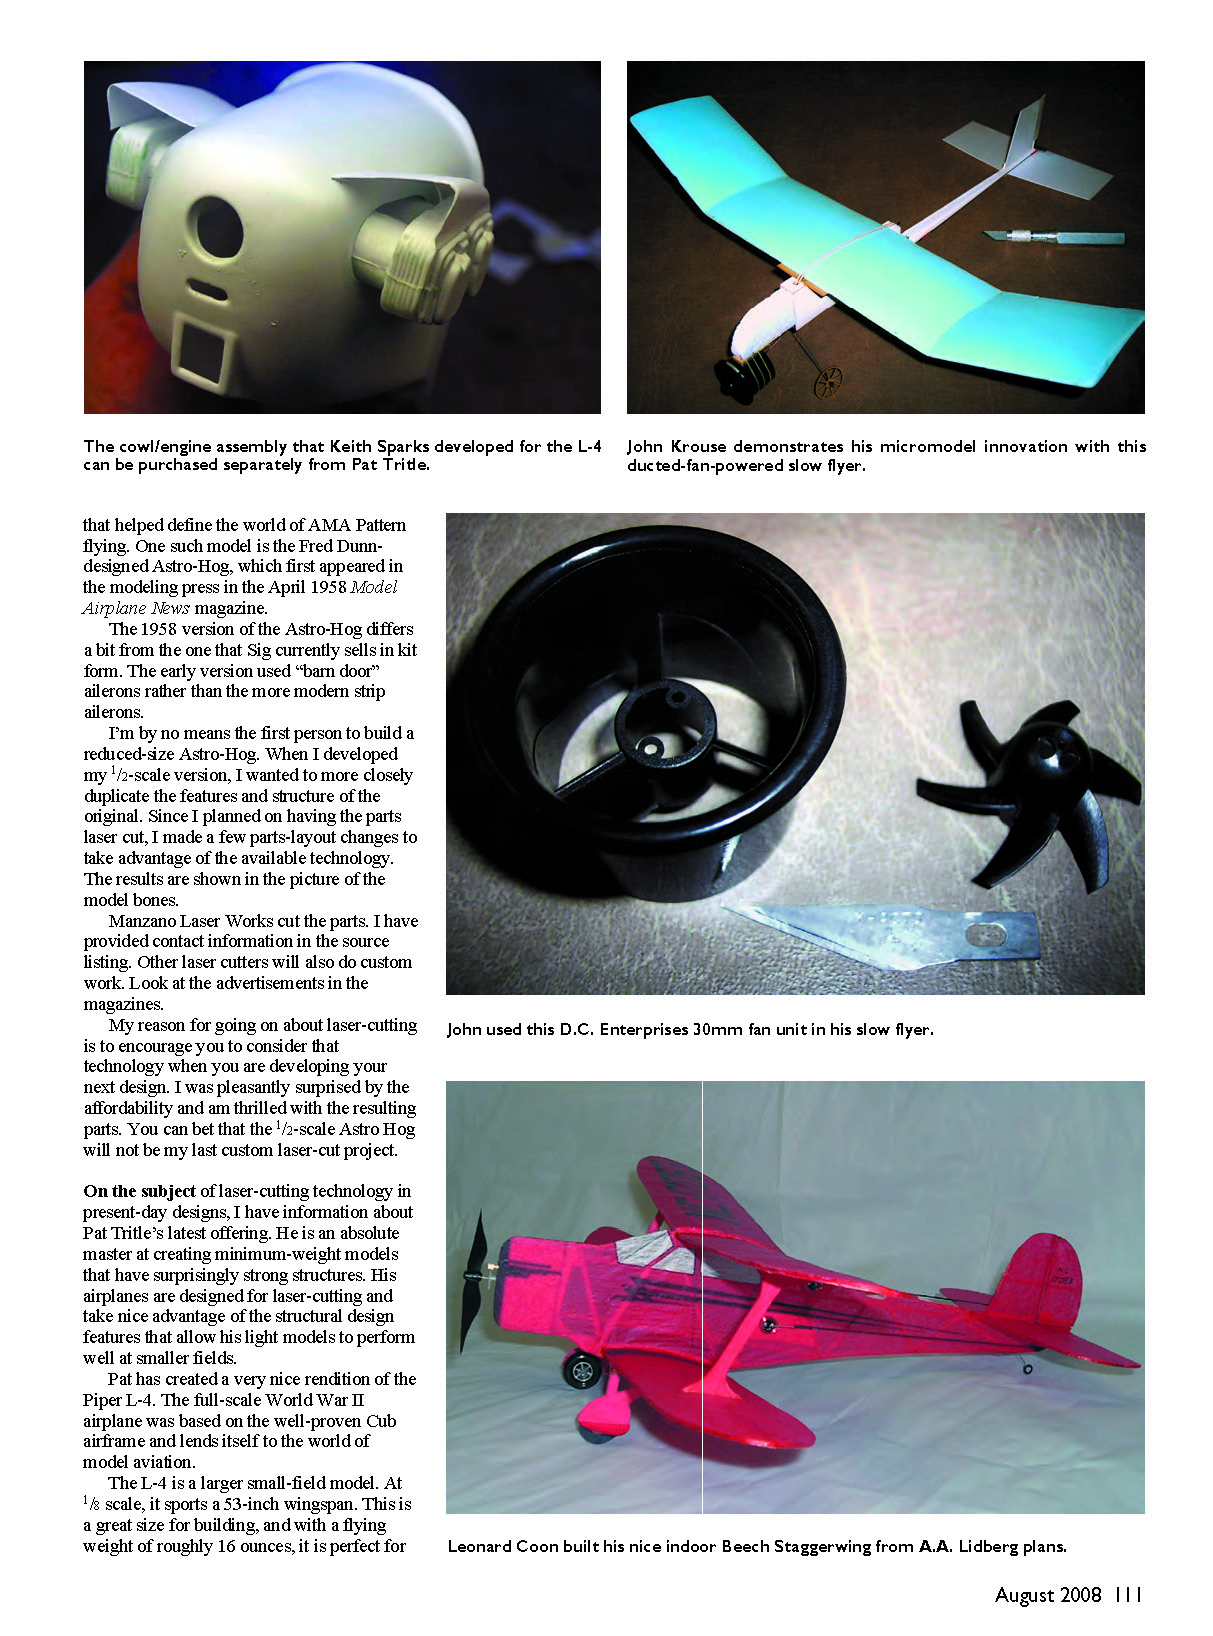

A great time to be a model-airplane builder: laser innovation
I have mentioned this before, but this sure is a great time to be a person who likes to build model airplanes. The available technology makes the process fun and helps modelers achieve nice results. This technology is enhancing all aspects of the hobby, but for me it is especially true in the process of designing and fabricating the parts of the wonderful flying machines we enjoy at our local flying sites.
Because I like to design models as well as build those that others have designed, I tend to study the details of the internal structure. It is interesting to see how different designers approach this all-important part of the model.
You often see vastly different approaches to the structural design of two similar-size scale models of the same aircraft. Allowing for the same intended flying format, such as radio control, you will see one design use a heavy, robust structure while the other is based on a light, minimal structure. Both produce nice-flying models that represent the full-scale aircraft. One works well in the small-field venues, and the other is better suited to larger flying sites.
Laser-cutting advantages
Model-airplane structural design got a shot in the arm when computer-driven lasers came onto the scene. One of the first people I know who applied this technology to models is Thomas Herr. It has been a while since he started selling laser-cut kits, and today it is hard to imagine building a kit that has not had the parts generated via a laser cutter.
Laser-cutting the parts in itself is a major enhancement to the fabrication of models, but that is not the complete story. The big news is what laser-cutting allows in the way parts are laid out and the overall structural design of a model.
The ability of a computer-driven laser cutter to create precise components with intricate designs is the key. Parts can be cut from balsa or plywood that would be difficult to duplicate using manual methods. The pieces, in turn, can be configured to create structures that are strong and light. Those two characteristics are crucial for enjoyable small-field models.
Custom parts and designers
Fortunately, the world of laser-cutting and associated parts design does not have to be the sole realm of the kit manufacturer. A number of companies that handle laser-cutting for kit makers also offer their services to the "one-off" modeler. Getting parts custom cut is becoming more common and is surprisingly affordable.
I have been considering several modeling projects and have thought how great it would be to have the parts laser cut. I finally took the plunge.
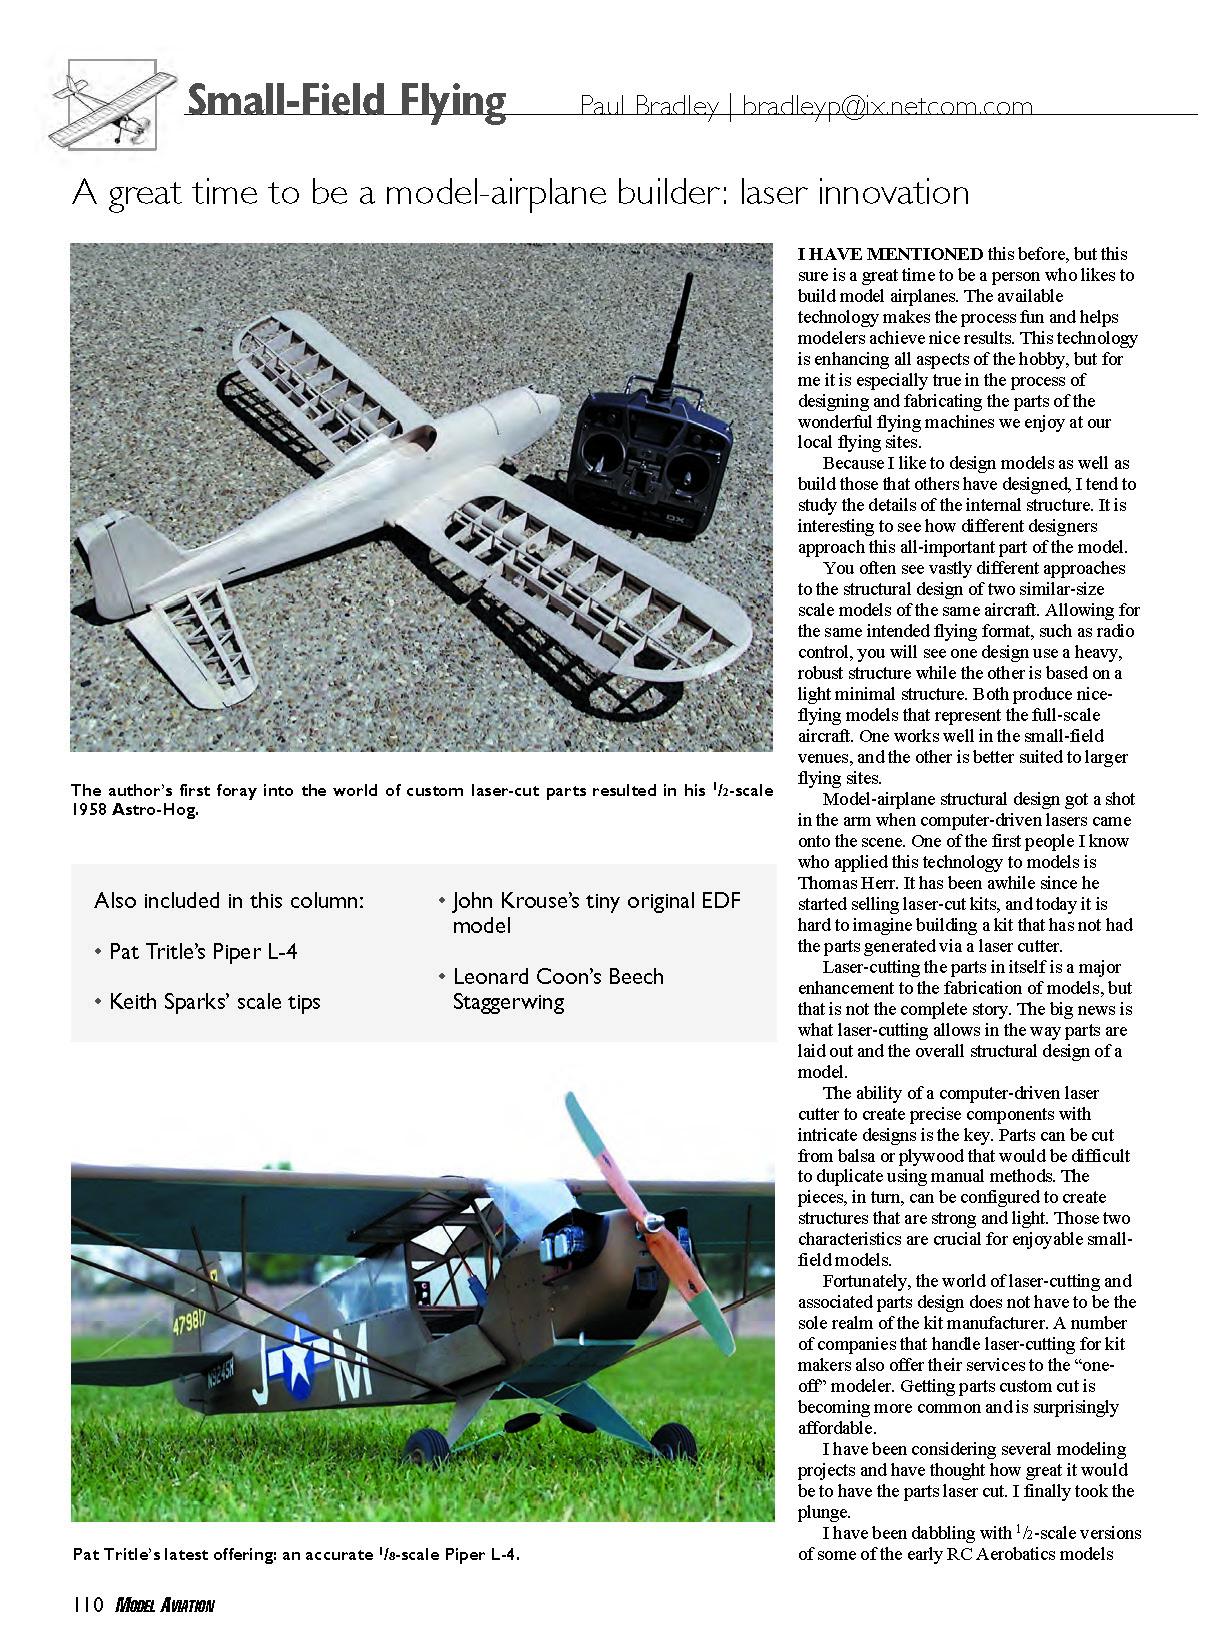
You can bet that the 1/2-scale Astro Hog will not be my last custom laser-cut project. On the subject of laser-cutting technology in present-day designs, I have information about Pat Tritle's latest offering. He is an absolute master at creating minimum-weight models that have surprisingly strong structures. His airplanes are designed for laser-cutting and take nice advantage of the structural design features that allow his light models to perform well at smaller fields.
Pat Tritle's Piper L-4
Pat has created a very nice rendition of the Piper L-4. The full-scale World War II airplane was based on the well-proven Cub airframe and lends itself to the world of model aviation.
The L-4 is a larger small-field model. At 1/8 scale, it sports a 53-inch wingspan. This is a great size for building, and has a flying weight of roughly 16 ounces.
Transcribed from original scans by AI. Minor OCR errors may remain.

