
Stevens AeroModel WaterBoard
Jay P. Smith
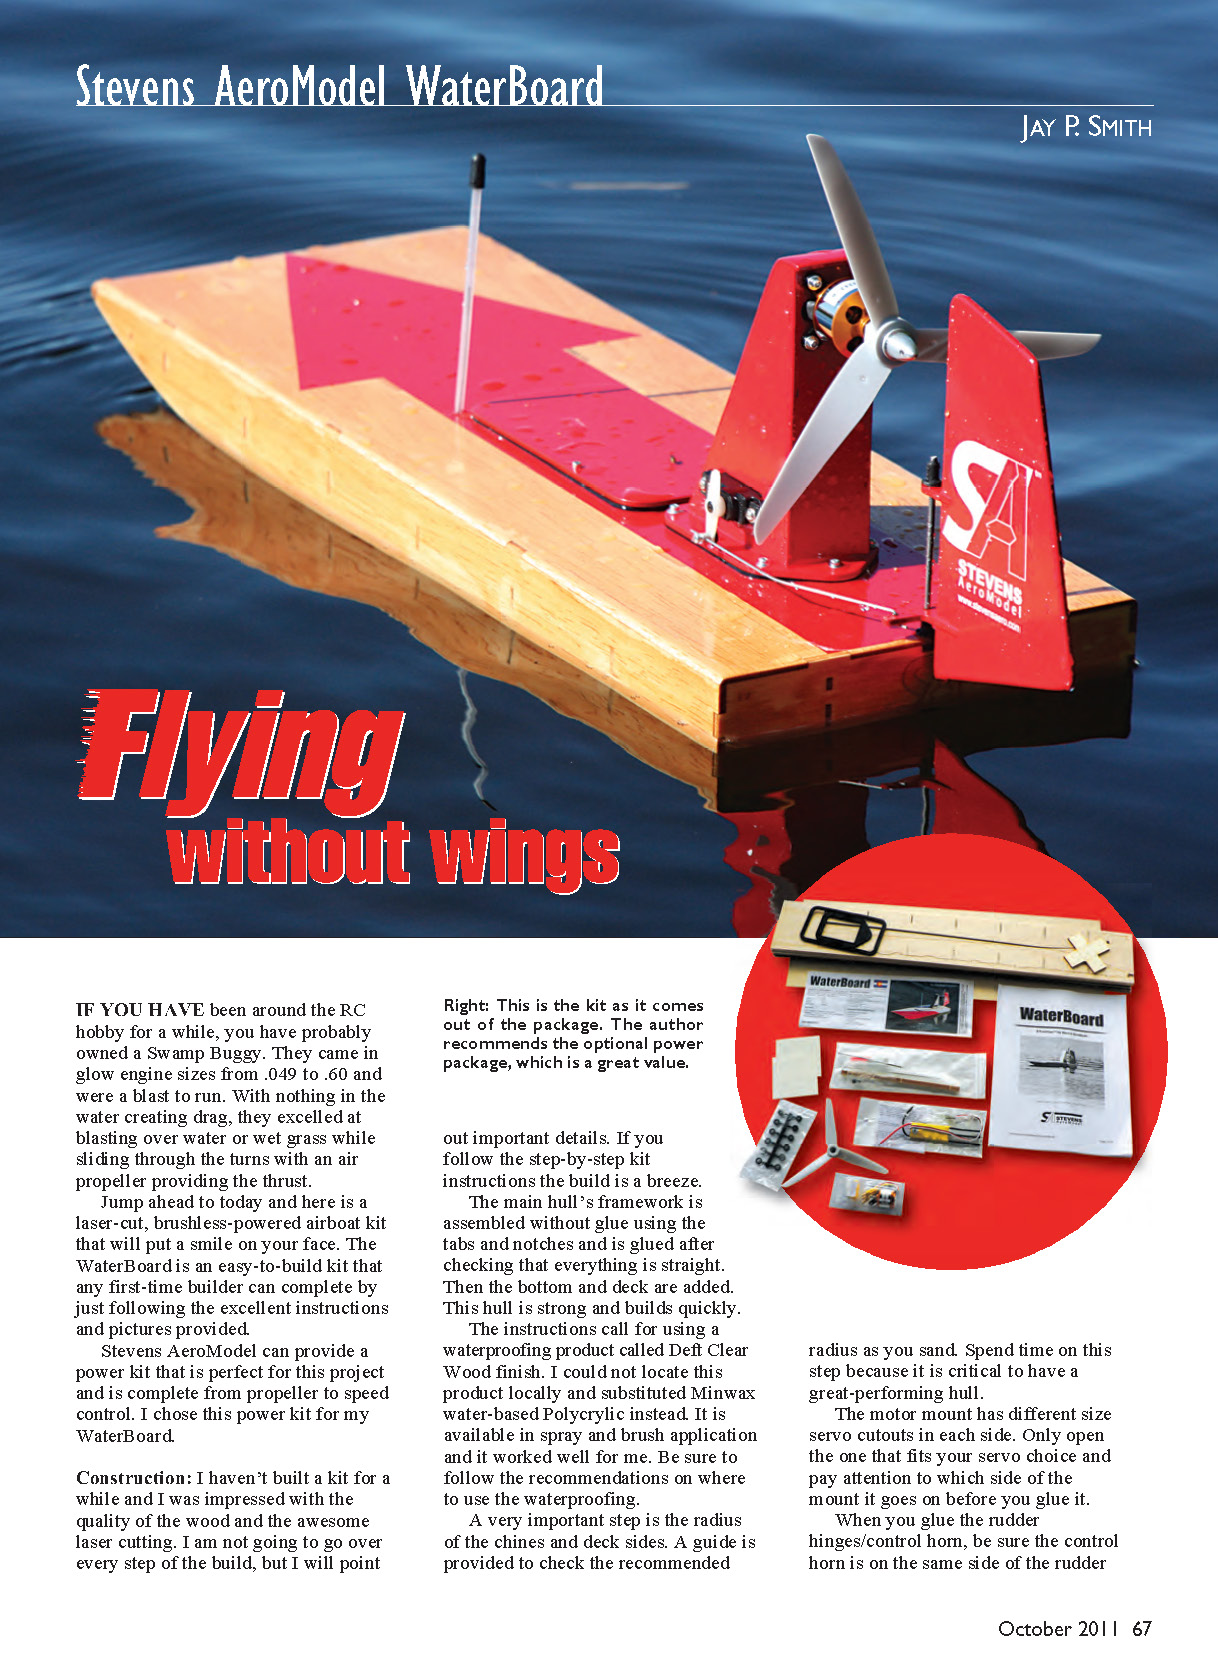
IF YOU HAVE been around the RC hobby for a while, you have probably owned a Swamp Buggy. They came in glow engine sizes from .049 to .60 and were a blast to run. With nothing in the water creating drag, they excelled at blasting over water or wet grass while sliding through the turns with an air propeller providing the thrust.
Jump ahead to today and here is a laser-cut, brushless-powered airboat kit that will put a smile on your face. The WaterBoard is an easy-to-build kit that any first-time builder can complete by just following the excellent instructions and pictures provided.
Stevens AeroModel can provide a power kit that is perfect for this project and is complete from propeller to speed control. I chose this power kit for my WaterBoard.
Construction: I haven’t built a kit for a while and I was impressed with the quality of the wood and the awesome laser cutting. I am not going to go over every step of the build, but I will point out important details. If you follow the step-by-step kit instructions the build is a breeze.
The main hull’s framework is assembled without glue using the tabs and notches and is glued after checking that everything is straight. Then the bottom and deck are added. This hull is strong and builds quickly. The instructions call for using a waterproofing product called Deft Clear Wood finish. I could not locate this product locally and substituted Minwax water-based Polycrylic instead. It is available in spray and brush application and it worked well for me. Be sure to follow the recommendations on where to use the waterproofing.
A very important step is the radius of the chines and deck sides. A guide is provided to check the recommended radius as you sand. Spend time on this step because it is critical to have a great-performing hull.
The motor mount has different size servo cutouts in each side. Only open the one that fits your servo choice and pay attention to which side of the mount it goes on before you glue it.
When you glue the rudder hinges/control horn, be sure the control horn is on the same side of the rudder as the servo cutout on the motor mount.
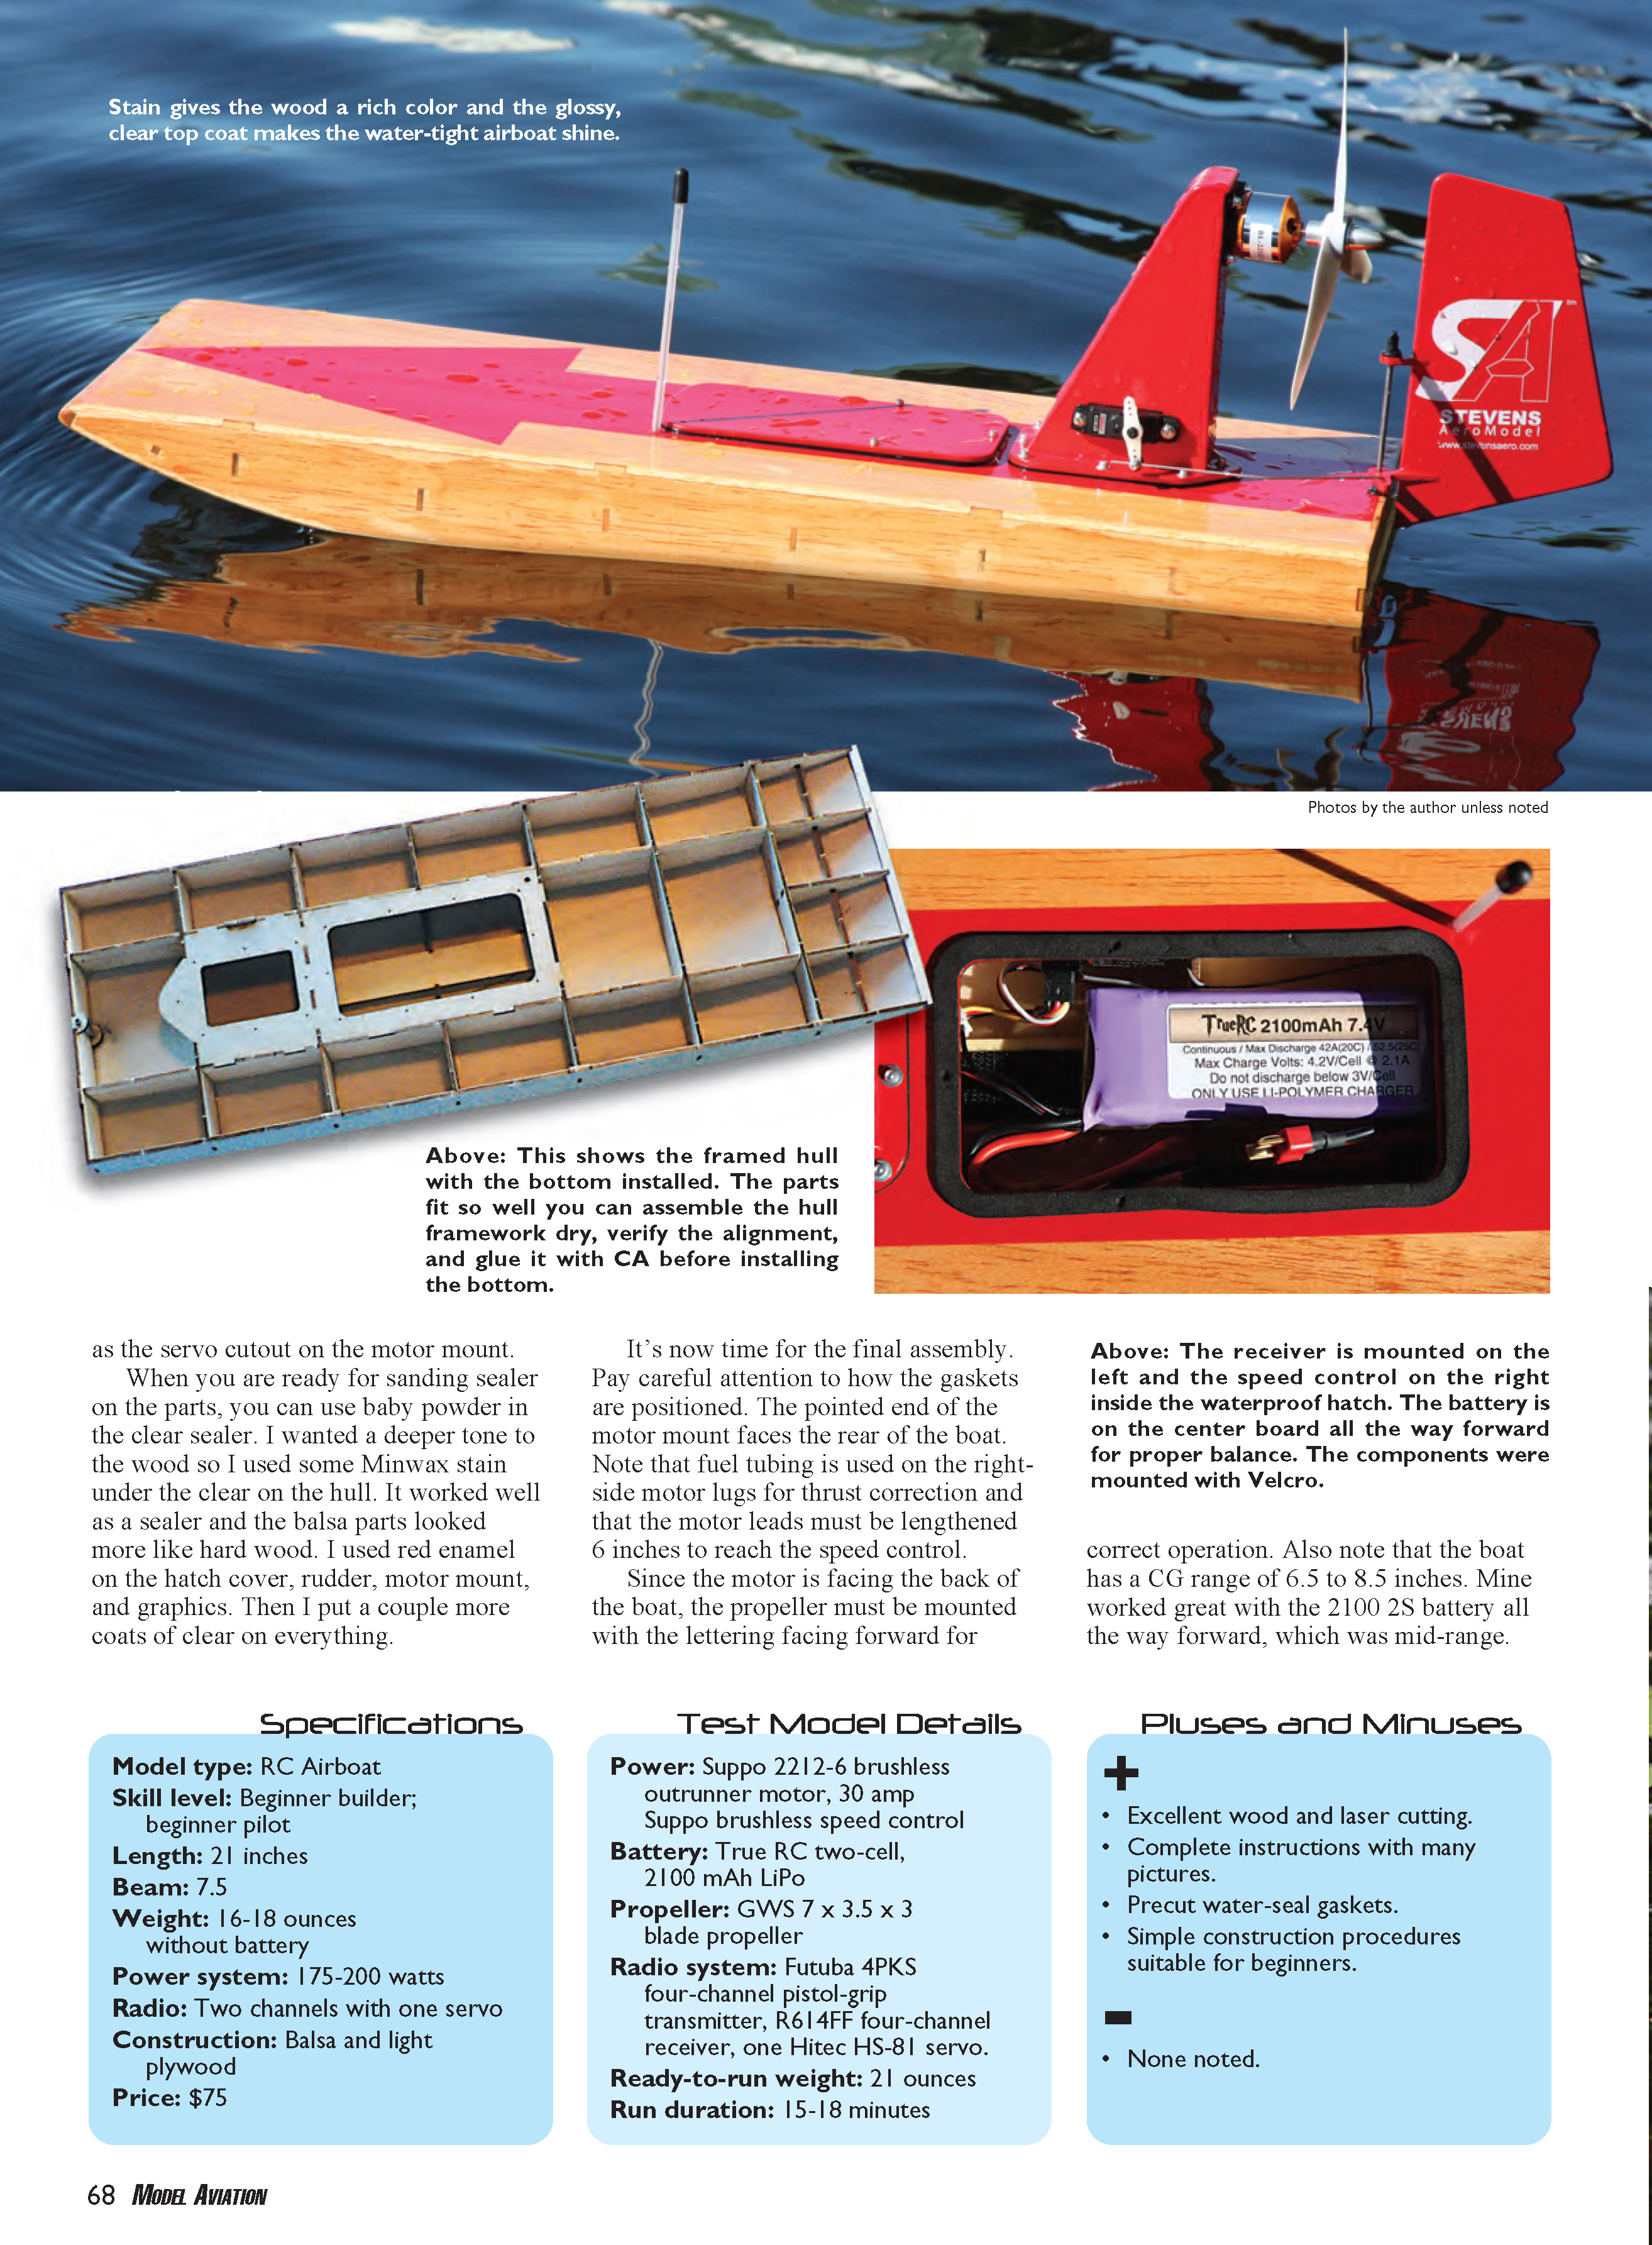
When you are ready for sanding sealer on the parts, you can use baby powder in the clear sealer. I wanted a deeper tone to the wood so I used some Minwax stain under the clear on the hull. It worked well as a sealer and the balsa parts looked more like hard wood. I used red enamel on the hatch cover, rudder, motor mount, and graphics. Then I put a couple more coats of clear on everything.
It's now time for the final assembly. Pay careful attention to how the gaskets are positioned. The pointed end of the motor mount faces the rear of the boat. Note that fuel tubing is used on the right-side motor lugs for thrust correction and that the motor leads must be lengthened 6 inches to reach the speed control.
Since the motor is facing the back of the boat, the propeller must be mounted with the lettering facing forward for correct operation. Also note that the boat has a CG range of 6.5 to 8.5 inches. Mine worked great with the 2100 2S battery all the way forward, which was mid-range.
Specifications
Model type: RC Airboat
Skill level: Beginner builder; beginner pilot
Length: 21 inches
Beam: 7.5 inches
Weight: 16-18 ounces without battery
Power system: 175-200 watts
Radio: Two channels with one servo
Construction: Balsa and light plywood
Price: $75
Test Model Details
Power: Suppo 2212-6 brushless outrunner motor, 30 amp Suppo brushless speed control
Battery: True RC two-cell, 2100 mAh LiPo
Propeller: GWS 7 x 3.5 x 3 blade propeller
Radio system: Futaba 4PKS four-channel pistol-grip transmitter, R614FF four-channel receiver, one Hitec HS-81 servo.
Ready-to-run weight: 21 ounces
Run duration: 15-18 minutes
Pluses and Minuses
- Excellent wood and laser cutting.
- Complete instructions with many pictures.
- Precut water-seal gaskets.
- Simple construction procedures suitable for beginners.
- None noted.
this project to anyone looking for a lot of fun and bang for your buck. MA
Jay P. Smith [email protected]
Manufacturer/Distributor:
Stevens AeroModel Box 15347 Colorado Springs CO 80935 (719) 387-4187 www.stevensaero.com
Sources:
Futaba (217) 398-8970 www.futaba-rc.com
Hitec (858) 748-6948 www.hitecrcd.com
True RC (773) 203-8695 www.truerc.com
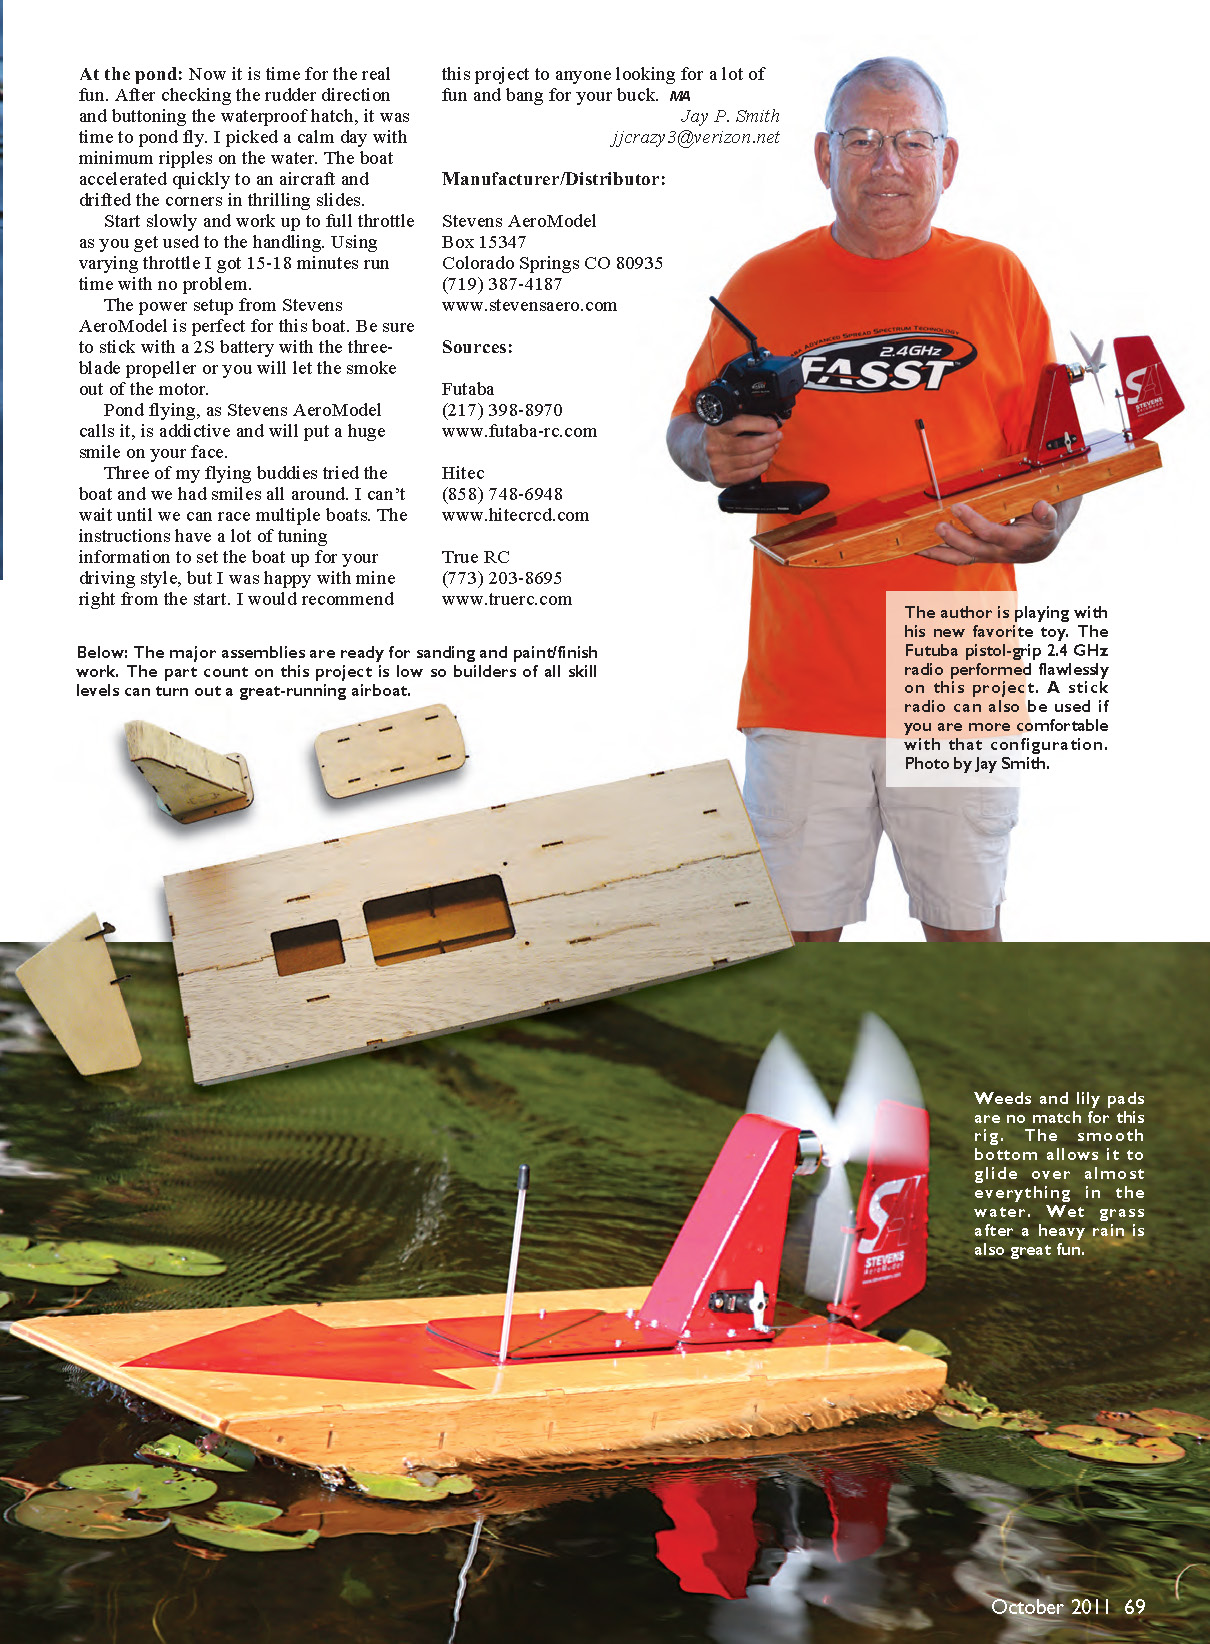
Below: The major assemblies are ready for sanding and paint/finish work. The part count on this project is low so builders of all skill levels can turn out a great-running airboat.
Transcribed from original scans by AI. Minor OCR errors may remain.

