


Swashplate: Assurance RC Align T-Rex 700 Nitro Pro
Andy Panoncillo
A review of six months of flying, including assembly tips!
Roughly a year ago, Align released its flagship machine: the T-Rex 700. There were mixed opinions about the helicopter, even before it had been seen or flown. MA has given me the opportunity to put one together and fly it for several months to see how it compares with other designs.
Construction
The kit comes neatly packaged, with well-labeled parts. The instruction manual is laid out clearly, with step-by-step illustrations showing how to assemble the components. The directions indicate which bag of parts is needed; the bonus is that most parts in the bags arrive partially assembled. The preassembled parts just need a pass with the recommended thread-locking compound.
Both main rotor grips and the main rotor housing have a streamlined design, yet they look strong enough to withstand demanding 3-D maneuvers. A critical step is installing the thrust bearing the way it is labeled. Even the most inexperienced builder shouldn't have a problem putting this kit together.
Align's feathering shaft sleeve is one of the 700 head's key features; it protects the dampener from extreme loads. Align made sure the spindle is ready for stress by using 6mm stock instead of 4mm.
The one-piece 5mm x 24mm linkage ball not only provides a stronger connection, but it also contributes to the T-Rex 700’s overall build principle of having a lower parts count. The metal seesaw, flybar, and mixing arms are free and smooth.
The swashplate is configured for 120° cyclic/collective pitch mixing (CCPM) geometry. Another feature I like is that the washout base pin guides are backed against the main shaft, which keeps the pins from flexing away from the washout base.
The main shaft is 12mm thick and supports the head assembly with three M4 socket-head screws. One of the head screws goes through the head block and main shaft, and the other two lock against the main shaft to prevent wobbling.
Following the success of the 600-class clutch assembly, the 700 has a similar design that features the clutch liner and clutch gear preinstalled in the clutch bell. The clutch bearing block securely holds three bearings plus a fourth bearing in the clutch bell, assuring smooth operation of the power-transfer assembly.
With most of us using governors on our helicopters for more consistent rpm during flight, Align has included the RCE-G600. The company also designed the clutch bell to hold two magnets for the sensor, making it easy to install and simple to accurately locate the sensor.
Assembling the carbon-fiber frame begins with installing the metal tail control arm, which is bolted against the right-side frame using a frame-mounting block. How much tail authority is available is obvious once this block is in place. In addition, the assembly itself is extremely smooth.
The left frame is where most earlier-assembled items come together, but several bolts/screws should be left approximately a half-turn loose for later alignment. The front and rear bottom frame supports are doubled because they also locate the carbon bottom plate and landing gear.
Notice that the main-shaft bearing blocks are angled to provide more spacing between bearing blocks. This is a carefully considered design feature that offers a mechanical advantage to the main shaft. Most machines employ three bearings to support the main shaft, but Align found that a two-bearing design had less drag.
Use the outer opening of the tank to install the clunk assembly. This way, when you need to check for possible leaks, it will be much easier to access than reaching between the frame or removing the tank. With the tank finished, you can join the two carbon side frames.
At this point in the build it is recommended that you mount your engine of choice. I prepped my O.S. 91HZ by installing the clutch, fan, and fan shroud assembly before mounting.
The fan has a unique design that increases its ability to take in air while lowering the load needed to propel it. That is complemented by the fan shroud interior design, which provides a secondary fin to redirect air onto the head and the engine case.
The main shaft is critical to the frame's final alignment. Insert the shaft through the two bearing blocks. Over a flat surface, such as a glass table, make sure the bottom frame is square against the table. Ensure that the main shaft can rotate and telescope smoothly before and while you tighten the bearing blocks against the frame.
This is also a good time to tighten the clutch bearing-block screws against the frame. While doing so, rotate the engine several times and get a feel for the freedom of the clutch against the start shaft. Also do this while tightening the engine against its mount.
The remainder of the frame assembly is straightforward and easy. The T-Rex 700's landing gear is identical to the T-Rex 600's, only it's white. The gear is strong and provides just enough flex to take the abuse of a hard landing.
The tailboom mount/block houses the front gear drive assembly. I recommend applying oil to the bearings to ensure smooth operation. I like the way this piece locks onto the frame and ties together the front gear drive assembly and autorotation tail drive gear; the correct gear mesh is assured.
The tail gearbox is partially preassembled. The metal pitch slider is strong and smooth against the tail output shaft. The specially designed tail-rotor hub and the plastic tail grips used on the T-Rex 600 are also on the 700.
The tailboom self-aligns and locks against the front boom block and to the tail gearbox with the aid of the vertical stabilizer mount. It includes a pin that goes through the boom and gearbox.
With the two bearings glued against the torque tube, rubber bearing holders serve as dampening material for the torque-tube assembly. Oil helps the two rubber bearing holders fit more easily inside the tailboom.
I recommend adding a couple of tail pushrod guides, making a total of five. The additional pushrod support prevents flexing, which will increase the gyro's effectiveness.
The overall build, including photography, took only a day. The T-Rex kit is a joy to assemble, and I believe that even the most inexperienced helicopter pilot could successfully build this machine.
Test-Model Details
- Engine used: O.S. 91HZ; Hatori SB-20FH tuned muffler
- Fuel: Byron Fuels Rotor Rage
- Radio system: Spektrum DX7se transmitter; AR7100R receiver; Spartan DS760 gyro; JR DS8900G tail servo; three JR DS8717 cyclic servos; 2400 mAh, 7.4 V battery; Align regulator; Align RCE-G600 governor
- Ready-to-fly weight: 9.3 pounds
- Flight duration: 8–10 minutes
- Type: RC 90-class nitro-powered helicopter
- Rotor diameter: 61.50–63.07 inches
- Tail-rotor diameter: 11.06 inches
- Weight (without power system): 112.9 ounces
- Length: 52.56 inches
- Height: 17.72 inches
- Engine displacement: .91 cu. in.
- Engine pinion gear: 20 teeth
- Autorotation tail gear: 150 teeth
- Gear ratio: 8.2:1 / 4.54
- Construction: Single-stack carbon-fiber main frame
- Control system: indirect CCPM mechanics
- Drive system: Two-stage main gear, torque-tube tail control
- Main rotor blades: 690mm–710mm (not included)
- Tailboom: Aluminum or carbon-fiber tube with aluminum bracing
- Canopy: Prepainted fiberglass
- Fuel tank capacity: 630 cc
- Requires: Six- to eight-channel radio, four servos, gyro, receiver battery
- Price: $788.99
Pluses and Minuses
Pluses:
- Simple, lightweight design provides excellent flight performance.
- +/-13° collective pitch is possible for extreme 3-D performance.
- Forward-mounted tail servo helps keep exhaust oil from entering.
- Torque-tube-driven tail offers strong tail-rotor authority.
- Efficient airflow provides reliable engine cooling and power.
Minuses:
- Check the website for a new clutch design. Replacing the original clutch is worth it—clutches can fail in flight.
The one-piece 5mm x 24mm linkage ball provides a stronger connection and reduces parts count. The metal seesaw, flybar, and mixing arms run freely and smoothly.
Reliability Test
Part of this review is to see how the T-Rex 700 handles in flight and, most important, how it performs after months of flying.
I've owned and flown several 90-size helicopters from different manufacturers, so I was interested in how this helicopter would perform. Off the bench it flew smoothly and tracked straight both upwind and downwind.
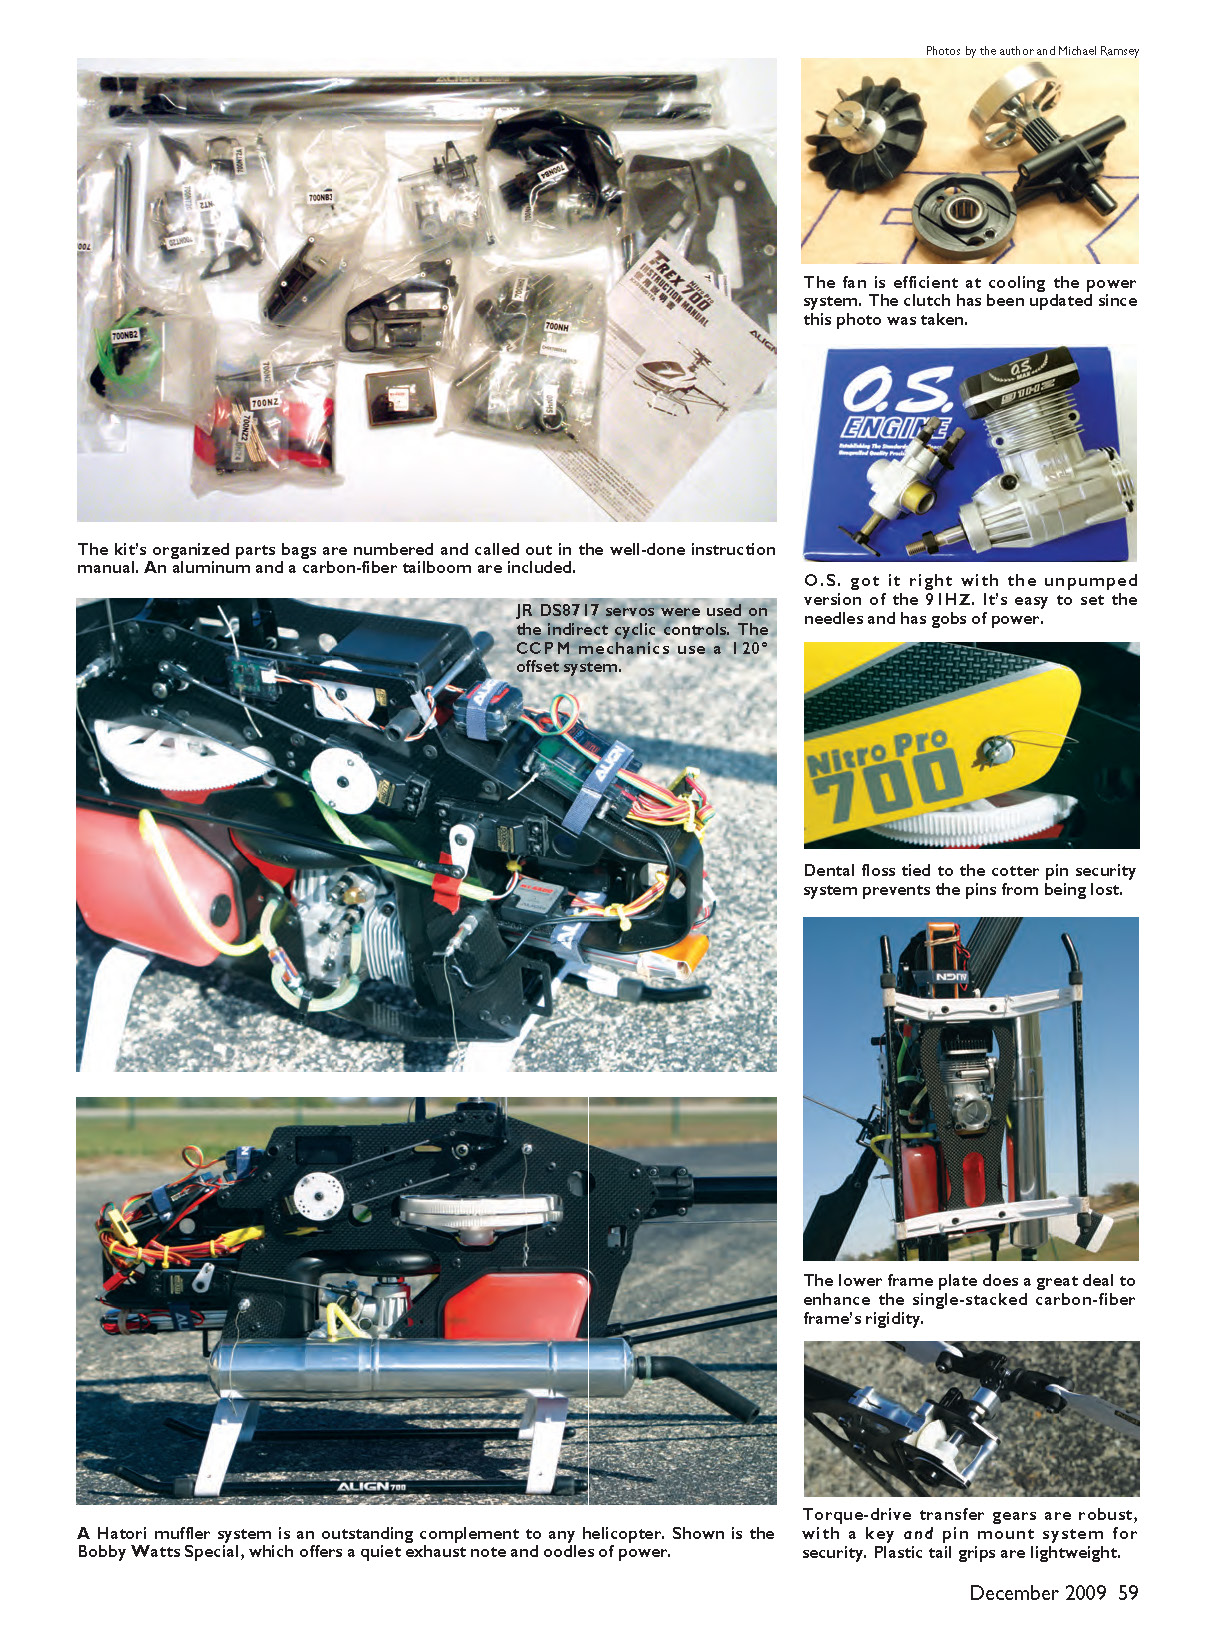
I noticed the T-Rex 700 tended to roll during forward flips, so I re-examined my setup and made sure the swashplate stayed level in all collective stick positions. I tweaked the model, retrimmed it for flip-ability, and made sure it tracked straight during climbout both right-side up and upside-down. After that effort, the aircraft flew better in all attitudes.
Its CG appears to be where it needs to be, as evidenced by the helicopter's ability to roll smoothly along its axis. Forward and backward flips are easy to keep in one spot.
During the initial flights it felt like I needed to push the T-Rex 700 to fly faster. But once I became accustomed to its characteristics, I realized it can carry plenty of speed and perform maneuvers. This machine can easily make a pilot look skilled and doesn't feel oversensitive.
Maintenance
Several screws needed to be thread-locked again after the first through fifth flights, which I consider normal on a new helicopter. Six months into flying it, I've replaced the head dampener twice and gone through two clutches. I also crashed the model twice.
Besides being easy to build, the T-Rex 700 is easy to repair and maintain. After the first crash, I had to replace the spindle, main shaft, front landing gear, tailboom, and boom supports. The repair took slightly more than an hour, so I could have gone back out to fly that afternoon.
There were rumors of ball links failing during flight, but I still have the original links on my model—and that's after flying in cold conditions in Indiana and extremely hot conditions in the Philippines.
Align started releasing parts labeled “-1,” and one of the first was the main gear. In six months of flying my T-Rex 700, I've replaced one main gear because it stripped in flight. I've switched between the older and new main gear, and both types are holding up fine.
The only part I'd consider replacing from the start is the clutch, since I broke two in flight. You can make this swap at the field, so consider doing so before the original part surprises you.
Align's T-Rex 700 is well made and designed to keep the pilot flying. It's simple to construct, maintain, and fix, and the model and parts are reasonably priced, with hobby shop support widely available. Align raised the bar and gave us something affordable with solid features. I enjoyed this project so much that I now have three T-Rex 700s—all ready to fly. See you at the field!
Andy Panoncillo [email protected]
Manufacturer/Distributor
Align/Assurance RC USA 3626 Briggeman Dr. Los Alamitos, CA 90720 (562) 598-4700 www.alignusa.com
Sources
- Spektrum/JR — (800) 338-4639, www.horizonhobby.com
- O.S. Engines — (217) 398-8970, www.osengines.com
- Hatori USA / Great Hobbies — (716) 297-3295, www.greathobbies.com
- Spartan RC — +44 7092 862003, www.spartan-rc.com
Other Published Reviews:
- None known at time of publication
Transcribed from original scans by AI. Minor OCR errors may remain.

