
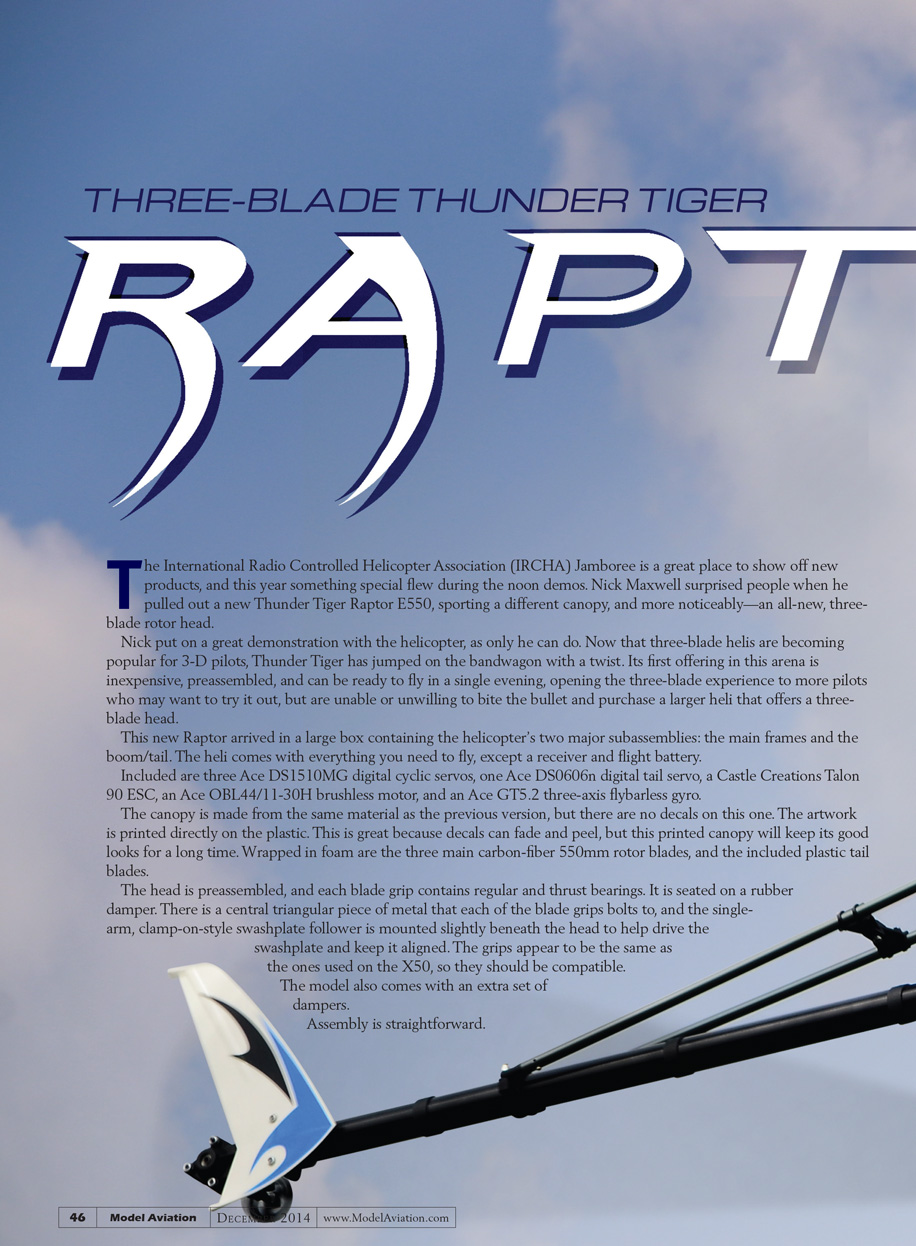

THREE-BLADE THUNDER TIGER RAPTOR
The International Radio Controlled Helicopter Association (IRCHA) Jamboree is a great place to show off new products, and this year something special flew during the noon demos. Nick Maxwell surprised people when he pulled out a new Thunder Tiger Raptor E550, sporting a different canopy and, more noticeably, an all-new three-blade rotor head.
Nick put on a great demonstration with the helicopter, as only he can do. Now that three-blade helis are becoming popular for 3-D pilots, Thunder Tiger has jumped on the bandwagon with a twist. Its first offering in this arena is inexpensive, preassembled, and can be ready to fly in a single evening, opening the three-blade experience to more pilots who may want to try it out but are unable or unwilling to bite the bullet and purchase a larger heli that offers a three-blade head.
This new Raptor arrived in a large box containing the helicopter's two major subassemblies: the main frames and the boom/tail. The heli comes with everything you need to fly, except a receiver and flight battery.
Included are:
- Three Ace DS1510MG digital cyclic servos
- One Ace DS0606n digital tail servo
- Castle Creations Talon 90 ESC
- Ace RC Ripper OBL44/11-30H brushless motor
- Ace GT5.2 three-axis flybarless gyro
- Three carbon-fiber 550mm main rotor blades (wrapped in foam)
- Plastic tail blades
- An extra set of dampers
The canopy is made from the same material as the previous version, but there are no decals on this one—the artwork is printed directly on the plastic. This is great because decals can fade and peel; the printed canopy will keep its good looks for a long time.
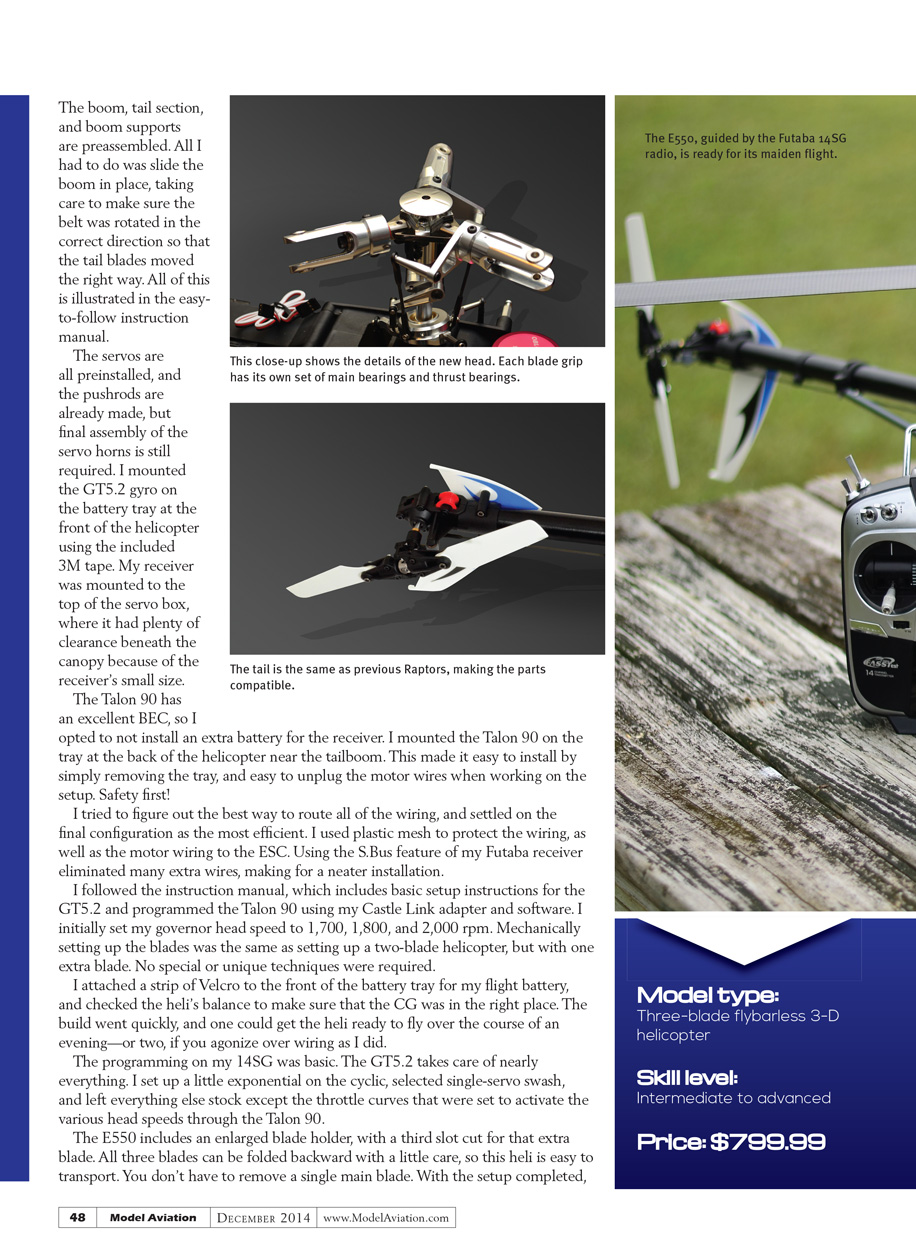
The head is preassembled, and each blade grip contains regular and thrust bearings. It is seated on a rubber damper. There is a central triangular piece of metal that each of the blade grips bolts to, and the single-arm, clamp-on-style swashplate follower is mounted slightly beneath the head to help drive the swashplate and keep it aligned. The grips appear to be the same as the ones used on the X50, so they should be compatible.
Assembly is straightforward.
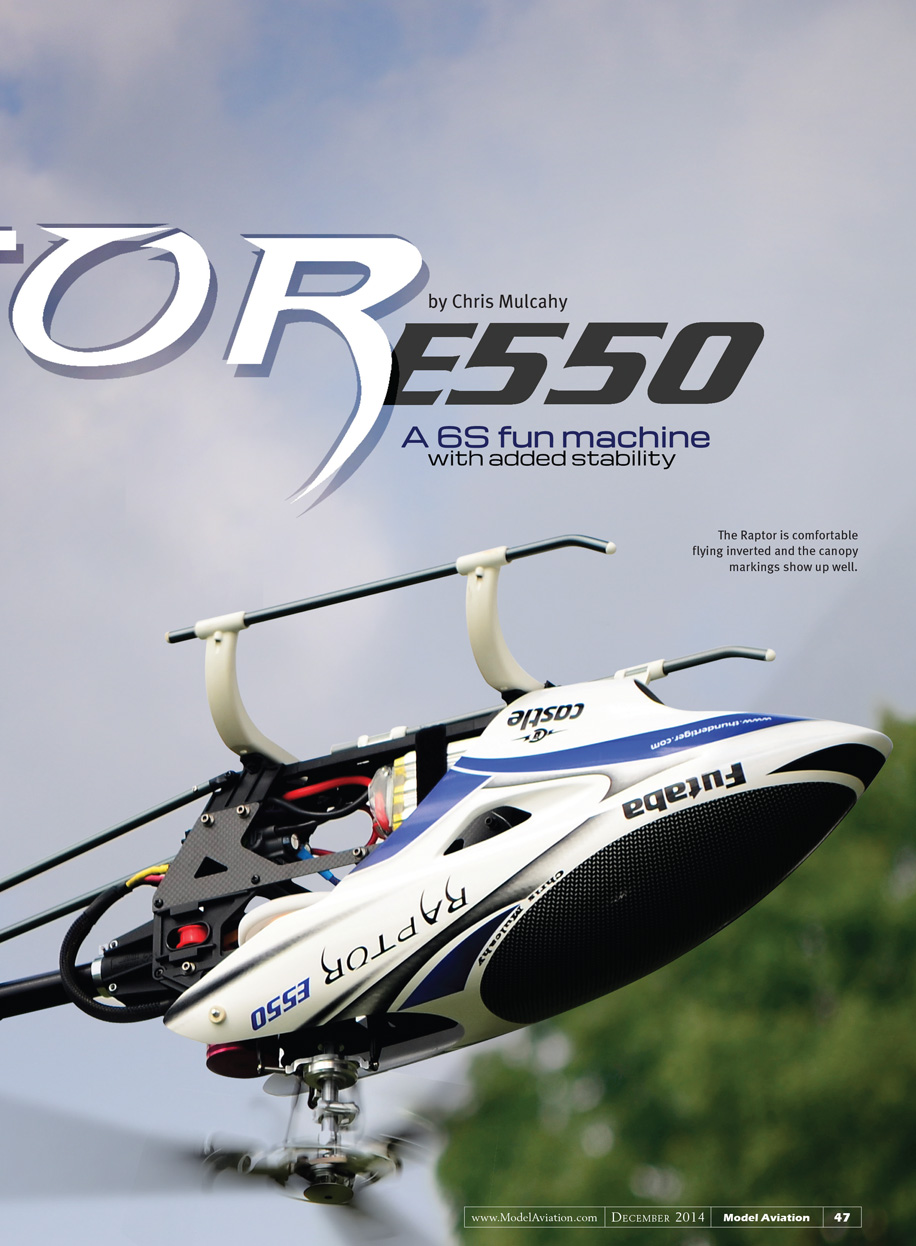
Raptor E550
by Chris Mulcahy
A 6S fun machine with added stability
The boom, tail section, and boom supports are preassembled. All I had to do was slide the boom in place, taking care to make sure the belt was rotated in the correct direction so that the tail blades moved the right way. All of this is illustrated in the easy-to-follow instruction manual.
The servos are all preinstalled and the pushrods are already made, but final assembly of the servo horns is still required. I mounted the GT5.2 gyro on the battery tray at the front of the helicopter using the included 3M tape. My receiver was mounted to the top of the servo box, where it had plenty of clearance beneath the canopy because of the receiver's small size.
The Talon 90 has an excellent BEC, so I opted not to install an extra battery for the receiver. I mounted the Talon 90 on the tray at the back of the helicopter near the tailboom. This made it easy to install by simply removing the tray, and easy to unplug the motor wires when working on the setup. Safety first!
I tried to figure out the best way to route all of the wiring, and settled on the final configuration as the most efficient. I used plastic mesh to protect the wiring, as well as the motor wiring to the ESC. Using the S.BUS feature of my Futaba receiver eliminated many extra wires, making for a neater installation.
I followed the instruction manual, which includes basic setup instructions for the GT5.2, and programmed the Talon 90 using my Castle Link adapter and software. I initially set my governor head speeds to 1,700, 1,800, and 2,000 rpm. Mechanically setting up the blades was the same as setting up a two-blade helicopter, but with one extra blade. No special or unique techniques were required.
I attached a strip of Velcro to the front of the battery tray for my flight battery and checked the heli's balance to make sure that the CG was in the right place. The build went quickly, and one could get the heli ready to fly over the course of an evening—or two, if you agonize over wiring as I did.
The programming on my Futaba 14SG was basic. The GT5.2 takes care of nearly everything. I set up a little exponential on the cyclic, selected single-servo swash, and left everything else stock except the throttle curves that were set to activate the various head speeds through the Talon 90.
The E550 includes an enlarged blade holder, with a third slot cut for that extra blade. All three blades can be folded backward with a little care, so this heli is easy to transport. You don't have to remove a single main blade. With the setup completed, I took it out to a large field and did a quick hover check. Tail authority was good, and the heli tracked straight. I increased the head speed to 1,800 rpm and did some low-speed circuits and basic 3-D maneuvers. The heli felt very stable and predictable, with the three-blade head providing smoother response and less vibration than comparable two-blade machines.
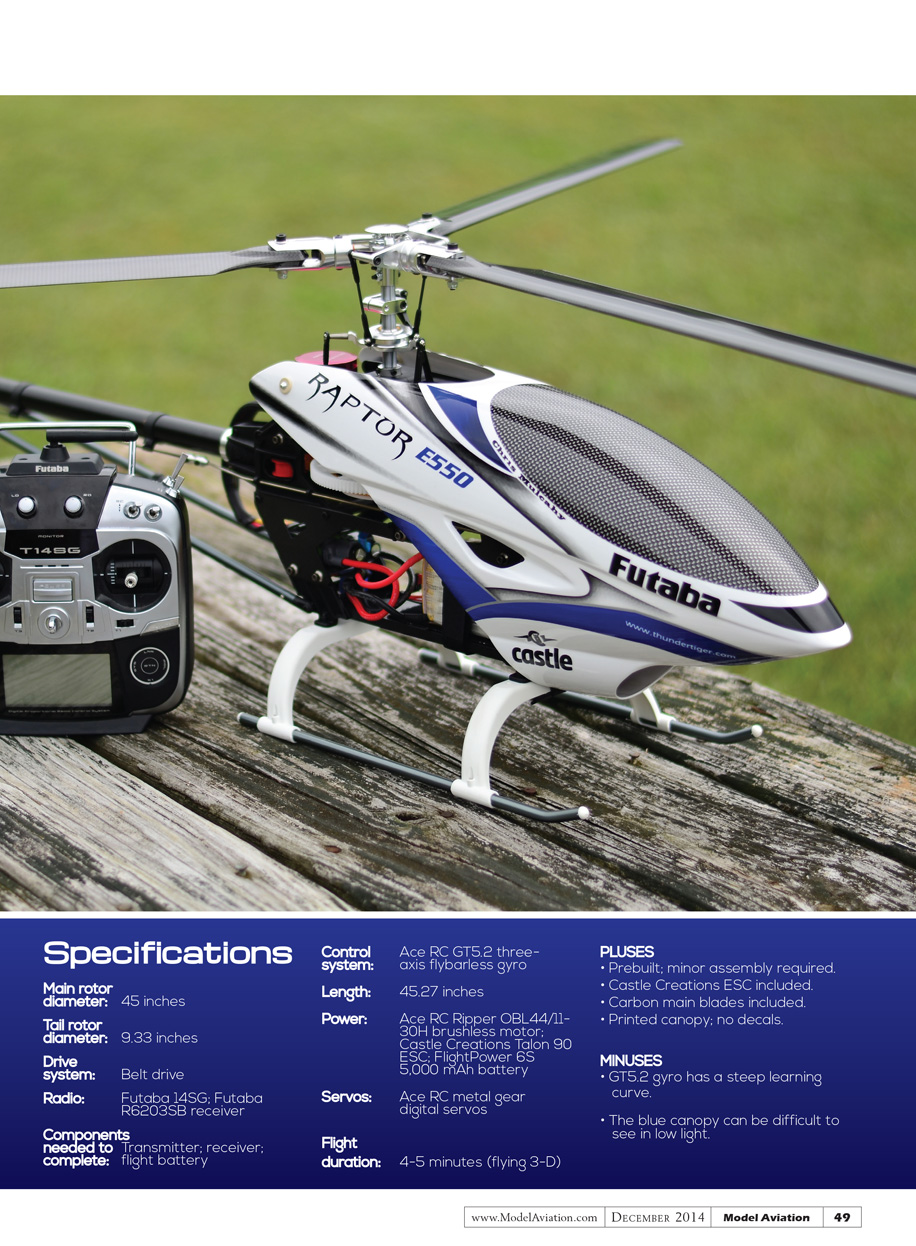
Specifications
- Main rotor diameter: 45 inches
- Tail rotor diameter: 9.33 inches
- Drive system: Belt drive
- Radio: Futaba 14SG; Futaba R6203SB receiver
- Components needed to complete: Transmitter; receiver; flight battery
- Control system: Ace RC GT5.2 three-axis flybarless gyro
- Length: 45.27 inches
- Power: Ace RC Ripper OBL44/11-30H brushless motor; Castle Creations Talon 90 ESC; FlightPower 6S 5,000 mAh battery
- Servos: Ace RC metal gear digital servos
- Flight duration: 4–5 minutes (flying 3-D)
PLUSES
- Prebuilt; minor assembly required
- Castle Creations ESC included
- Carbon main blades included
- Printed canopy; no decals
MINUSES
- GT5.2 gyro has a steep learning curve
- The blue canopy can be difficult to see in low light
I charged up my battery packs and prepared to head out to my flying club.
Flying
The first thing I noticed on spool-up was that this helicopter had a different sound than the original 550—it seemed to have a little more bass to it. It popped right off the ground, and although the GT5.2 was set up well enough to fly, it required further tuning to get it where I like it.
I enlisted the help of Team Thunder Tiger pilot Gary Wright. Being the guru that he is, in four minutes we had the heli dialed in.
Although the GT5.2 can be programmed through its unique touch-pad interface, the optional USB dongle that allows you to plug into a PC makes programming easier. I made use of this and set the GT5.2 up through a laptop at the field. My GT5.2 settings file is available for download on ModelAviation.com to help give you a starting point when trying to set it up. As new firmware becomes available, you can update the gyro using the USB dongle and software.
So, how does it fly? It flies like any other 3-D helicopter. The cyclic and collective both felt as responsive as a two-blade heli, but I initially kept bogging down the motor with hard collective inputs. I realized that when I ran my head speed at 1,800 rpm instead of 2,000 rpm, I was no longer bogging the motor but was still getting the same collective "pop" that a 3-D heli needs.
It felt as though fewer inputs were required during Tic-Tocs. In other words, I didn't have to move the sticks quite as far to get the same effect. At first it seemed as though I was overcontrolling the maneuver, but after I reduced the amount of stick input I usually use, it locked back in. I thought that I might get better battery times with the lower head speed, but I didn't notice a significant difference. The drag of the third blade might make up for any battery efficiency gained from running a lower head speed, but I'm merely speculating.
I ran a few short autorotations, and the model had slightly more hang time than normal. During autorotations, the collective felt touchier as the head speed wound down, but I think this was me overcontrolling the model.
The model felt good in the air and I think more flights will help me understand the differences between flying 3-D with a three-blade head versus a two-blade head. Not that I need an excuse to fly it more. The heli looks cool, sounds good, and with a few minor tweaks, it flies great!
To find out more about the characteristics between the two, I enlisted the help of Nick Maxwell, who commented that the three-blade model provides extra stability and more control authority. The head speed can be run slower at roughly 1,950 rpm versus the 2,300 rpm that Nick uses with the two-blade head.
Nick also mentioned that the three-blade heli is slightly more efficient for sport flying and ought to provide slightly longer flight times, and pilots should see the benefit when flying in windier conditions.
—Chris Mulcahy [email protected]
MANUFACTURER/DISTRIBUTOR
Hobbico/Thunder Tiger USA (800) 338-4639 www.ttamerica.com
SOURCES
Futaba (800) 338-4639 www.futaba-rc.com
Castle Creations (913) 390-6939 www.castlecreations.com
Transcribed from original scans by AI. Minor OCR errors may remain.

