
World Models Commander
Tom Sullivan [email protected]
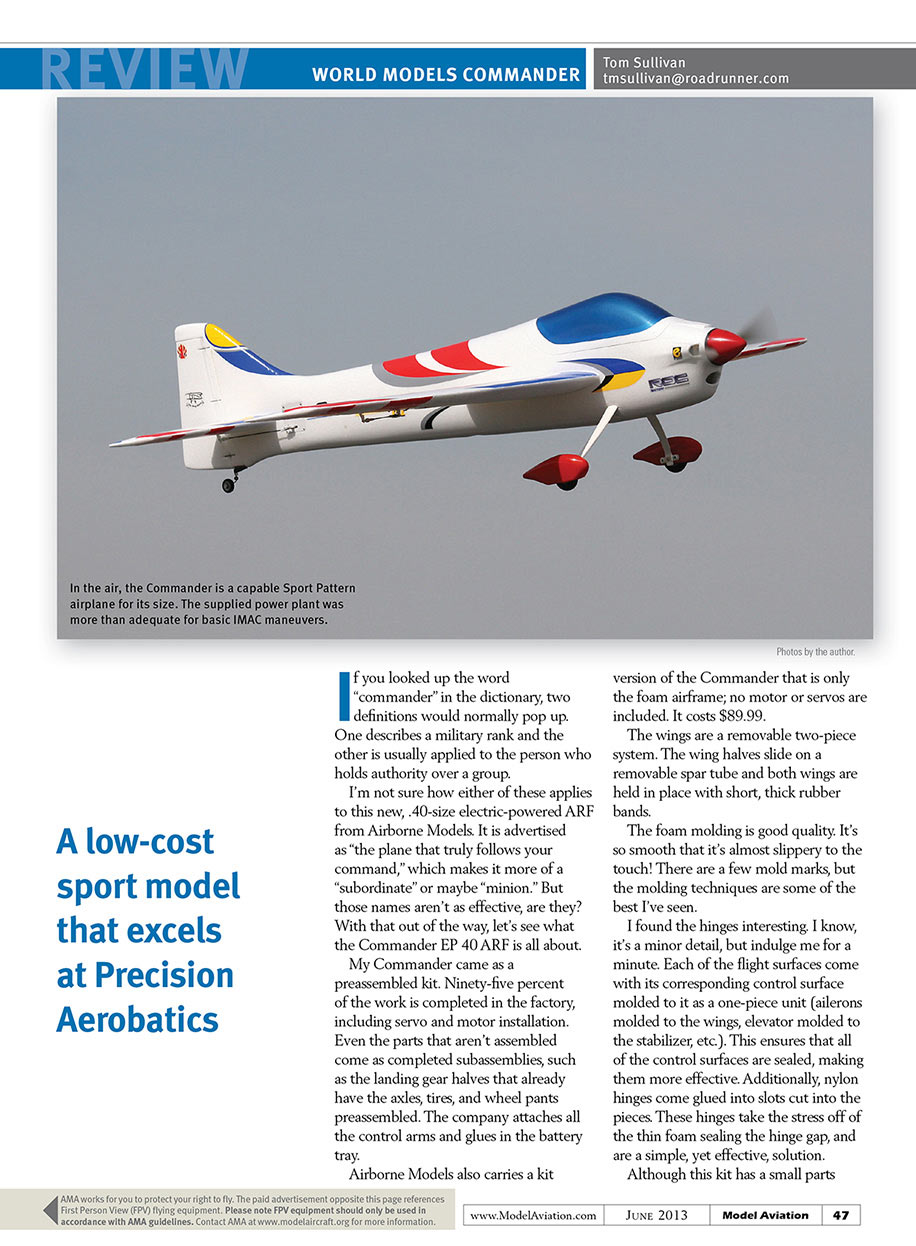
If you looked up the word “commander” in the dictionary, two definitions would normally pop up. One describes a military rank and the other is usually applied to the person who holds authority over a group.
I'm not sure how either of these applies to this new, .40-size electric-powered ARF from Airborne Models. It is advertised as “the plane that truly follows your command,” which makes it more of a “subordinate” or maybe “minion.” But those names aren't as effective, are they? With that out of the way, let's see what the Commander EP 40 ARF is all about.
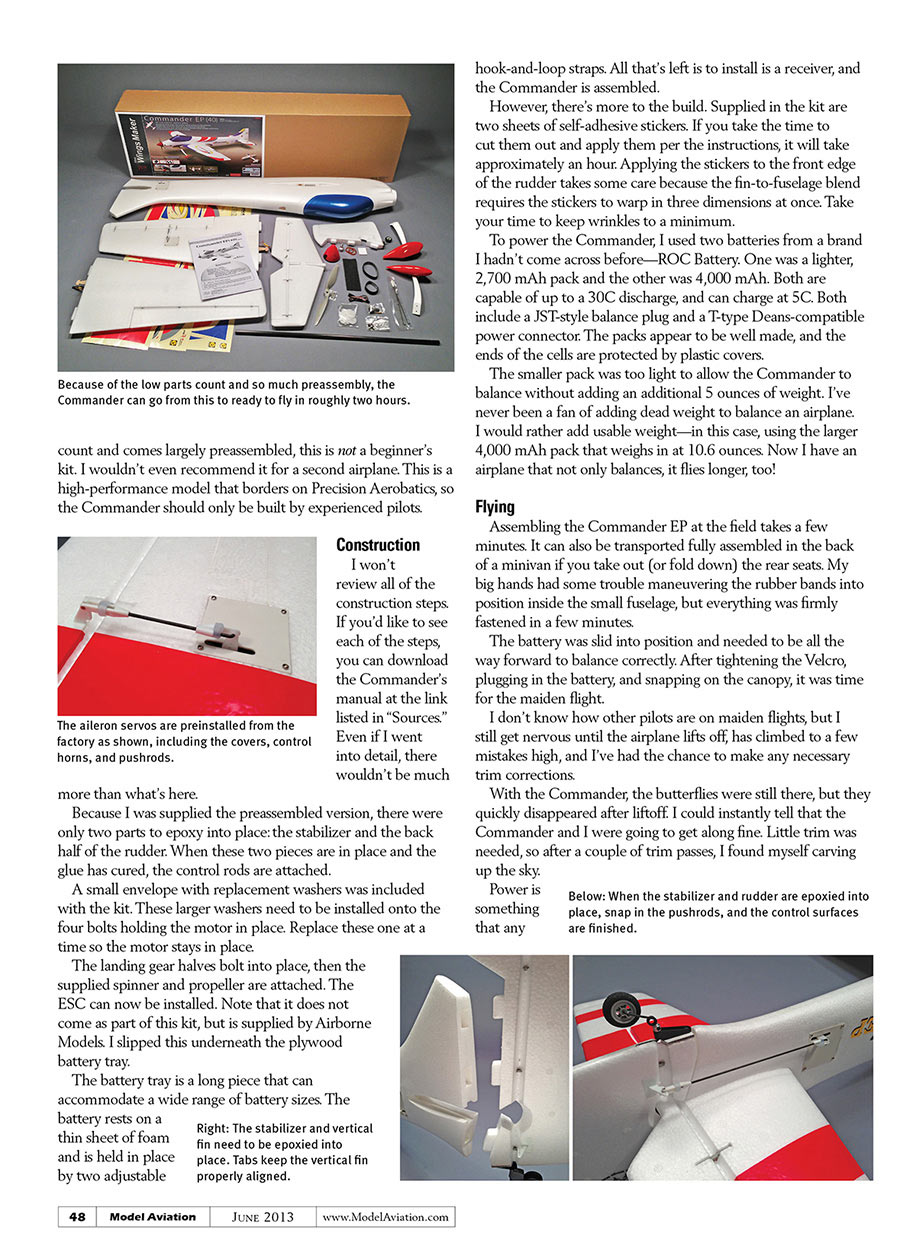
My Commander came as a preassembled kit. Ninety-five percent of the work is completed in the factory, including servo and motor installation. Even the parts that aren't assembled come as completed subassemblies, such as the landing gear halves that already have the axles, tires, and wheel pants preassembled. The company attaches all the control arms and glues in the battery tray.
Airborne Models also carries a kit version of the Commander that is only the foam airframe; no motor or servos are included. It costs $89.99.
The wings are a removable two-piece system. The wing halves slide on a removable spar tube and both wings are held in place with short, thick rubber bands.
The foam molding is good quality. It's so smooth that it's almost slippery to the touch! There are a few mold marks, but the molding techniques are some of the best I've seen.
I found the hinges interesting. I know, it's a minor detail, but indulge me for a minute. Each of the flight surfaces come with its corresponding control surface molded to it as a one-piece unit (ailerons molded to the wings, elevator molded to the stabilizer, etc.). This ensures that all the control surfaces are sealed, making them more effective. Additionally, nylon hinges come glued into slots cut into the pieces. These hinges take the stress off of the thin foam sealing the hinge gap, and are a simple, yet effective, solution.
Although this kit has a small parts count and comes largely preassembled, this is not a beginner's kit. I wouldn't even recommend it for a second airplane. This is a high-performance model that borders on Precision Aerobatics, so the Commander should only be built by experienced pilots.
Construction
I won't review all of the construction steps. If you'd like to see each of the steps, you can download the Commander's manual at the link listed in "Sources." Even if I went into detail, there wouldn't be much more than what's here.
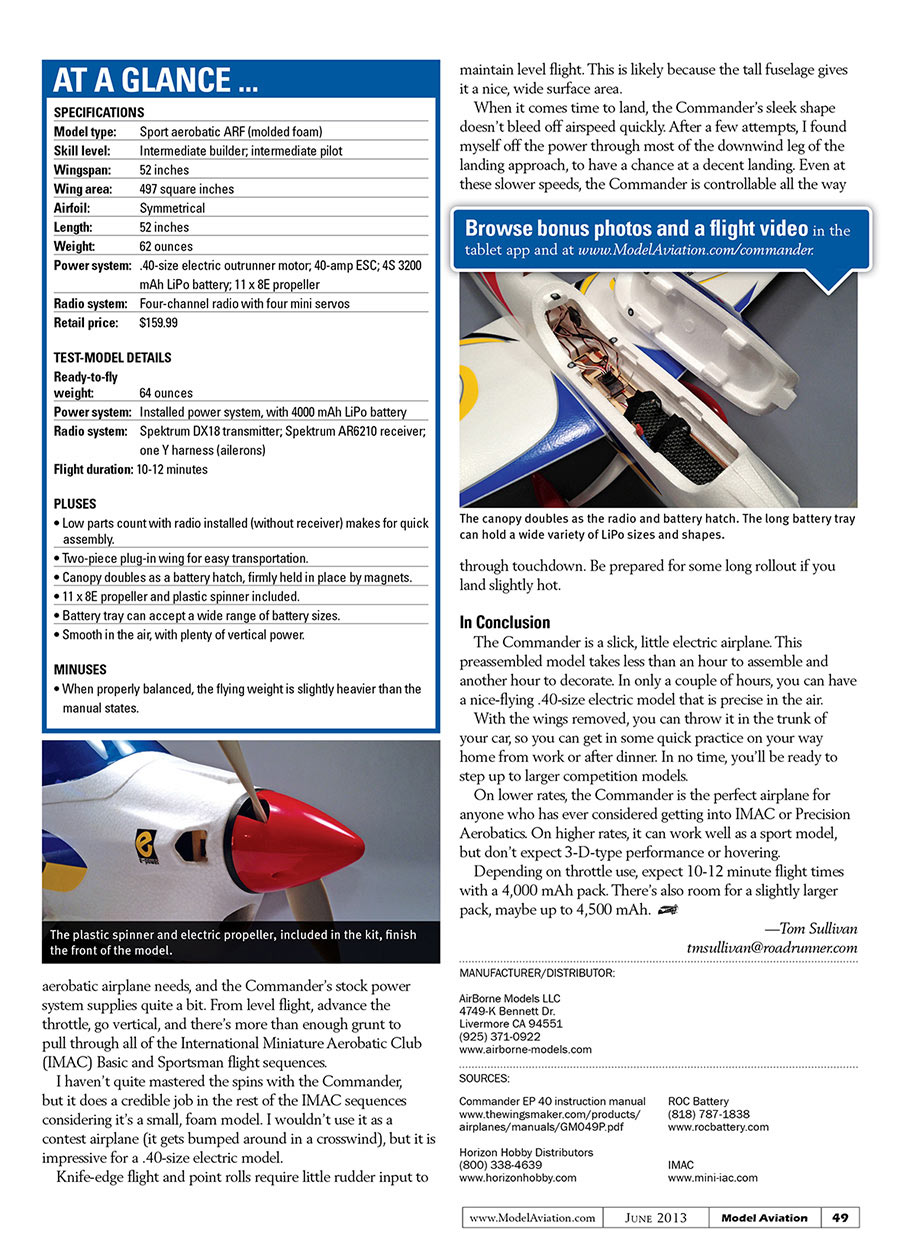
Because I was supplied the preassembled version, there were only two parts to epoxy into place: the stabilizer and the back half of the rudder. When these two pieces are in place and the glue has cured, the control rods are attached.
A small envelope with replacement washers was included with the kit. These larger washers need to be installed onto the four bolts holding the motor in place. Replace these one at a time so the motor stays in place.
The landing gear halves bolt into place, then the supplied spinner and propeller are attached. The ESC can now be installed. Note that it does not come as part of this kit, but is supplied by Airborne Models. I slipped this underneath the plywood battery tray.
The battery tray is a long piece that can accommodate a wide range of battery sizes. The battery rests on a thin sheet of foam and is held in place by two adjustable hook-and-loop straps. All that's left is to install a receiver, and the Commander is assembled.
However, there's more to the build. Supplied in the kit are two sheets of self-adhesive stickers. If you take the time to cut them out and apply them per the instructions, it will take approximately an hour. Applying the stickers to the front edge of the rudder takes some care because the fin-to-fuselage blend requires the stickers to warp in three dimensions at once. Take your time to keep wrinkles to a minimum.
To power the Commander, I used two batteries from a brand I hadn't come across before—ROC Battery. One was a lighter, 2,700 mAh pack and the other was 4,000 mAh. Both are capable of up to a 30C discharge, and can charge at 5C. Both include a JST-style balance plug and a T-type Deans-compatible power connector. The packs appear to be well made, and the ends of the cells are protected by plastic covers.
The smaller pack was too light to allow the Commander to balance without adding an additional 5 ounces of weight. I've never been a fan of adding dead weight to balance an airplane. I would rather add usable weight—in this case, using the larger 4,000 mAh pack that weighs in at 10.6 ounces. Now I have an airplane that not only balances, it flies longer, too!
Flying
Assembling the Commander EP at the field takes a few minutes. It can also be transported fully assembled in the back of a minivan if you take out (or fold down) the rear seats. My big hands had some trouble maneuvering the rubber bands into position inside the small fuselage, but everything was firmly fastened in a few minutes.
The battery was slid into position and needed to be all the way forward to balance correctly. After tightening the Velcro, plugging in the battery, and snapping on the canopy, it was time for the maiden flight.
I don't know how other pilots are on maiden flights, but I still get nervous until the airplane lifts off, has climbed to a few mistakes high, and I've had the chance to make any necessary trim corrections.
With the Commander, the butterflies were still there, but they quickly disappeared after liftoff. I could instantly tell that the Commander and I were going to get along fine. Little trim was needed, so after a couple of trim passes, I found myself carving up the sky.
Power is something that any aerobatic airplane needs, and the Commander's stock power system supplies quite a bit. From level flight, advance the throttle, go vertical, and there's more than enough grunt to pull through all of the International Miniature Aerobatic Club (IMAC) Basic and Sportsman flight sequences.
I haven't quite mastered the spins with the Commander, but it does a credible job in the rest of the IMAC sequences considering it's a small, foam model. I wouldn't use it as a contest airplane (it gets bumped around in a crosswind), but it is impressive for a .40-size electric model.
Knife-edge flight and point rolls require little rudder input to maintain level flight. This is likely because the tall fuselage gives it a nice, wide surface area.
When it comes time to land, the Commander's sleek shape doesn't bleed off airspeed quickly. After a few attempts, I found myself off the power through most of the downwind leg of the landing approach, to have a chance at a decent landing. Even at these slower speeds, the Commander is controllable all the way through touchdown. Be prepared for some long rollout if you land slightly hot.
In Conclusion
The Commander is a slick, little electric airplane. This preassembled model takes less than an hour to assemble and another hour to decorate. In only a couple of hours, you can have a nice-flying, .40-size electric model that is precise in the air.
With the wings removed, you can throw it in the trunk of your car, so you can get in some quick practice on your way home from work or after dinner. In no time, you'll be ready to step up to larger competition models.
On lower rates, the Commander is the perfect airplane for anyone who has ever considered getting into IMAC or Precision Aerobatics. On higher rates, it can work well as a sport model, but don't expect 3-D-type performance or hovering.
Depending on throttle use, expect 10-12 minute flight times with a 4,000 mAh pack. There's also room for a slightly larger pack, maybe up to 4,500 mAh.
—Tom Sullivan
Transcribed from original scans by AI. Minor OCR errors may remain.

