
The World Models Commander 50cc
Jason Danhakel [email protected]
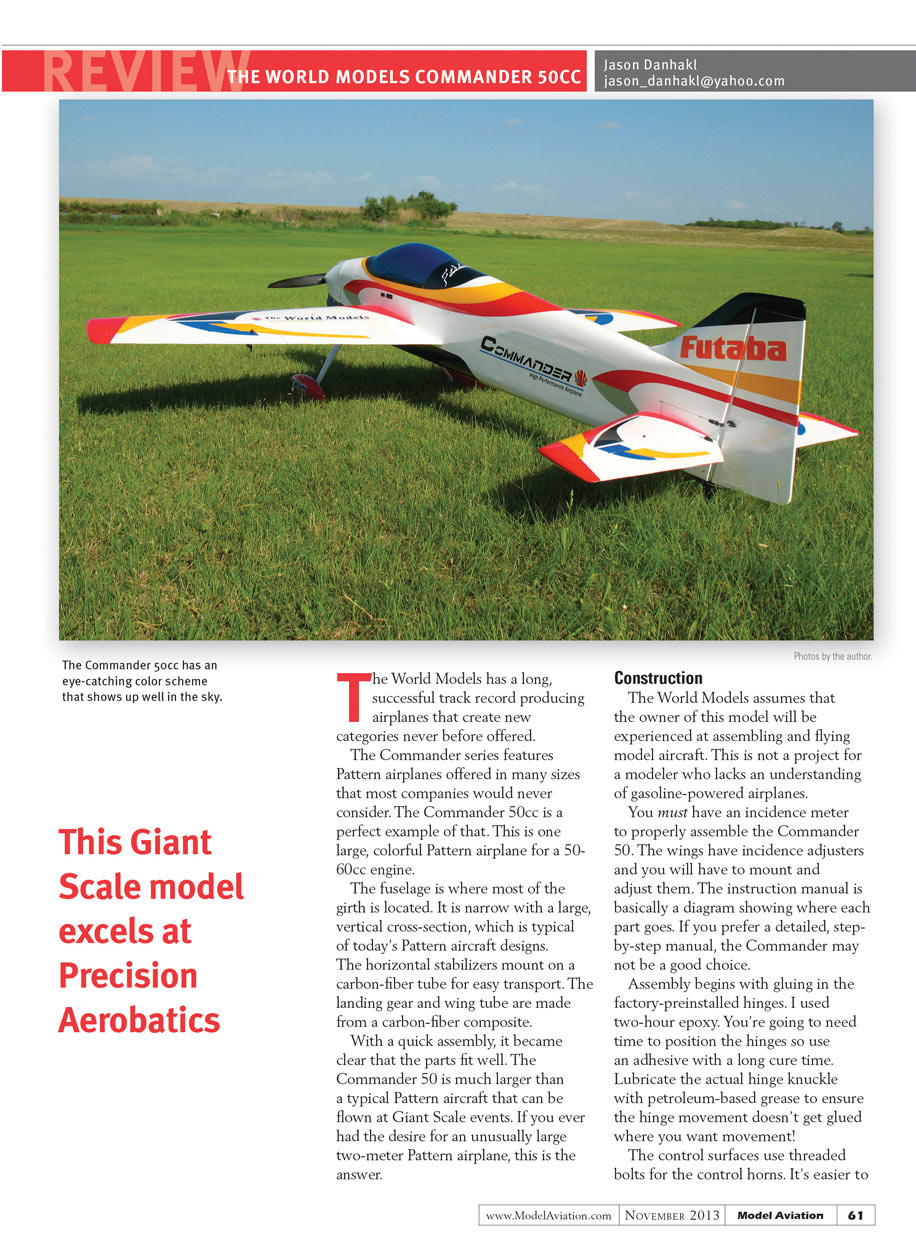
The World Models has a long, successful track record producing airplanes that create new categories never before offered.
The Commander series features Pattern airplanes offered in many sizes that most companies would never consider. The Commander 50cc is a perfect example of that. This is one large, colorful Pattern airplane for a 50-60cc engine.
The fuselage is where most of the girth is located. It is narrow with a large, vertical cross-section, which is typical of today's Pattern aircraft designs. The horizontal stabilizers mount on a carbon-fiber tube for easy transport. The landing gear and wing tube are made from a carbon-fiber composite.
With a quick assembly, it became clear that the parts fit well. The Commander 50 is much larger than a typical Pattern aircraft that can be flown at Giant Scale events. If you ever had the desire for an unusually large two-meter Pattern airplane, this is the answer.
Construction
The World Models assumes that the owner of this model will be experienced at assembling and flying model aircraft. This is not a project for a modeler who lacks an understanding of gasoline-powered airplanes.
You must have an incidence meter to properly assemble the Commander 50. The wings have incidence adjusters and you will have to mount and adjust them. The instruction manual is basically a diagram showing where each part goes. If you prefer a detailed, step-by-step manual, the Commander may not be a good choice.
Assembly begins with gluing in the factory-preinstalled hinges. I used two-hour epoxy. You're going to need time to position the hinges so use an adhesive with a long cure time. Lubricate the actual hinge knuckle with petroleum-based grease to ensure the hinge movement doesn't get glued where you want movement!
The control surfaces use threaded bolts for the control horns. It's easier to install these control horn bolts before hinging the surface.
After the hinges are glued in, install the control surface linkage. The aileron and elevator servos mount are laid inside the wing and stabilizer for mounting. This is a solid method, but it takes planning during assembly. It is nearly impossible to install the elevator servo arm after the servo is mounted.
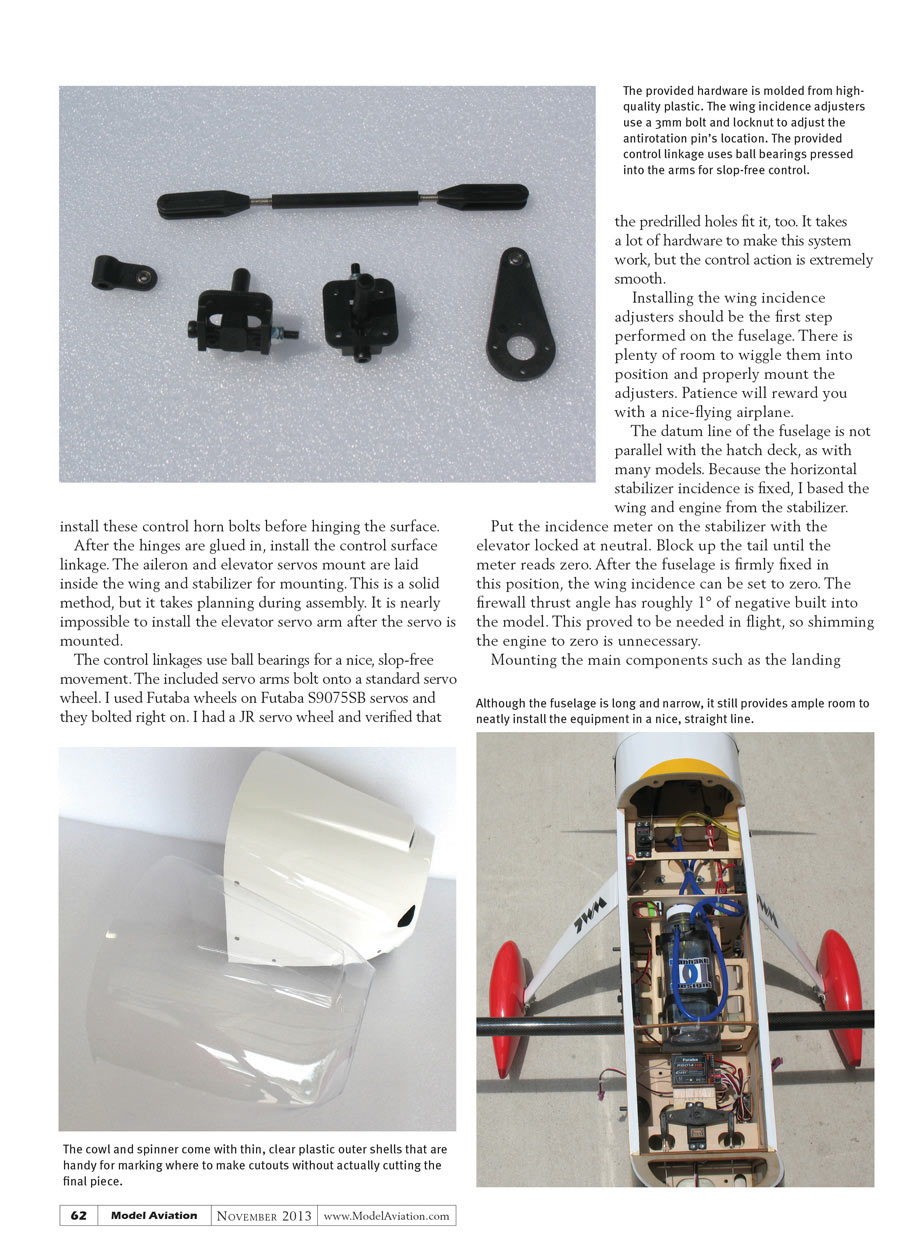
The control linkages use ball bearings for a nice, slop-free movement. The included servo arms bolt onto a standard servo wheel. I used Futaba wheels on Futaba S9075SB servos and they bolted right on. I had a JR servo wheel and verified that the predrilled holes fit it, too. It takes a lot of hardware to make this system work, but the control action is extremely smooth.
Installing the wing incidence adjusters should be the first step performed on the fuselage. There is plenty of room to wiggle them into position and properly mount the adjusters. Patience will reward you with a nice-flying airplane.
The datum line of the fuselage is not parallel with the hatch deck, as with many models. Because the horizontal stabilizer incidence is fixed, I based the wing and engine from the stabilizer.
Put the incidence meter on the stabilizer with the elevator locked at neutral. Block up the tail until the meter reads zero. After the fuselage is firmly fixed in this position, the wing incidence can be set to zero. The firewall thrust angle has roughly 1° of negative built into the model. This proved to be needed in flight, so shimming the engine to zero is unnecessary.
Mounting the main components such as the landing gear, fuel tank, and radio gear is straightforward.
The cowl mounts are not predrilled, so take extra care to ensure the proper spinner alignment. Because the cowl is a two-piece unit, make sure to bolt the two halves to each other before drilling any holes in the fuselage.
The main canopy/hatch assembly fit well under the cowling and needed no trimming. Desert Aircraft provides laser-cut wood engine-mount spacers with the DA-60. I used all of them and that provided the correct cowl-to-spinner position.
The fuselage has built-in provisions for a full-length, tuned exhaust system. If you plan to use a 50cc engine, I recommend using a tuned exhaust for added performance. Because I am using the DA-60cc engine, a standard-style muffler provides sufficient performance.
The Commander's cowling is narrow and tall, so a Pitts-style muffler is needed. JTEC Radiowave can custom build a muffler for any airframe and engine combination for a reasonable price. I emailed JTEC photos and basic measurements and the company confirmed that one of its standard Pitts mufflers would fit nicely in the cowl. The JTEC Pitts muffler has a mellow exhaust sound and it comes polished for a smooth appearance.
The fuselage has plenty of precut places to mount the receiver and batteries. After finding the best location for the receiver and power switches, I mounted the 2,200 mAh Hobbico LiFe receiver battery, 16-ounce Fourtitude R/C RTU fuel tank, and Futaba R6014HS receiver.
All of the equipment fits inside the fuselage with room to spare. After flying the Commander, I recommend using a larger receiver battery if you want to get a full day of flying out of one charge. The 2,200 mAh keeps the weight down, but it does not have the endurance some pilots want.
With everything mounted, the CG proved to be exactly where the company recommends.
Flying
The test flight was performed with the recommended throws and CG location described in the manual. On the takeoff roll, the landing gear stance allowed the airplane to practically take off without raising the tail.
I flew the Commander from a grass runway and immediately noticed that its ground handling was excellent, even with a moderately strong crosswind. After it was in the air, two things became clear: the DA-60 has plenty of power to perform any type of vertical pattern maneuver I could throw at it and the rudder authority is unreal. Square knife-edge loops with tight radii are no problem at all. Rolling takes some time to learn because the rudder is so effective.
After you train your brain to not input so much rudder during the rolls, this airplane shines. I was concerned that the landing speed would be fast, but that is not the case. After you slow down and the tail starts to drop, add a few clicks of power and you can drag it to where you want to land. With a little practice, I was landing the Commander on less than 50 feet of runway.
Let's discuss the flight characteristics and how much fun you can have. The Commander's elevator is sensitive and only needs approximately 12° of throw to provide sufficient control while executing pattern-type maneuvers. The rudder is also sensitive and needs approximately 30° of throw unless you're performing a stall turn or spin.
The ailerons are opposite from the tail surfaces and require maximum rates at all times, possibly even wishing for more. Being a 3-D flier, I have the ailerons set up to throw 40°.
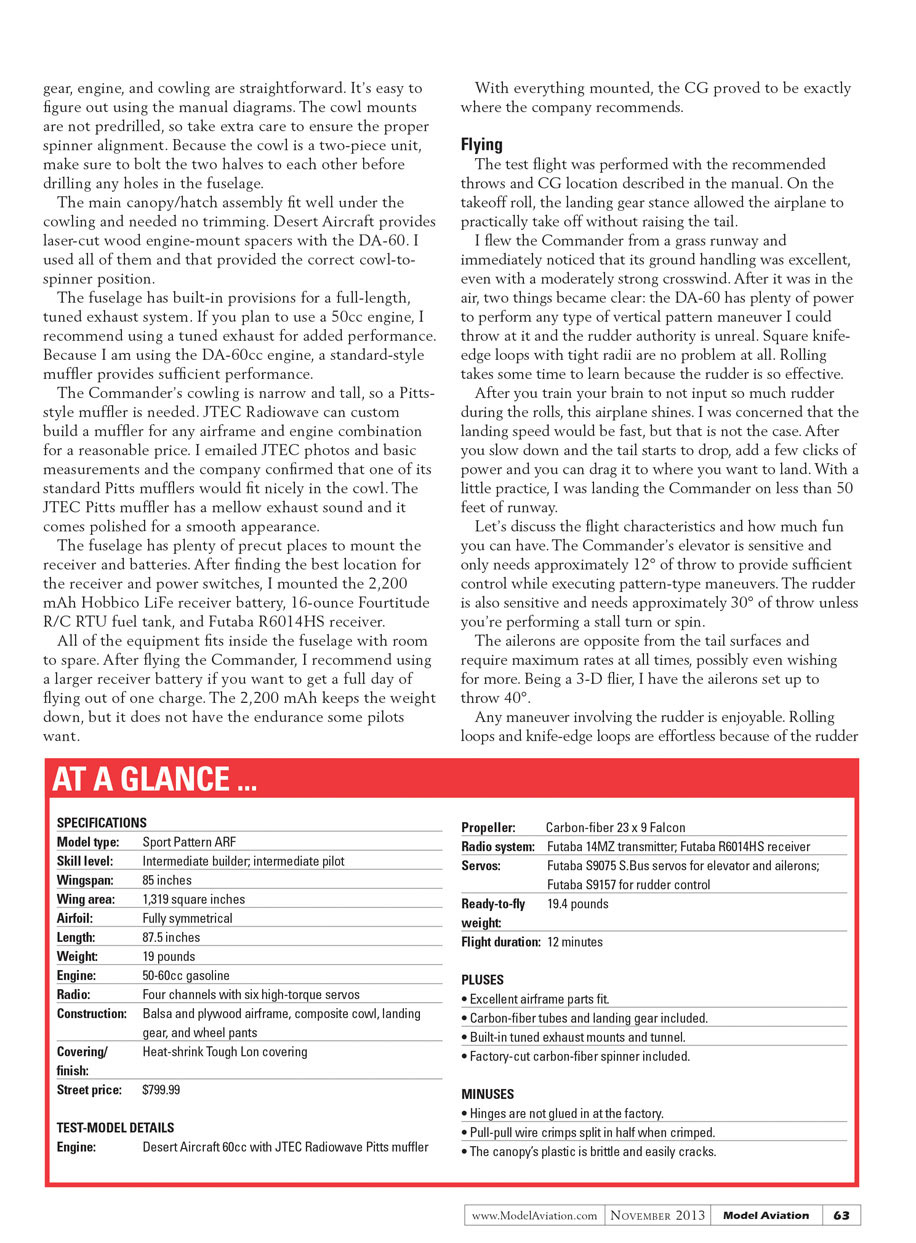
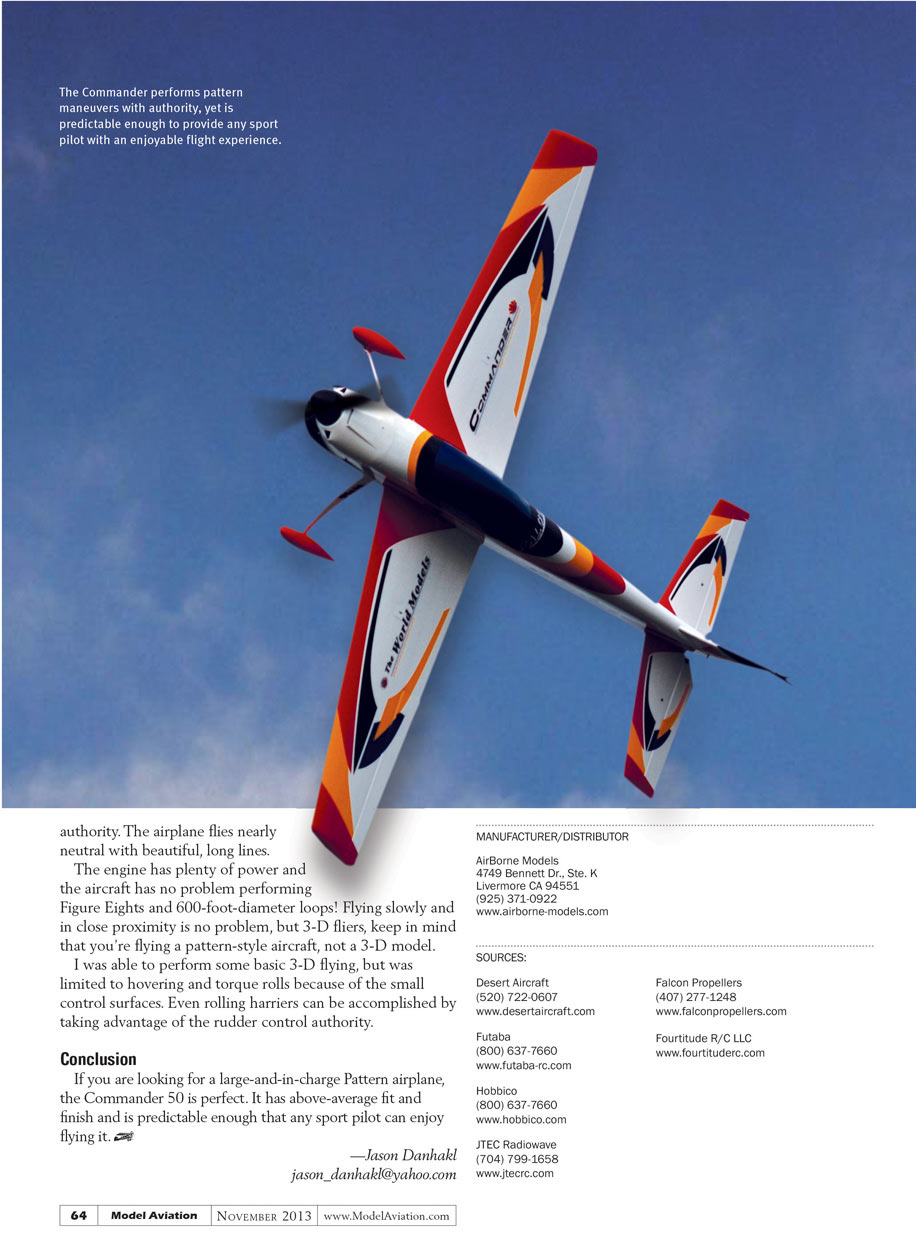
Any maneuver involving the rudder is enjoyable. Rolling loops and knife-edge loops are effortless because of the rudder authority. The airplane flies nearly neutral with beautiful, long lines.
The engine has plenty of power and the aircraft has no problem performing Figure Eights and 600-foot-diameter loops! Flying slowly and in close proximity is no problem, but 3-D fliers, keep in mind that you're flying a pattern-style aircraft, not a 3-D model.
I was able to perform some basic 3-D flying, but was limited to hovering and torque rolls because of the small control surfaces. Even rolling harriers can be accomplished by taking advantage of the rudder control authority.
AT A GLANCE ...
SPECIFICATIONS
- Model type: Sport Pattern ARF
- Skill level: Intermediate builder, intermediate pilot
- Wingspan: 85 inches
- Wing area: 1,319 square inches
- Airfoil: Fully symmetrical
- Length: 87.5 inches
- Weight: 19 pounds
- Engine: 50-60cc gasoline
- Radio: Four channels with six high-torque servos
- Construction: Balsa and plywood airframe, composite cowl, landing gear, and wheel pants
- Covering/finish: Heat-shrink Tough Lon covering
- Street price: $799.99
TEST-MODEL DETAILS
- Engine: Desert Aircraft 60cc with JTEC Radiowave Pitts muffler
- Propeller: Carbon-fiber 23 x 9 Falcon
- Radio system: Futaba 14MZ transmitter, Futaba R6014HS receiver
- Servos: Futaba S9075 S.Bus servos for elevator and ailerons; Futaba S9157 for rudder control
- Ready-to-fly weight: 19.4 pounds
- Flight duration: 12 minutes
PLUSES
- Excellent airframe parts fit.
- Carbon-fiber tubes and landing gear included.
- Built-in tuned exhaust mounts and tunnel.
- Factory-cut carbon-fiber spinner included.
MINUSES
- Hinges are not glued in at the factory.
- Pull-pull wire crimps split in half when crimped.
- The canopy's plastic is brittle and easily cracks.
Conclusion
If you are looking for a large-and-in-charge Pattern airplane, the Commander 50 is perfect. It has above-average fit and finish and is predictable enough that any sport pilot can enjoy flying it.
—Jason Danhakel [email protected]
MANUFACTURER/DISTRIBUTOR
AirBorne Models 4749 Bennett Dr., Ste. K Livermore CA 94551 (925) 371-0922 www.airborne-models.com
SOURCES:
Desert Aircraft (520) 722-0607 www.desertaircraft.com
Futaba (800) 637-7660 www.futaba-rc.com
Hobbico (800) 637-7660 www.hobbico.com
JTEC Radiowave (704) 799-1658 www.jtecrc.com
Falcon Propellers (407) 277-1248 www.falconpropellers.com
Fourtitude R/C LLC www.fourtituderc.com
Transcribed from original scans by AI. Minor OCR errors may remain.

