
X1 Pro Multi-Charger and ePowerBox 17-amp Power Supply - 2015/03
Big capabilities in a small package
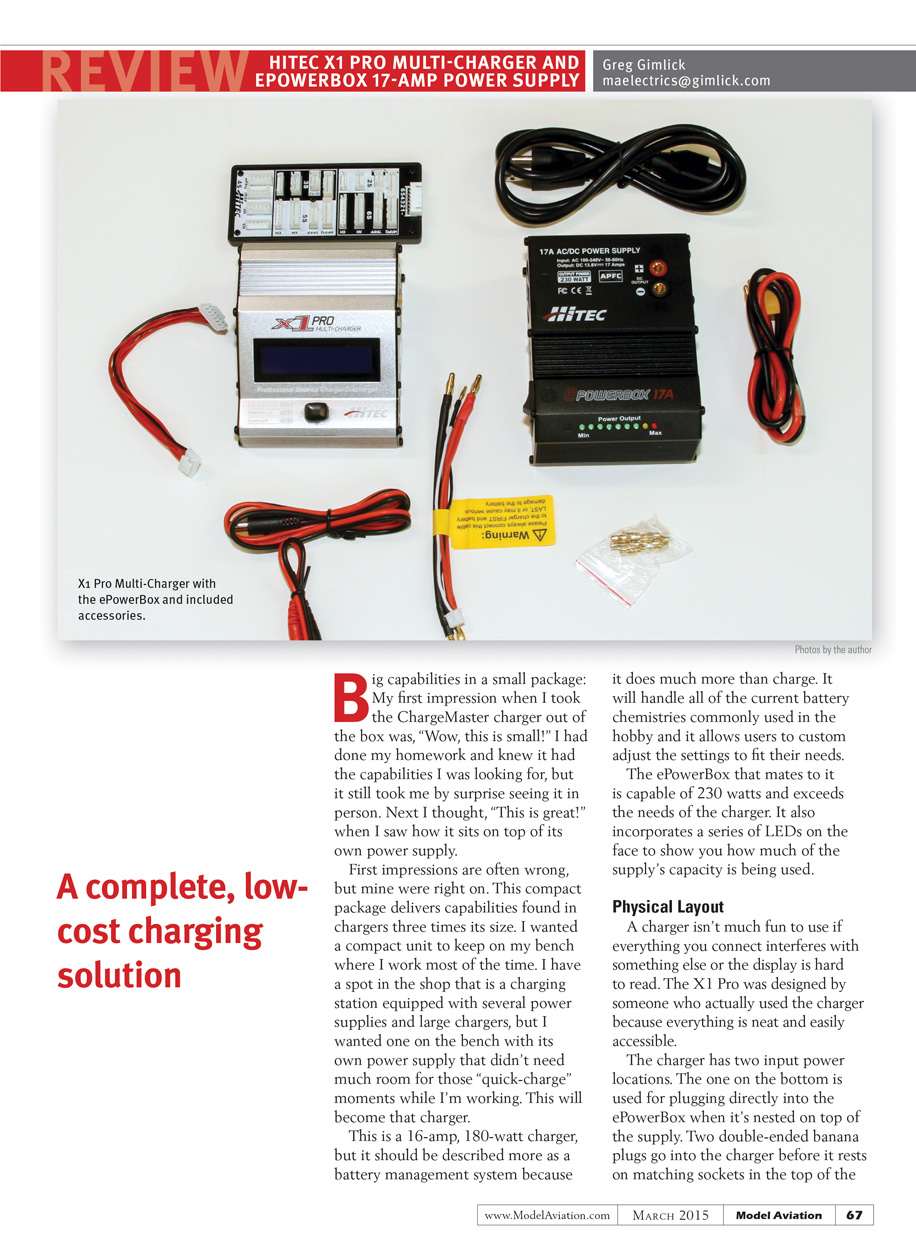
My first impression when I took the ChargeMaster charger out of the box was, "Wow, this is small!" I had done my homework and knew it had the capabilities I was looking for, but it still took me by surprise seeing it in person. Next I thought, "This is great!" when I saw how it sits on top of its own power supply.
First impressions are often wrong, but mine were right on. This compact package delivers capabilities found in chargers three times its size. I wanted a compact unit to keep on my bench where I work most of the time. I have a spot in the shop that is a charging station equipped with several power supplies and large chargers, but I wanted one on the bench with its own power supply that didn’t need much room for those "quick-charge" moments while I’m working. This will become that charger.
This is a 16-amp, 180-watt charger, but it should be described more as a battery-management system because it does much more than charge. It will handle all of the current battery chemistries commonly used in the hobby and it allows users to custom-adjust the settings to fit their needs. The ePowerBox that mates to it is capable of 230 watts and exceeds the needs of the charger. It also incorporates a series of LEDs on the face to show you how much of the supply’s capacity is being used.
A complete, low-cost charging solution
Physical Layout
A charger isn’t much fun to use if everything you connect interferes with something else or the display is hard to read. The X1 Pro was designed by someone who actually used the charger because everything is neat and easily accessible.
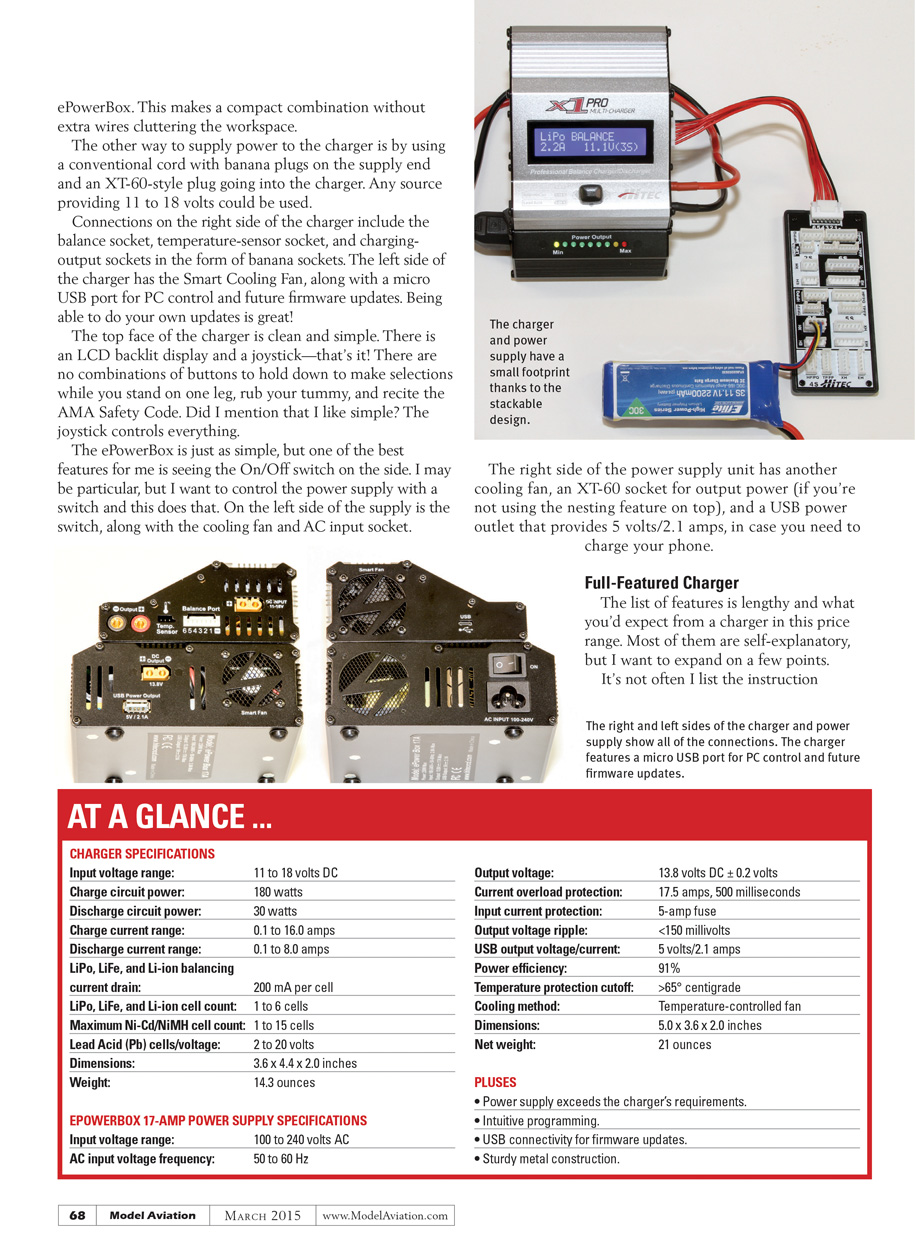
The charger has two input power locations. The one on the bottom is used for plugging directly into the ePowerBox when it’s nested on top of the supply. Two double-ended banana plugs go into the charger before it rests on matching sockets in the top of the ePowerBox. This makes a compact combination without extra wires cluttering the workspace. The other way to supply power to the charger is by using a conventional cord with banana plugs on the supply end and an XT-60-style plug going into the charger. Any source providing 11 to 18 volts could be used.
Connections on the right side of the charger include the balance socket, temperature-sensor socket, and charging-output sockets in the form of banana sockets. The left side of the charger has the Smart Cooling Fan along with a micro USB port for PC control and future firmware updates. Being able to do your own updates is great! The top face of the charger is clean and simple. There is an LCD backlit display and a joystick—that’s it! No combinations of buttons to hold down to make selections while you stand on one leg, rub your tummy, and recite the AMA Safety Code. Did I mention that I like simple? The joystick controls everything.
The ePowerBox is just as simple, but one of the best features for me is seeing the On/Off switch on the side. I may be particular, but I want to control the power supply with a switch and this does that. On the left side of the supply is the switch, along with the cooling fan and AC input socket.
The right side of the power supply unit has another cooling fan, an XT-60 socket for output power (if you're not using the nesting feature on top), and a USB power outlet that provides 5 volts/2.1 amps, in case you need to charge your phone.
Full-Featured Charger
The list of features is lengthy and what you'd expect from a charger in this price range. Most of them are self-explanatory, but I want to expand on a few points.
The manual is a feature, and it certainly is. If you're new to electrics and confused by much of the commonly used terminology, this is a primer. Each feature is described at length with excellent color photos. If you don't understand what "C" is when it is referenced in articles, this will explain what it means.
The manual can be downloaded and is worth the time for a thorough read. I know half the folks who buy a charger try it before ever reading the manual, but I encourage you to read it and hold on to it.
Battery memory
The charger will store up to 10 individual programs for the things you most often charge. It is easily configured and can be changed at any time.
LiPo meter
There is one mode that acts as a meter to display the voltage of each cell within a battery pack. This is great for those times when you forget to toss your battery checker in your field box.
Joystick control
This makes it easy to navigate menus and make selections. You can scroll up and down through the menus and then push it to the right to make a selection. Within a charge menu, pushing to the right will highlight a particular parameter and then scrolling up or down will change the value. When complete, push it to the right and proceed to the next parameter.
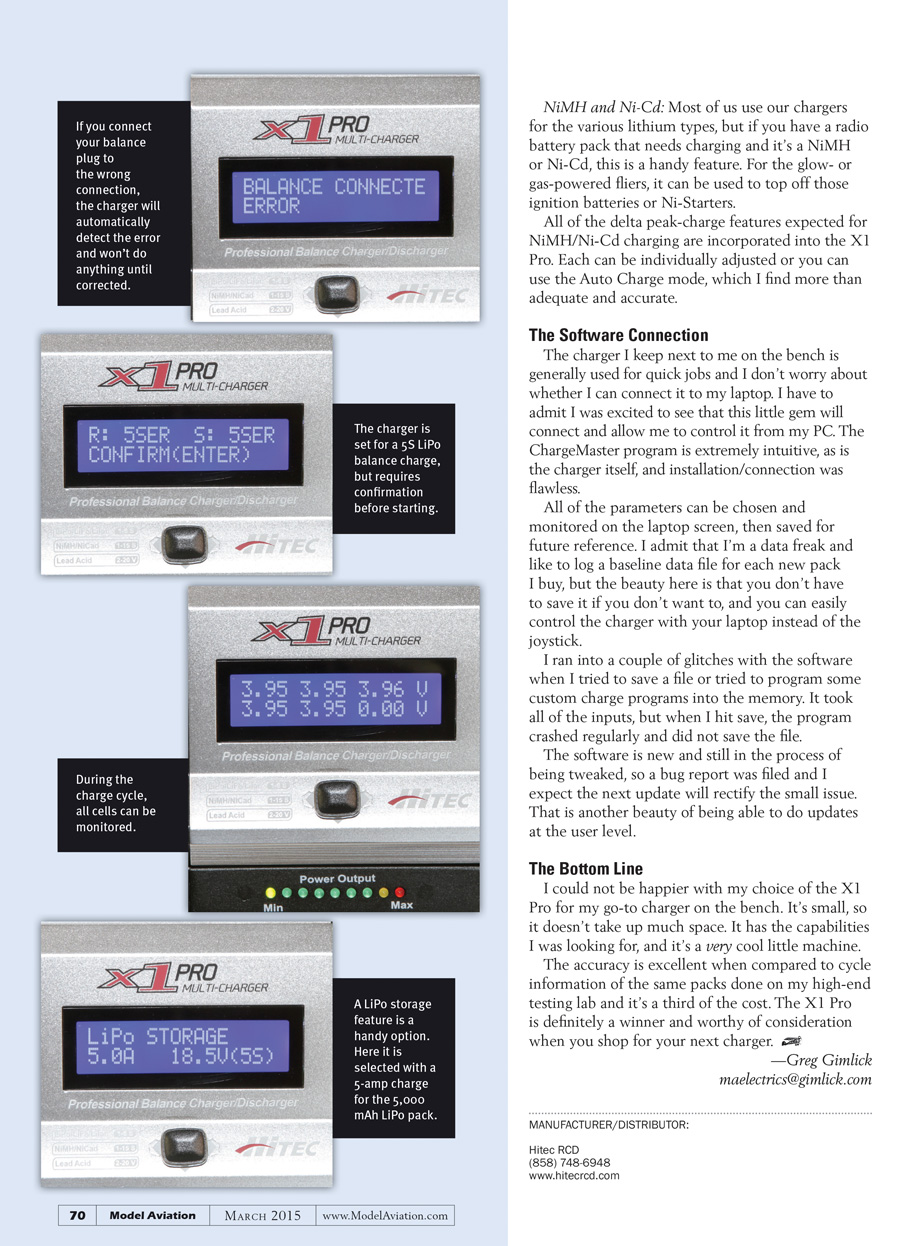
You can go back by pushing the stick to the left. When you're ready to start the charger, hold the stick to the right for 3 seconds and it begins. You will see a screen to verify the program choice and cell count, and then you push the stick to the right to verify that all is correct.
Terminal voltage control (TVC)
This setting must be used with extreme care. It allows the user to adjust the end voltage for either charge or discharge. Be sure you understand what you intend to do before making any changes.
The factory defaults are the recommended voltage levels from the manufacturers and shouldn't need to be changed. Because I prefer not to take my LiPo cells down to 3.0 volts per cell during a discharge cycle, I raised mine to 3.3 volts in the TVC menu. It's a nice feature to have, but use it carefully because you can also set it to overcharge if you're not careful.
Balance charge vs charge/fast charge
These options offer plenty of flexibility, but I recommend always using the balance charge mode unless you have a good reason to do otherwise.
At the field, you may choose one of the others because they don't require a balance plug and will charge the pack faster. This is fine as long as you know the pack is in good shape and you are comfortable not monitoring individual cells for a couple of cycles. It speeds up the charge process considerably.
Storage mode
I look for chargers with this feature because it makes life easier. When storing batteries, it's best to leave them at a storage level rather than fully discharged or fully charged. If I come back from the field with fully charged or discharged packs and know I'm not going to be flying for an extended period, I put them on the charger in storage mode. This will automatically charge them to that level or discharge and balance them in the process.
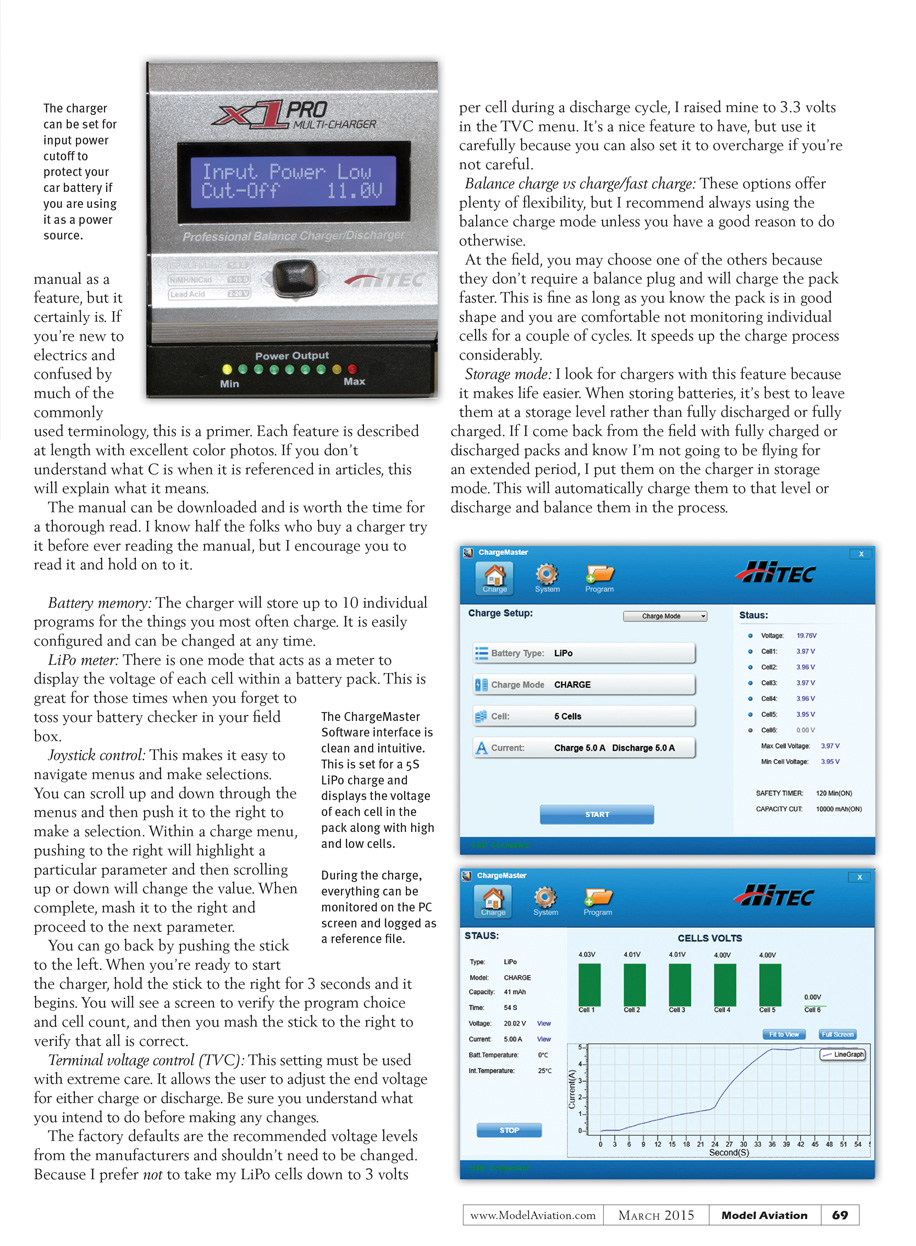
The ChargeMaster software interface is clean and intuitive. This example is set for a 5S LiPo charge and displays the voltage of each cell in the pack along with high and low cells.
During the charge, everything can be monitored on the PC screen and logged as a reference file.
NiMH and Ni-Cd
Most of us use our chargers for the various lithium types, but if you have a radio battery pack that needs charging and it’s a NiMH or Ni-Cd, this is a handy feature. For the glow- or gas-powered fliers, it can be used to top off those ignition batteries or Ni-Starters.
All of the delta-peak-charge features expected for NiMH/Ni-Cd charging are incorporated into the X1 Pro. Each can be individually adjusted or you can use the Auto Charge mode, which I find more than adequate and accurate.
The Software Connection
The charger I keep next to me on the bench is generally used for quick jobs and I don’t worry about whether I can connect it to my laptop. I have to admit I was excited to see that this little gem will connect and allow me to control it from my PC. The ChargeMaster program is extremely intuitive, as is the charger itself, and installation/connection was flawless.
All of the parameters can be chosen and monitored on the laptop screen, then saved for future reference. I admit that I’m a data freak and like to log a baseline data file for each new pack I buy, but the beauty here is that you don’t have to save it if you don’t want to, and you can easily control the charger with your laptop instead of the joystick.
I ran into a couple of glitches with the software when I tried to save a file or tried to program some custom charge programs into the memory. It took all of the inputs, but when I hit save, the program crashed regularly and did not save the file.
The software is new and still in the process of being tweaked, so a bug report was filed and I expect the next update will rectify the small issue. That is another beauty of being able to do updates at the user level.
The Bottom Line
I could not be happier with my choice of the X1 Pro for my go-to charger on the bench. It’s small, so it doesn’t take up much space. It has the capabilities I was looking for, and it’s a very cool little machine.
The accuracy is excellent when compared to cycle information of the same packs done on my high-end testing lab and it’s a third of the cost. The X1 Pro is definitely a winner and worthy of consideration when you shop for your next charger.
— Greg Gimlick [email protected]
Manufacturer/Distributor
- Hitec RCD
- (858) 748-6948
- www.hitecrcd.com
Transcribed from original scans by AI. Minor OCR errors may remain.

