
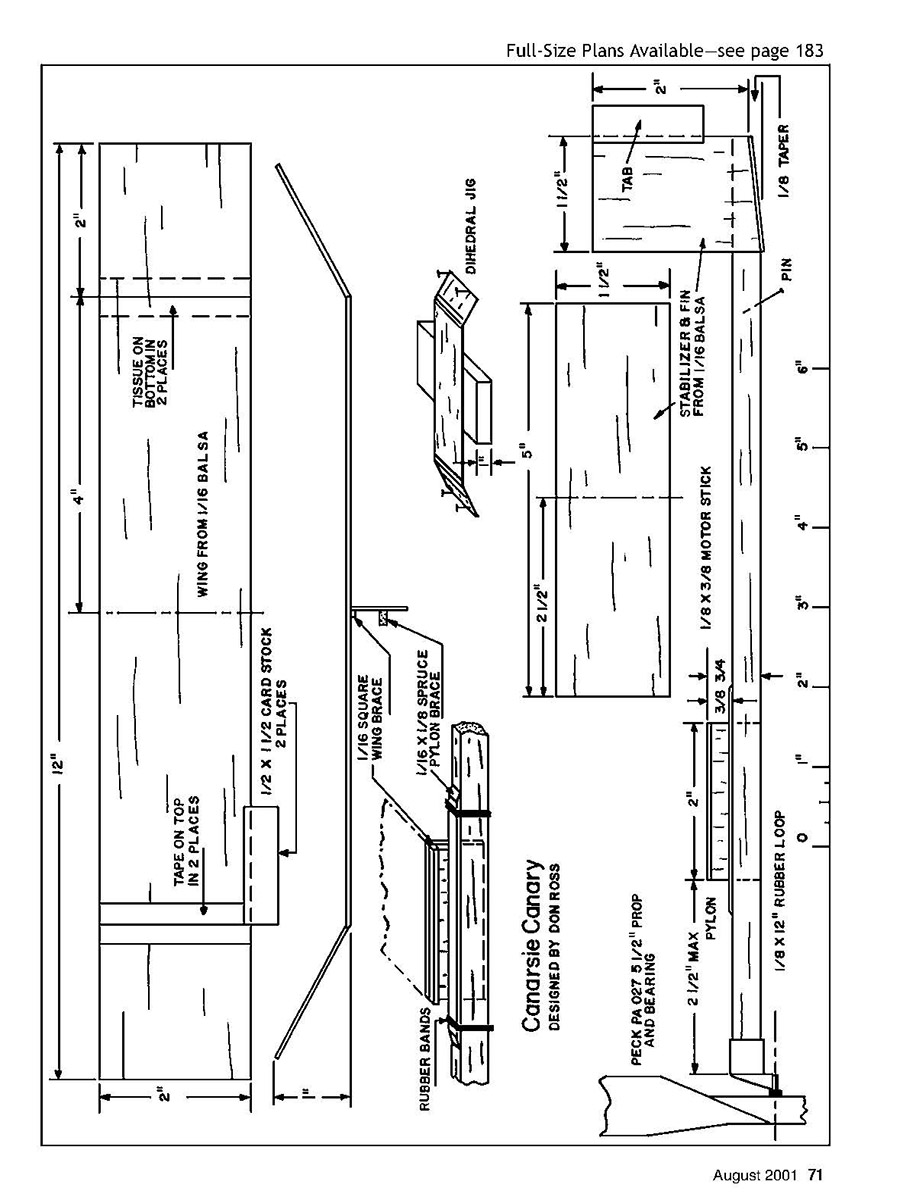
Canarsie Canary
Don Ross
This little bird will have you singing with delight about Free Flight!
Years ago Marty Taft decided he needed a new and different beginner's model for the Cub Scout and Boy Scout classes he was teaching. He felt that these modern youngsters would have trouble with simple stick-and-tissue construction, since they had little building skills or modeling experience.
Marty also wanted something more rugged and easier to trim that was capable of at least a 30-second flight with very little instruction. He called his first design the Canarsie Cutie, in honor of the Brooklyn section where he grew up. Since it was named after the Canarsie Indians, who first settled there, the name would be unique—not at all like Paris, Kentucky or Rome, New York.
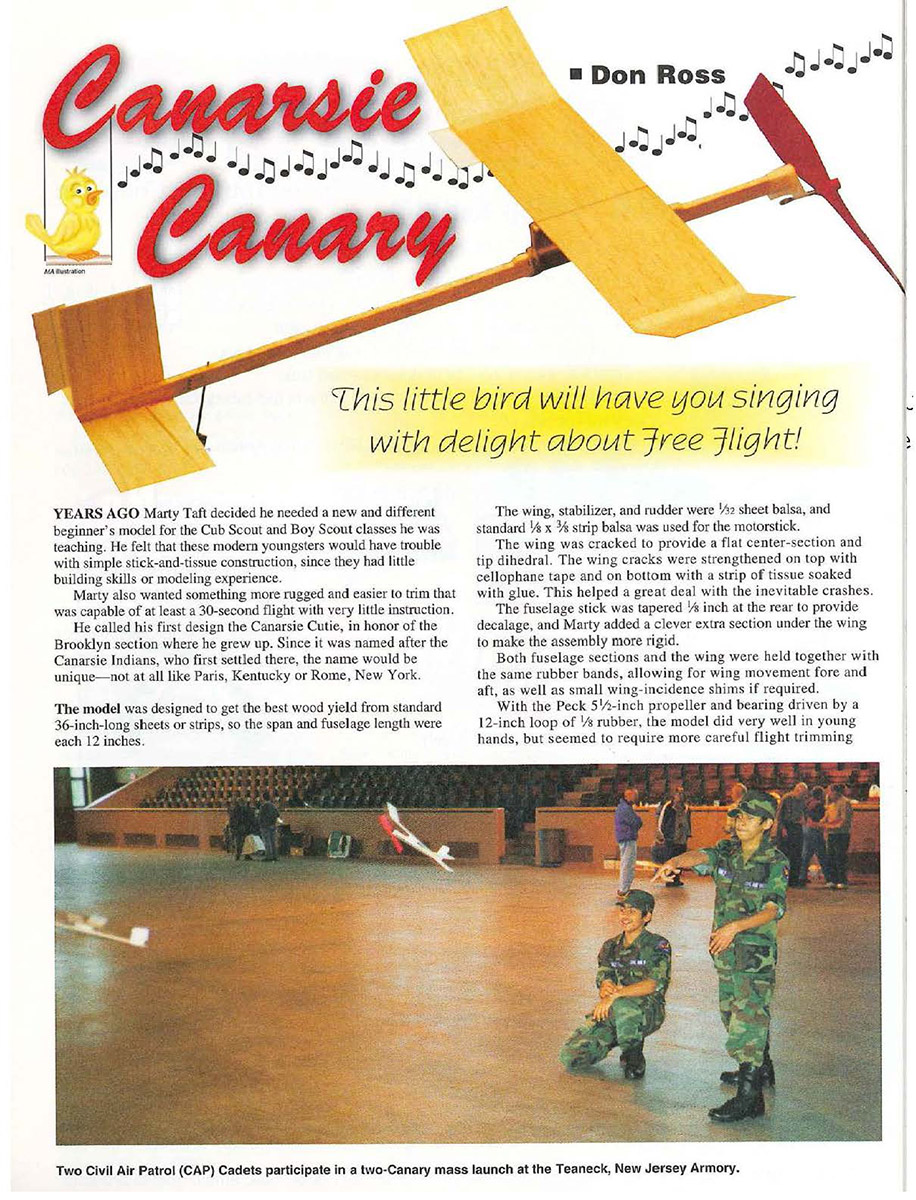
The model was designed to get the best wood yield from standard 36-inch-long sheets or strips, so the span and fuselage length were each 12 inches. The wing, stabilizer, and rudder were 1/32" sheet balsa, and standard 1/8" x 3/8" strip balsa was used for the motorstick.
The wing was cracked to provide a flat center-section and tip dihedral. The wing cracks were strengthened on top with cellophane tape and on bottom with a strip of tissue soaked with glue. This helped a great deal with the inevitable crashes.
The fuselage stick was tapered 1/8" at the rear to provide decalage, and Marty added a clever extra section under the wing to make the assembly more rigid. Both fuselage sections and the wing were held together with the same rubber bands, allowing for wing movement fore and aft, as well as small wing-incidence shims if required.
With the Peck 5-1/2" propeller and bearing driven by a 12" loop of 1/8" rubber, the model did very well in young hands, but seemed to require more careful flight trimming than Marty wanted.
Near that time, I got involved with Marty and a group he was teaching at an unused hangar at Floyd Bennett Field. I thought some small changes might improve the design, so I eliminated the extra fuselage strip and added an adjustable pylon and two card-stock trim tabs—one on the rudder and one on the left wing.
The pylon would help the model better absorb the torque of a fully wound motor, and too steep a left bank after launch could be corrected by bending down the left wing tab. The rudder tab could control turn, and incidence was easily adjustable, as was fore-and-aft wing movement.
We rechristened the model Canarsie Canary, retaining its origin and adding a reference to small, quick flight.
Since we usually assembled kits for each meeting, it was natural to try to simplify manufacturing. We cut the 2 x 12-inch wings and laid them on a 12 x 24-inch board, with strips of cellophane tape (adhesive side-up) under the areas where dihedral cracks would appear. The tape held the wings so we could run a razor blade down a dozen wings at once to score them.
A simple one-inch block under the wing center provided a dihedral fixture, and the young builder could turn the wing upside-down, place the center on the block, hold the tips down on the table with tape, glue the dihedral joints, then add bracing tissue strips while they dried.
We also decided to preassemble the pylon, since it had to be as square as practical to ensure easy flight trimming. The 1/16" square balsa wing brace was glued on top of the pylon, then a carefully cut, measured, and waxed 1/2" x 2-1/2" spruce block was slipped under the 1/16" square brace.
We made three or four pylons at once by spacing them apart on a board and using a 12" x 1/4" spacer. This takes longer to explain than to do.
Although the Canary looks simple and similar to many kits now available, the movable pylon, trim tabs, and tapered stabilizer mount have made it extremely easy to build and trim. As long as light wood is used, indoor flights of more than 30 seconds are common. Using a thin 1/8" rubber motor, wound 200 to 300 turns on a dowel, produces dependable flights. With the Peck prop and long loop, I have had flights of 45 to 60 seconds.
We built many kits for our group, and the youngsters enjoyed them. Several adults who assisted in the project also got involved and learned to hand-launch and trim a free-flight model.
Don Ross 38 Churchill Rd. Cresskill, NJ 07626 [email protected]
(Editor's note: The subjects of building, rubber winding, and flight trimming for the Canary and other rubber-powered models are contained in Don's book, Rubber Powered Model Airplanes, available from AMA. The book can also serve as a valuable primer for Science Olympiad teachers or mentors who are involved with the very popular model-airplane event.)
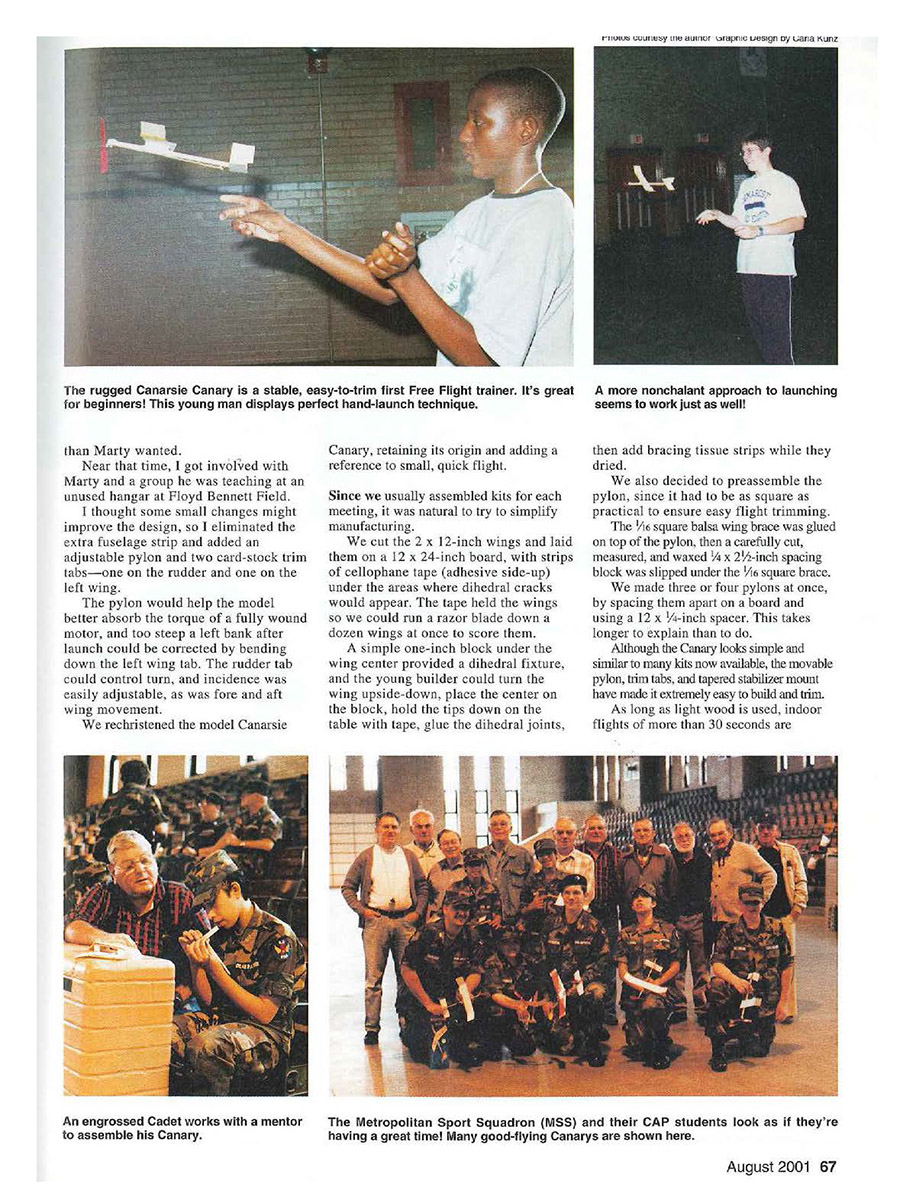
Students are encouraged to color-trim their models to suit their individual tastes. It promotes originality!
Canarsie Canary — Designed by Don Ross
Materials and Parts
- Wing from 1/16" balsa
- Tissue on bottom in 2 places
- Tape on top in 2 places
- 1/2" x 1/2" card stock, 2 places
- 1" 1/8" square wing brace
- 1/16" x 1/8" spruce pylon brace
- Rubber bands
- Dihedral jig
- Tab (trim tab)
- Stabilizer and fin from 1/16" balsa
- Pin
- 1/8" x 3/8" motor stick
- Peck, Pa. 5-1/2" prop and bearing
- 2-1/2" max pylon
- 1/8" x 1/2" rubber loop
- 1/8" x 1/2" rubber motor (label on plan: 1/8" x 12" rubber loop)
- 1/8" taper
(Measurements on plan — not repeated as continuous prose.)
Basic Assembly Notes
- Crack the wing to form a flat center-section with tip dihedral; strengthen cracks on top with cellophane tape and on the bottom with tissue strips soaked in glue.
- Taper the fuselage stick 1/8" at the rear to provide decalage.
- Use rubber bands to hold both fuselage sections and the wing together; allow for fore-and-aft wing movement and incidence shims if required.
- Preassemble the pylon with a 1/16" square balsa wing brace and a waxed 1/2" x 2-1/2" spruce block under the brace for squaring.
- Add card-stock trim tabs: one on the rudder, one on the left wing. Bend the left wing tab down to correct excessive left bank; use the rudder tab to control turn.
Flight Power and Trimming
- Use a thin 1/8" rubber motor, wound 200 to 300 turns on a dowel, for dependable indoor flights.
- The Peck 5-1/2" propeller with a 12" rubber loop was used successfully; with proper trimming, flights of 30 to 60 seconds are achievable.
Tips for Group Kit Construction
- Score multiple wings at once by laying 2 x 12" wings on a 12 x 24" board with adhesive-side-up tape where cracks will be made, then run a razor blade to score.
- Use a 1" block dihedral jig to set the center and tape the tips down while gluing the dihedral joints.
- Preassemble pylons in batches using spacers to ensure consistent spacing and squareness.
Notes
- The movable pylon, trim tabs, and tapered stabilizer mount simplify trimming and make the model forgiving for beginners.
- Encourage students to color-trim their models to promote originality.
Transcribed from original scans by AI. Minor OCR errors may remain.

